


Pet Photo Christmas Ornaments
2 Materials
If you have pets, then you probably have a ton of photos. I know I do. I am obsessed with trying to capture that perfect pet moment. So for a stocking idea for my adult son, I thought I would buy a personalized pet ornament online of his cat Dora (who unexpectedly died right before Thanksgiving). See Dora lived with me because Dora was not an apartment cat- she loved to be with her dogs roaming and hunting for snakes and bugs. She was an indoor/outdoor cat who thought she was a dog as she begged for treats and ice cream.
Anyhow, the pet photo Christmas ornament came about on a trip to Hobby Lobby last week and searching for ideas for a shadowbox (which I will post here later). I walked through the aisles looking for inspiration and came across these clay prepackaged Christmas ornaments. A light went on and I thought to my self about the $8 photo ornaments online. For less than a $1 I could create my own personalized pet photo Christmas ornament.
So I played around with a picture of my sons together and a couple cat pics of Dora for the ornament. This is a kid friendly craft idea and what fun to create a photo just for the ornament? Or run around chasing the dog for a photo op?
The sky is the limit!
Keeping it real, creating, and inspiring! Check out my blog for other ideas too.
Thanks!
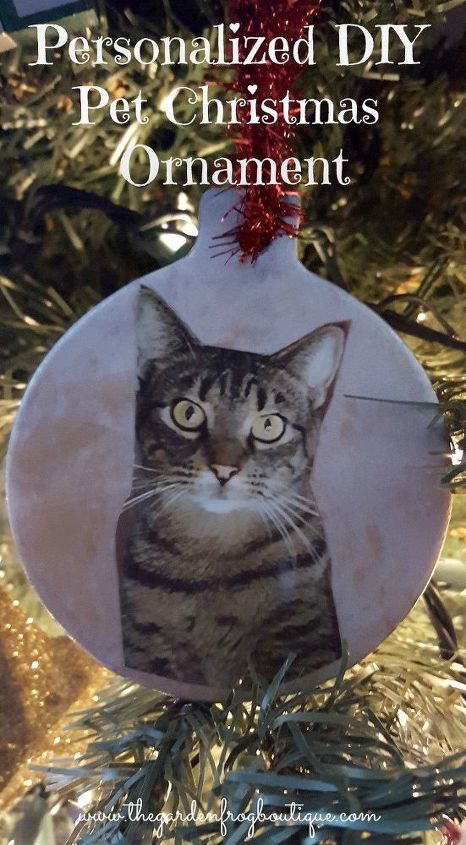
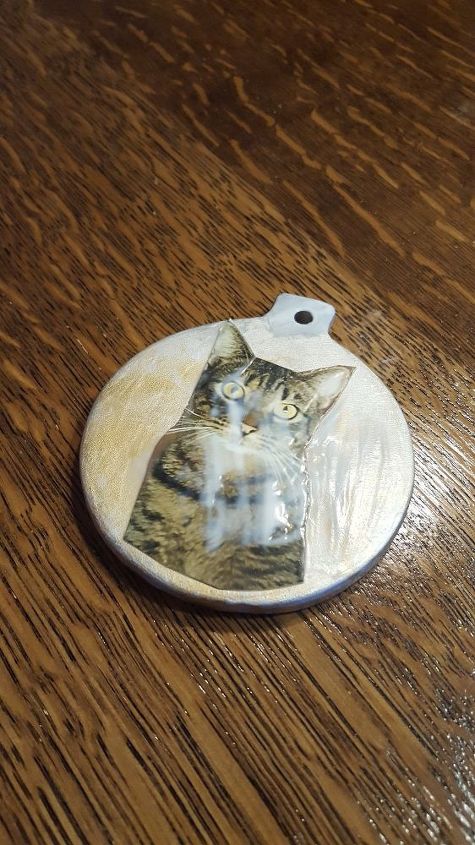
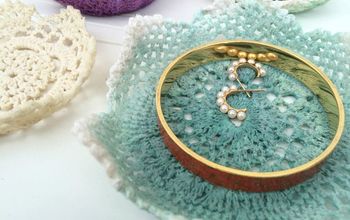
This is one of the finished pet photo Christmas ornaments
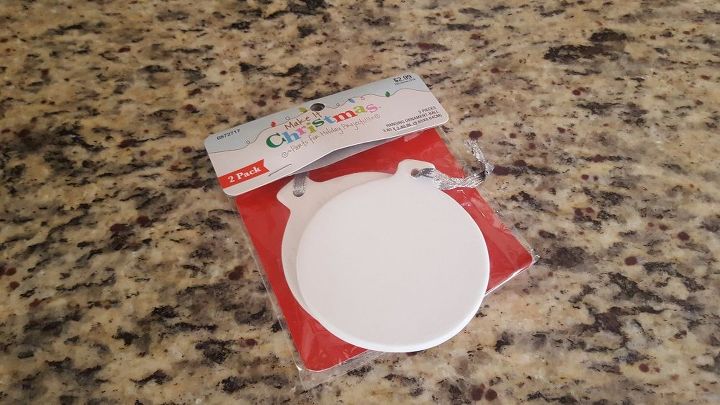
I found these 1/2 off at Hobby Lobby (but they are at other craft stores). They are unfinished and porous so you can paint it to seal it or you can decoupage your photo without painting it.
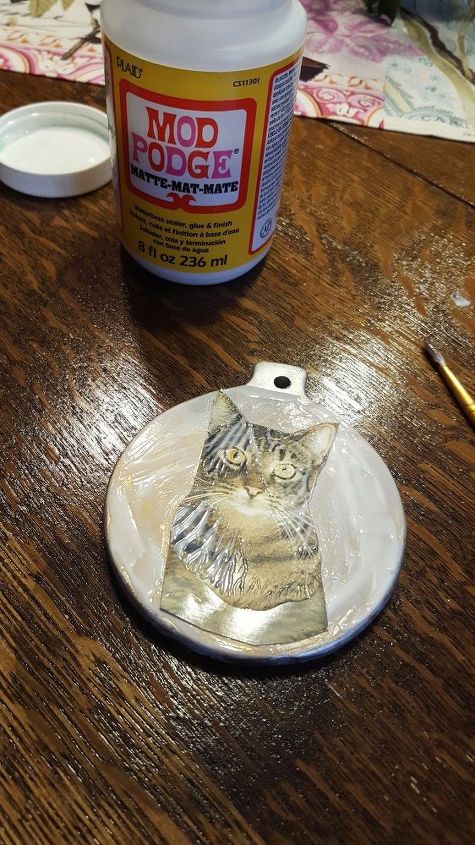
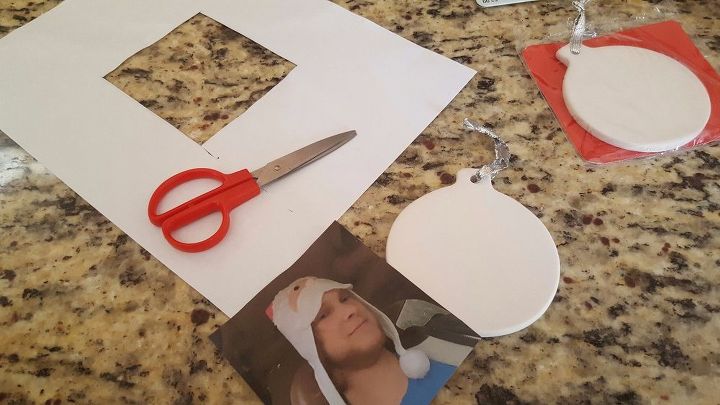
First step is to find a picture to decoupage on to the clay ornament. This one happens to be an actual photo. I also printed of a picture (on paper) and cute it out the size of the ornament (see below). I first spread ModPodge all over the ornament and then carefully place the photo where I wanted it. I spray painted this ornament and let dry before the decoupage.
After the photo is place I just went over the photo with more ModPodge and sealed the edges and the photo. If using paper photo, carefully spread/paint the ModPodge over the photo so you do not cause it to rip or tear.
I let dry for a couple hours.
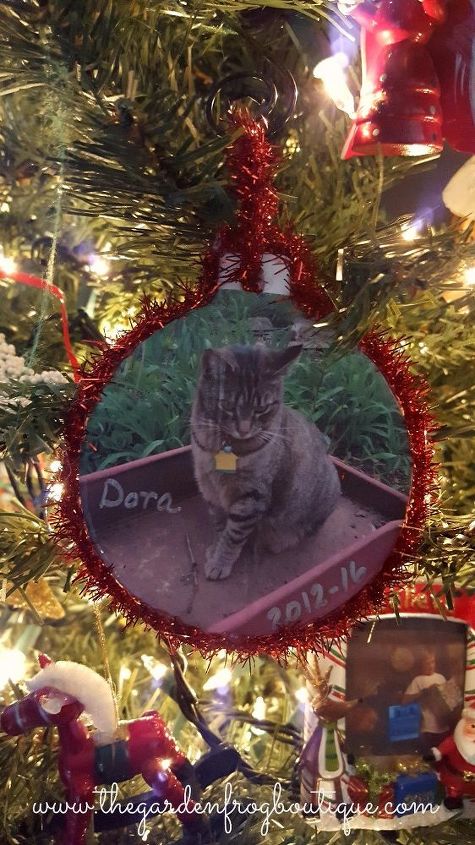
A finished ornament experimenting with ribbon and Sharpie markers (this was the 1st one and a trial run). I did not paint the ornament
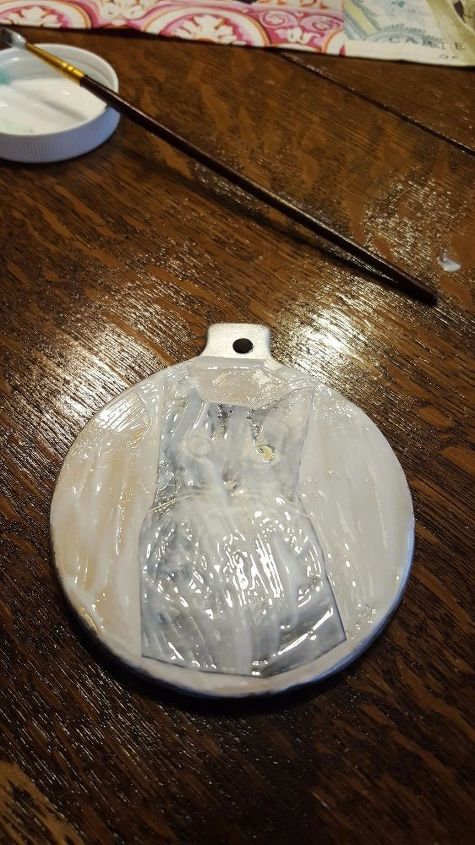
I made personalized ornaments too from photos (choosing not to paint this ornament to see if it works and it did)
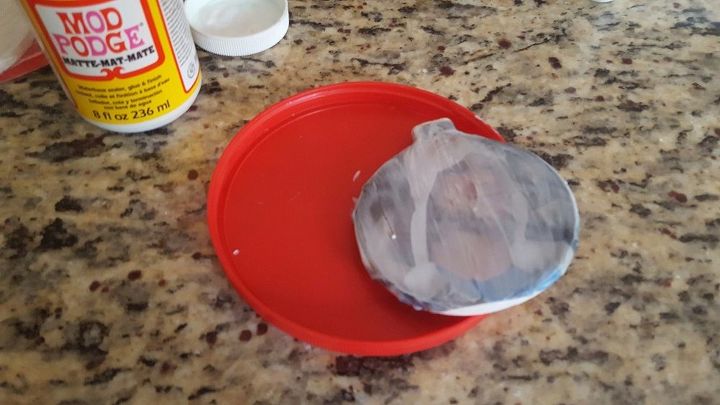
Coating the ornament with ModPodge and cutting out photo to fit over ornament shape. Then painting on another coat to dry for a few hours. Decorate. and hang on the tree

Want more details about this and other DIY projects? Check out my blog post!
Comments
Join the conversation
2 comments
-
Nice project. looks like it turned out really well. I will attempt a couple of my dad's dog Milo an see what he thinks.


Frequently asked questions
Have a question about this project?
That's cool I cut out on bandsaw lot wood stuff too lots of fun
Hi my name is Donna and I recently took down the suffix in my kitchen now I’m stumped on what to do because the ceiling/ sheet rock is gone I was wondering if you have a better idea then rerock the ceiling?