


DIY Painted Window: Santa's Sweet Shoppe
4 Materials
I have been channeling Gingerbread Men and Candy Canes this Christmas, so when little nugget of an idea planted in my mind...I had to follow it. Luckily, this was a very easy DIY because my to-do list (which doesn't include making a charming painted bakery window) is growing by the minute.

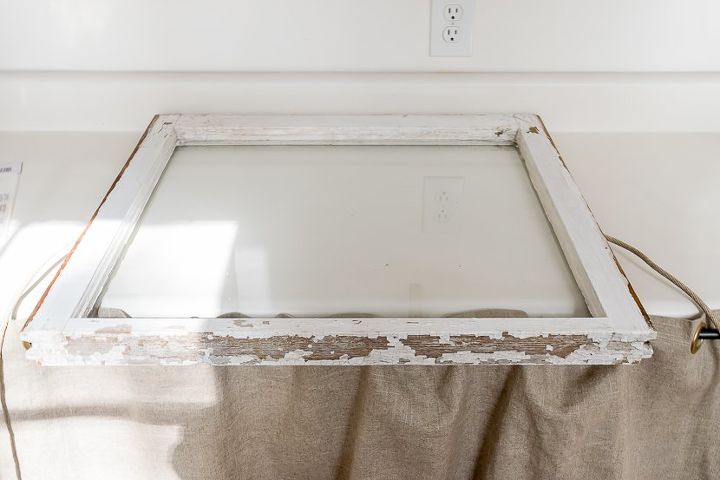
I knew that I needed to find an old window for this idea. Our architectural salvage store is only open on Saturdays, so I told myself that if I went to the salvage store and they didn’t have what I needed I would shelf my idea until next year. But, that crafting kismet angel was sitting on my shoulder and, as luck would have it, I found the perfect window.
What you need for a Painted Window:
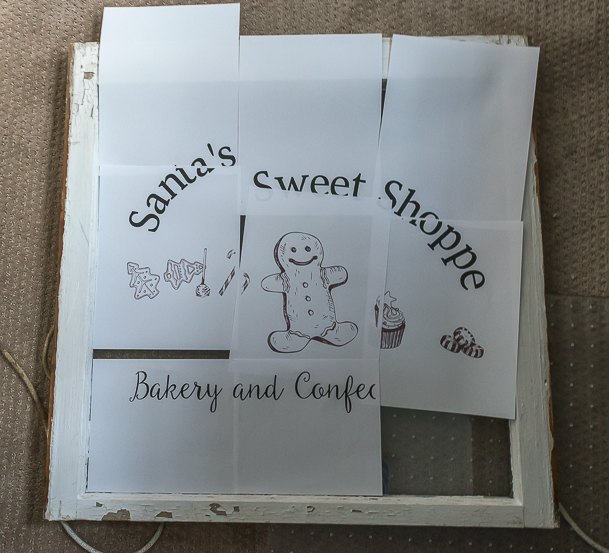
Because I painted my image on the back of the glass, I placed my design on the front…right side up. Just a side note here…You’ll notice that my printed image contains several more graphics than what I finally ended up with. The reason is that I had originally thought to paint the various sweets with different colors of paint. But…when I gave the paints a try on a spare piece of glass, I really didn’t like how it looked. The brush strokes were very evident and it reminded me of a bargain store window as opposed to the bakery shop window I was aiming for .

With the paint pen, trace over your lettering and design. With an alcohol based paint pen, you can easily fix mistakes with a paper towel dipped in rubbing alcohol. I also used a razor blade a few times to scrape of any errant marks.
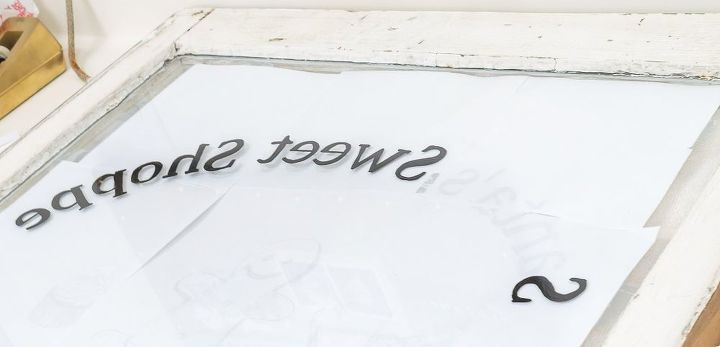
I guess you could paint on the front of the glass, but I opted for the back side because you’d be less likely to see the stroke/brush marks left from the pen (it is smoother looking on the front side) and because I don’t have to worry about using glass cleaner on the letters
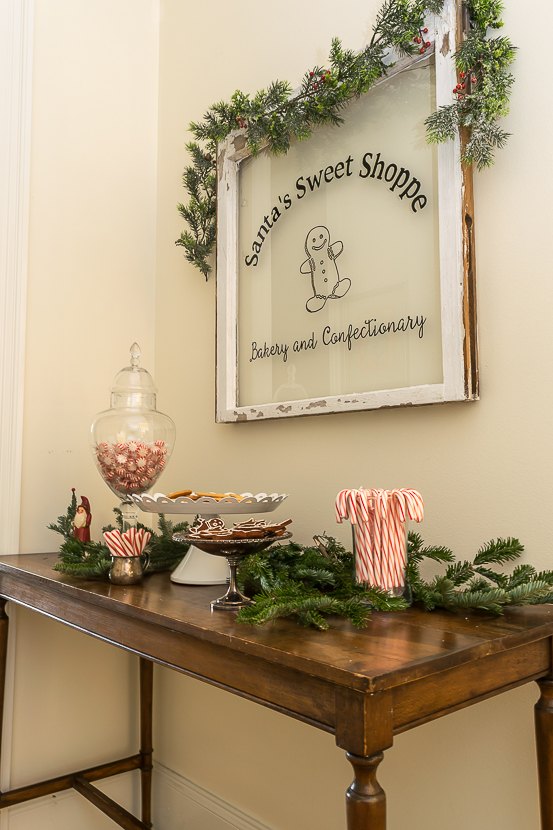
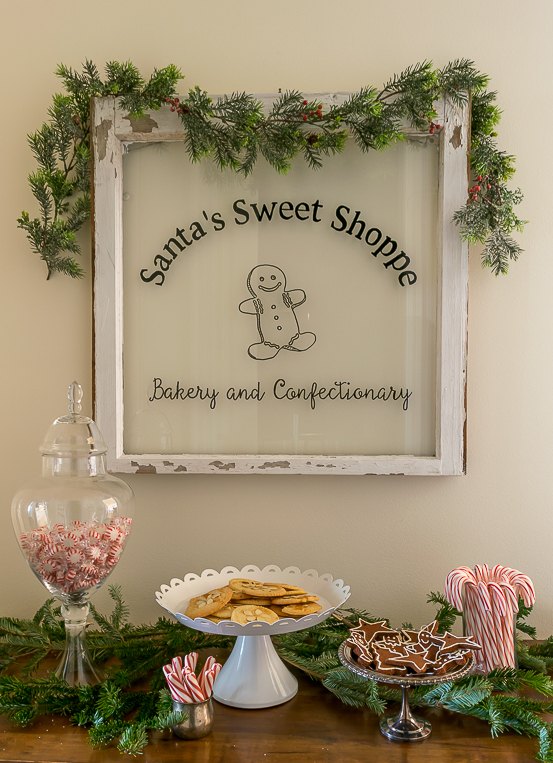
Don't you just love it? OK...I think I'm done crafting and now I need to get busy on my to-do list.

Want more details about this and other DIY projects? Check out my blog post!


Frequently asked questions
Have a question about this project?