


Crystal Ice Fillers Holiday Tree DIY
If you're into all things sparkly, Christmas is just the time to go all out! So why not glam it up this holiday season with a diy cone tree bedazzled with crystal ice fillers! Crystal ice fillers you say? You've probably seen them in vases especially decorated for weddings. But why limit yourself to vases or weddings.
Here's a quick tutorial on creating a glitzy, sparkly, crystal tree to add to your amazing glamorous holiday decor:
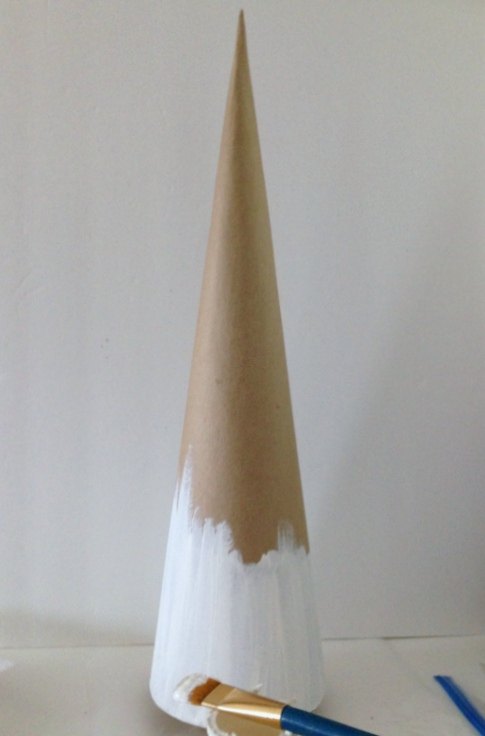
Begin by painting a paper mache cone tree white and let dry.
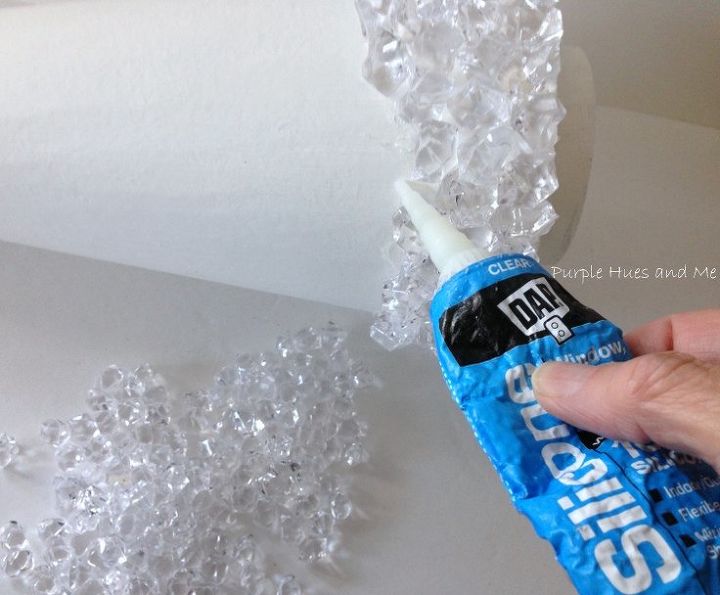
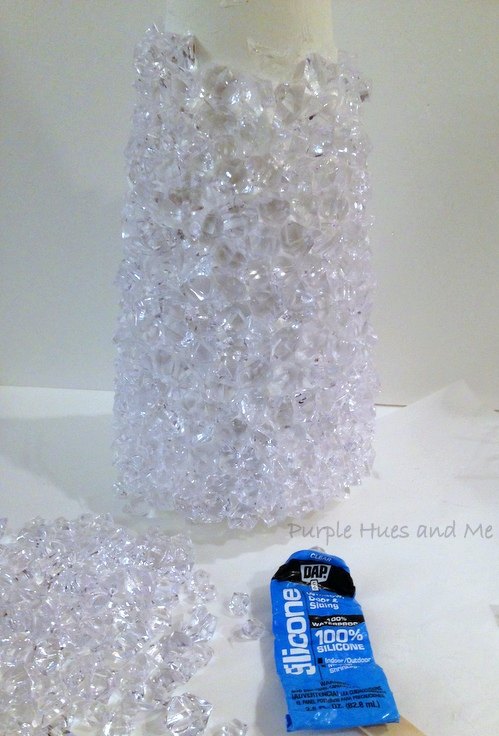
Lay the cone tree on its' side and spread a generous amount of silicone a few inches along the bottom. You can use a craft stick to help spread the silicone. Press individual pieces of crystal fillers into the silicone.
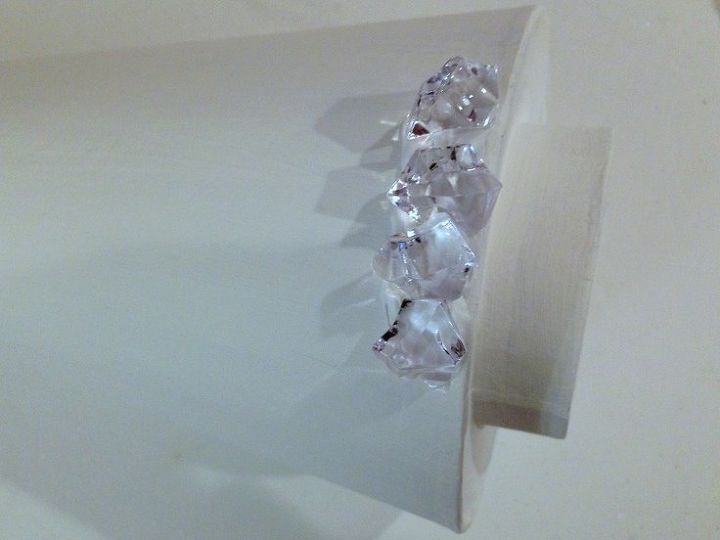
Continue spreading silicone around the bottom and adding the crystal fillers. Work at your own pace. The shape of the fillers somehow allows the crystals to "interlock" with one another by moving them around for the best fit.
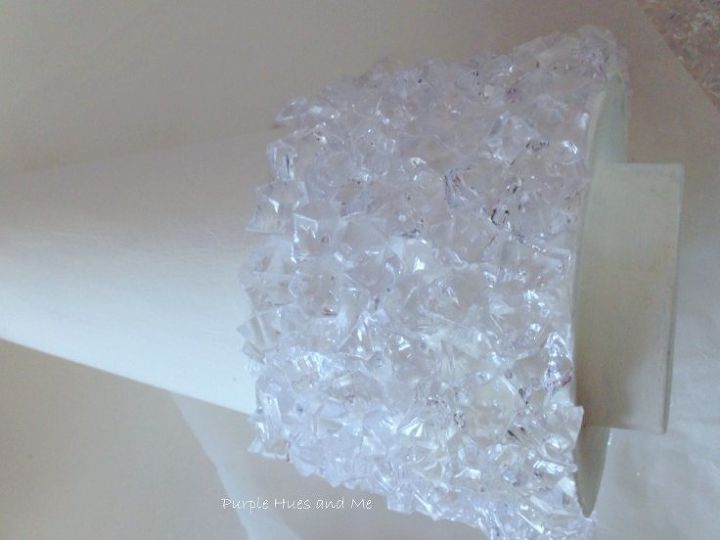
Press the crystals together with hands to help secure and eliminate any loose fillers. Continue adding silicone and crystals to the cone as you go around and up. At first, it was easier to apply the silicone and crystals while the cone was sideways. I could easily see everything and I thought the crystals would adhere better. The cone becomes heavier as you apply more crystals so I move it to the upright position about halfway through and continued filling in until reaching the top. The cone becomes heavier as you apply more
The silicone does have a quick grab for applying the crystals but it needs 24 hours to dry. Would you believe only a few (3) crystals fell off and were quite easy to put back on.
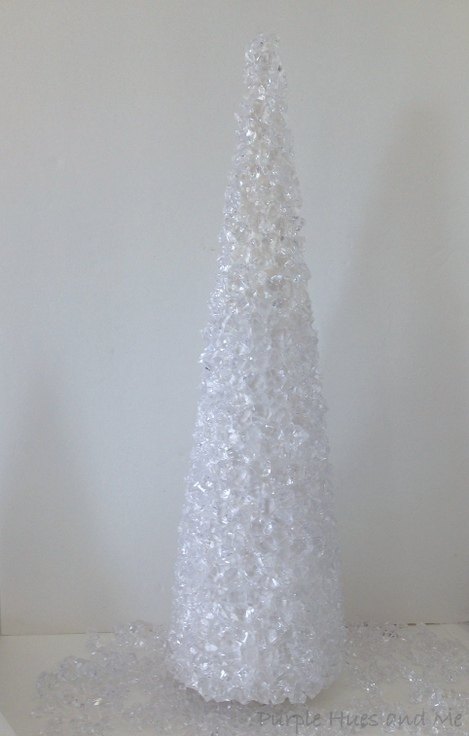
The finished tree gleams with enchanting beauty! Light bounces off beautifully and reflects off of all colorful surfaces including Christmas lights. How cool is that!
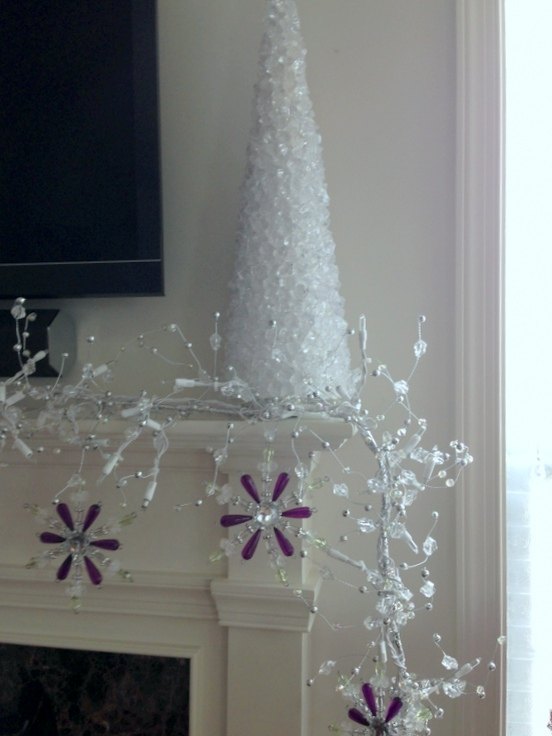
And best of all, the tree sparkles and shines no matter what angle!
DIY Christmas Decorations

Comments
Join the conversation
-
Yes. I've made 3 of these. I used E6000 glue. Great craft. Ty. !!! Now my neighbor says if you would poke holes in the cardboard come first and put little tiny lights in there that would be pretty too . Oh gee. This is pretty just like it is. Happy holidays and crafting. !!!
-
Thanks, Brenda! Your neighbor has a great idea! But, like you, I like it just like it is, too!


Frequently asked questions
Have a question about this project?
That tree is really pretty. Did you get the crystals at Michael's or online? I live in a small apt, this would fit in it great! Thx for the idea!
I just made mine using plastic poster board from michaels that cost $1.99 for the sheet. I got two cones out of the sheet. I can put a puck light inside the cone for light. It works great.
What amount of the filler did you use? There are so many choices!! Thank you. Want to make this real soon.