


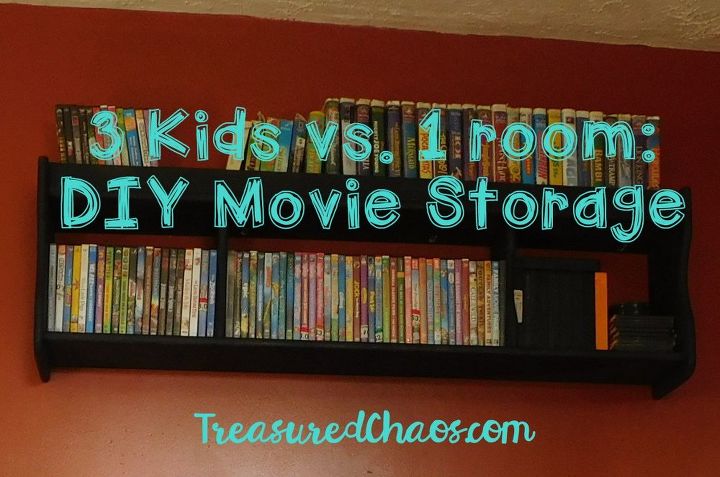
Reclaimed Headboard Turned Movie Storage
2 Materials
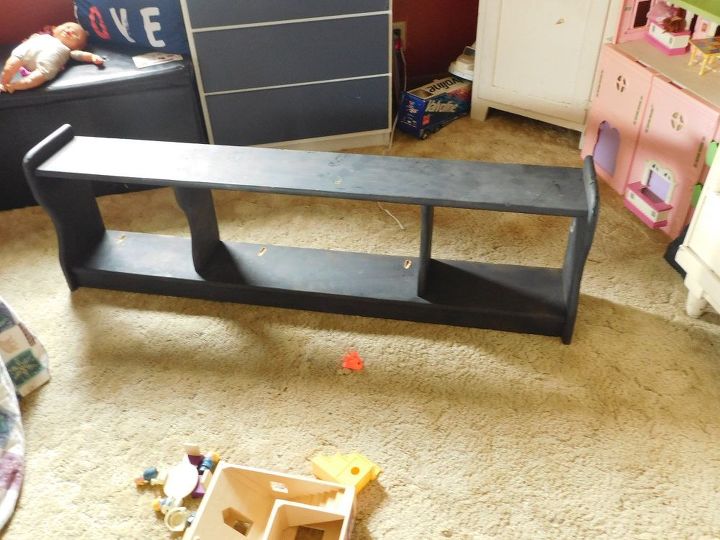
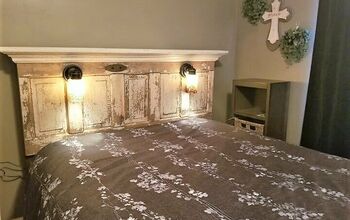
I love taking cast off objects and finding new lives for them! This headboard is one such project!
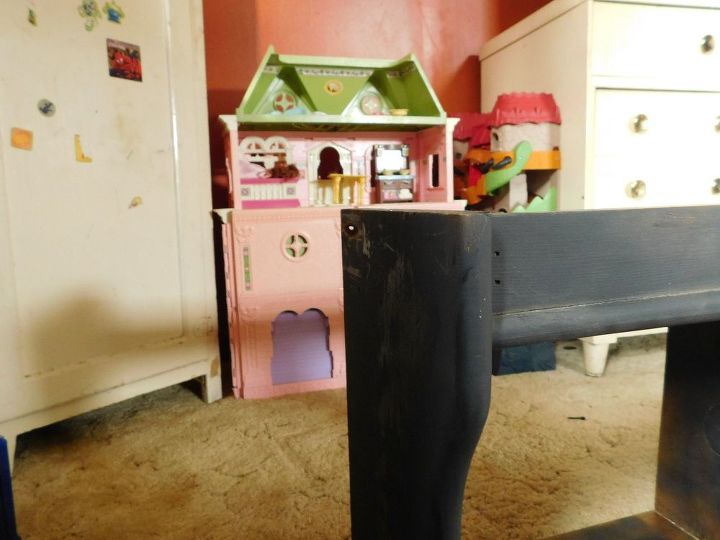
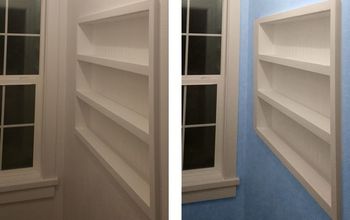
Right now it just has a glance-over coat of spray paint, but someday I'll give it a real coat! For the meantime I spent most of my half-used spray can on the top and sides as that's mostly what you see after it's hung.

I used my Kreg Jr. jig to drill holes through the both the top and bottom to hang it. It took a bit of figuring to decide where I wanted to hang it vs. where the studs are. I actually did all this a few years back for a different room, so now it decides where I hang it based on the holes.
I turned it upside down (so that that nice top board is now on bottom). I don't know what's normal, but mine has a cavity on the bottom the way it would sit on a bed frame. Flipping it gave me a nice lip at the top.
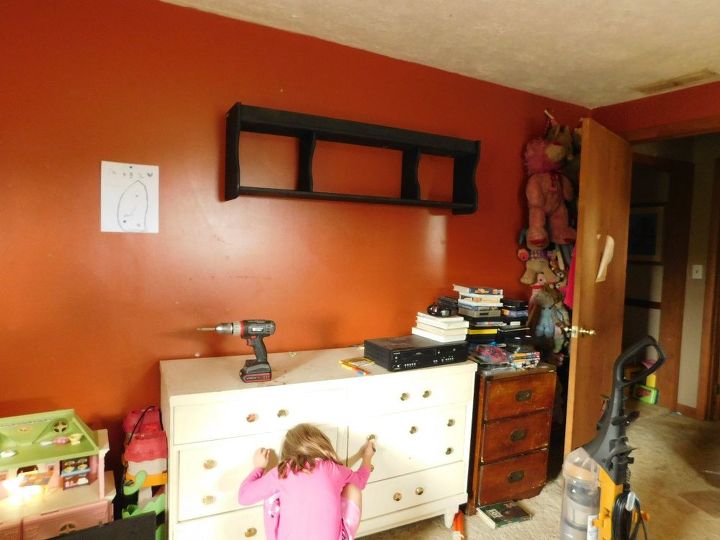
Attach it to your wall. I didn't have long enough Kreg screws, (I must have replaced them along the way) but I did have 3" decking screws that use a square bit driver. That puppy ain't moving! As I said, this is the third time this has been hung, so I probably hung it with Kreg screws the first time (maybe?). It might matter to the point that the Kreg screws are self tapping and the pocket hole had previously been tapped, eliminating the need for it this time. So to be on the safe side, use the proper self tapping screws if possible.
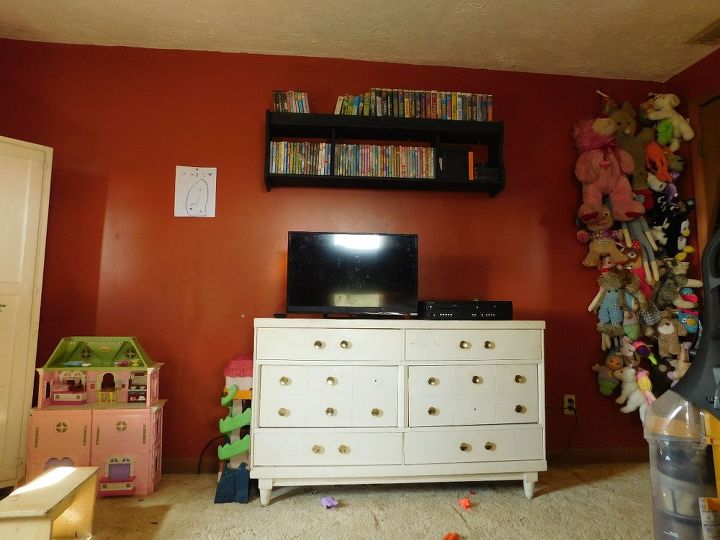
Now fill it with goodies and admire your work! We have three kids sharing this room, so anything that frees up floor space is worth it's weight in gold!
Hope you're inspired to re-use something or try something new! And, as always, you're welcome to follow along at TreasuredChaos.com!

Want more details about this and other DIY projects? Check out my blog post!
Comments
Join the conversation
2 comments
-
I would NEVER have thought to do this with a headboard!


Frequently asked questions
Have a question about this project?