


Tips & Tricks for Installing Cabinet Hardware

by
Andrea
1 Material
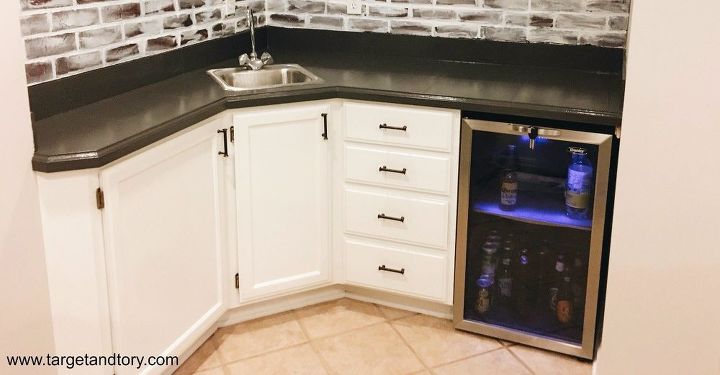
Hey guys! It’s finally time for another DIY post! This post is actually part of a larger, more fun, reno in my house…… BUT, I’m not quite done yet. I want it to be perfect when I start taking pictures!
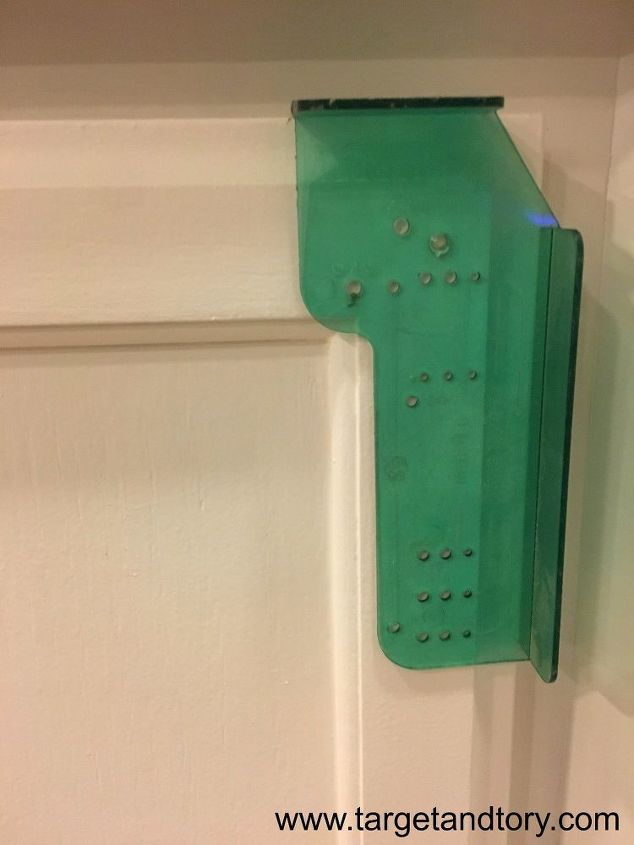
First, I used my handy (or so it’s supposed to be….more on that later) hardware mounting template to mark where I would like my pulls. This is the one I have from Lowe’s. I went by sight as to which holes I wanted to use. Use pencil. Don’t be like me and use a pen, because “there’s no chance you’ll mark the wrong hole”. Because you will, and I did. Then, I had to get out my lovely magic eraser.
Once I played around with it and was able to get my marks where I wanted it, I pre-drilled. Pre-drilling the drawers were much harder than the doors. The drawer, is really a wooden front attached to a wooden box, there are technically 2 pieces of wood you have to drill through. I was not as strong as I thought I was. I had to push REALLY hard. So hard in fact, that I then couldn’t stop and this happened…
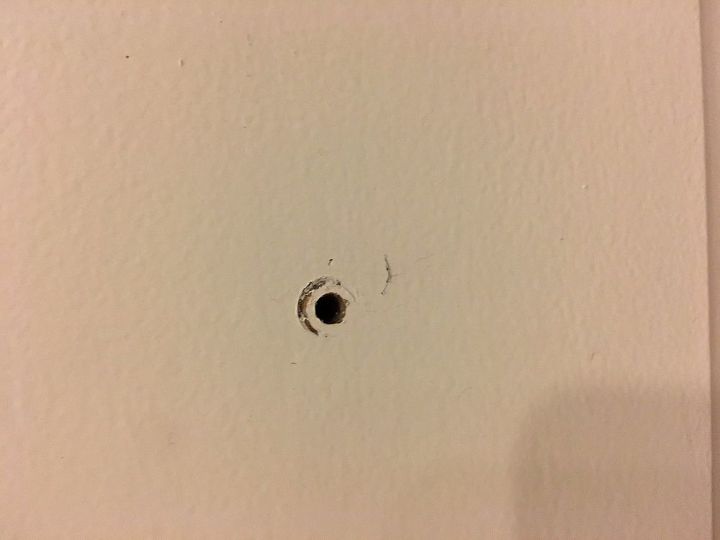
AWESOME. That newly painted drawer is looking swell now. Luckily, the pull will cover it anyways, but still. urgh. I quickly came up with a solution that worked for the rest of the holes.
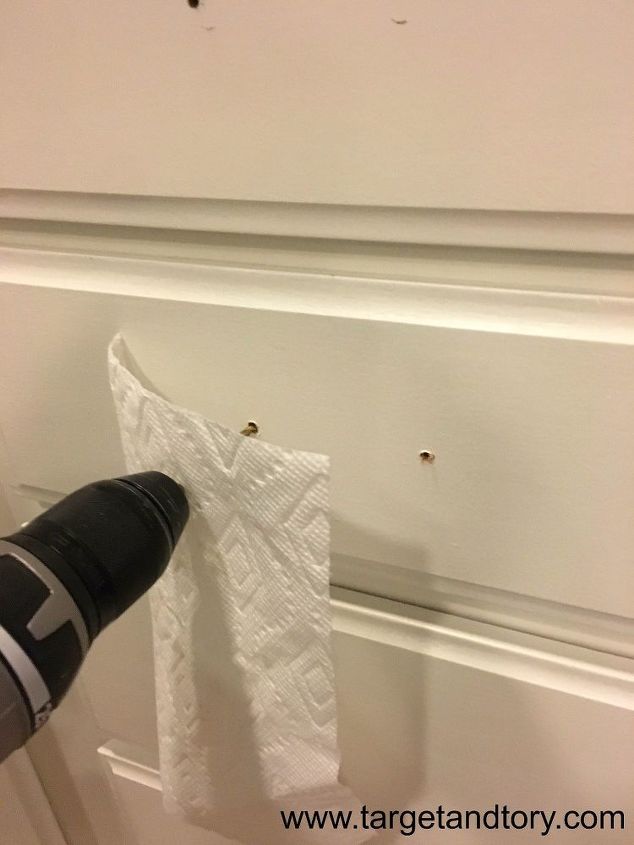
I wasn’t sure if I was a genius or if I was going to start a fire as that drill bit gets soooo hot.
Want more details about this and other DIY projects? Check out my blog post!
Comments
Join the conversation
4 of 7 comments
-
What a great post - it is fantastic to have these guidelines available - thanks so much!
-
Let's not scare people, I did it so any one can.


Frequently asked questions
Have a question about this project?