


DIY Glitter It Bulbs

by
Lisa Kettell
6 Materials
30 Minutes
Easy
Did you ever want to make those bulbs with glitter in them? Aren't good at painted letters? Then I've got the project. Here's a fast last minute 2 part ornament project; DIY Glitter It Bulbs. Just grab some Beacon Adhesives Glitter It, Glitter, Clear Bulbs, Paint, Letter Stickers and scroll down to see the full project and video. Make a ton in under 30 minutes.
{
"id": "3651650",
"alt": "DIY Glitter It Bulbs Video",
"title": "DIY Glitter It Bulbs Video",
"video_link": "https://www.youtube.com/embed/b69QSPYljZc",
"youtube_video_id": "b69QSPYljZc"
}
{
"width": 634,
"height": 357,
"showRelated": true
}
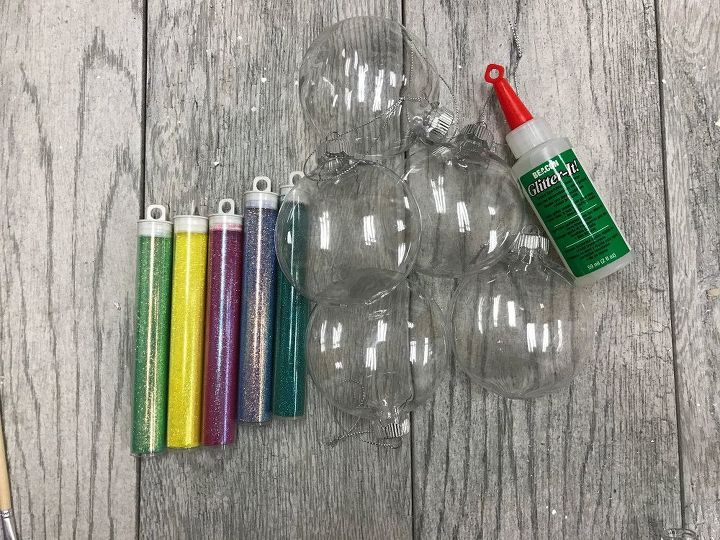
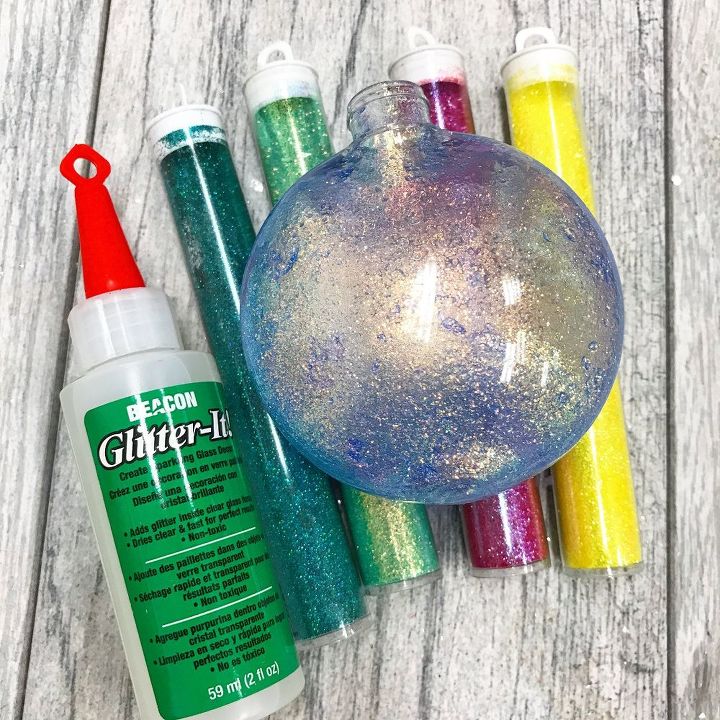
Step 1: Grab some supplies. For the plain glitter bulbs you will need: Beacon Adhesives Glitter It, variety of glitter, clear flat or round bulbs. For the lettered glitter bulbs you will need: All the supplies above plus letter stickers, craft paint, paint brush, foam brush and Beacon Adhesives Fast Finish Decoupage.
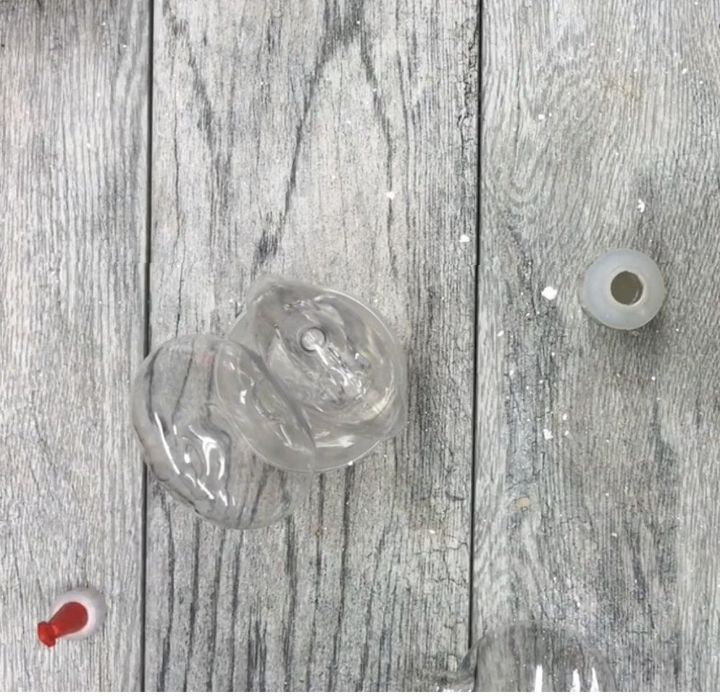
Step 2: Remove the bulb cap from the ornament.
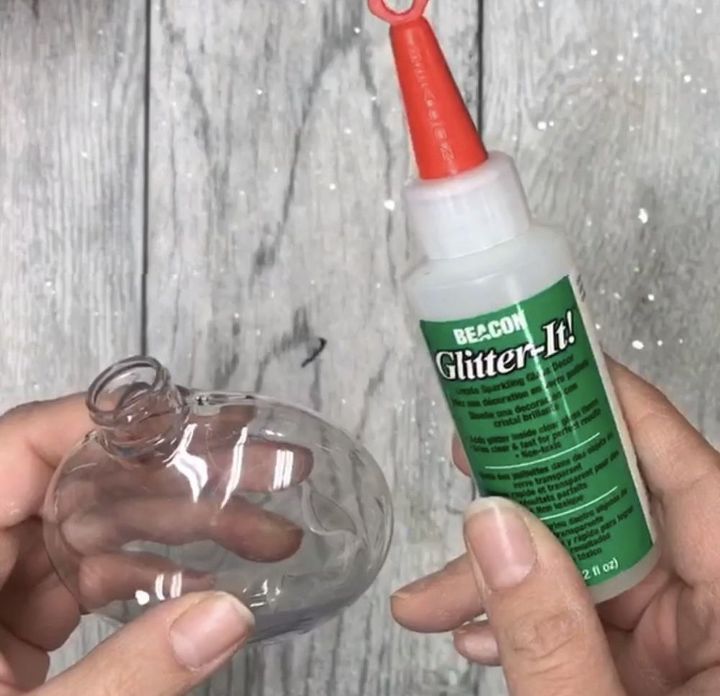
Step 3: Pour the Glitter it into the bulb, about half full.
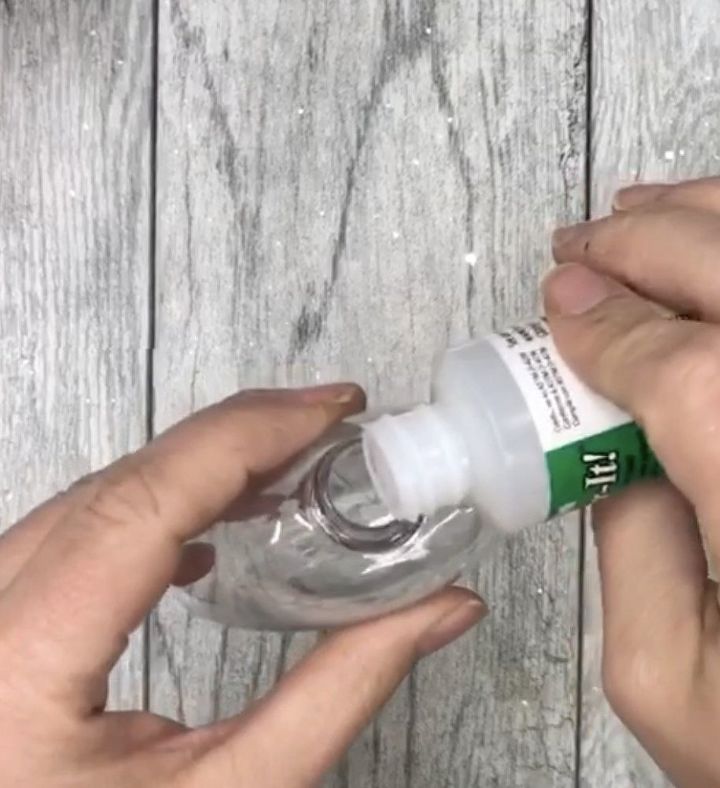
Step 4: Start swirling the glitter it around in the bulb. Tilting and twisting until you coat the whole inside of the bulb.
Step 5: Pour out the excess glitter it back into the glitter it container. Repeat the above steps for each bulb.
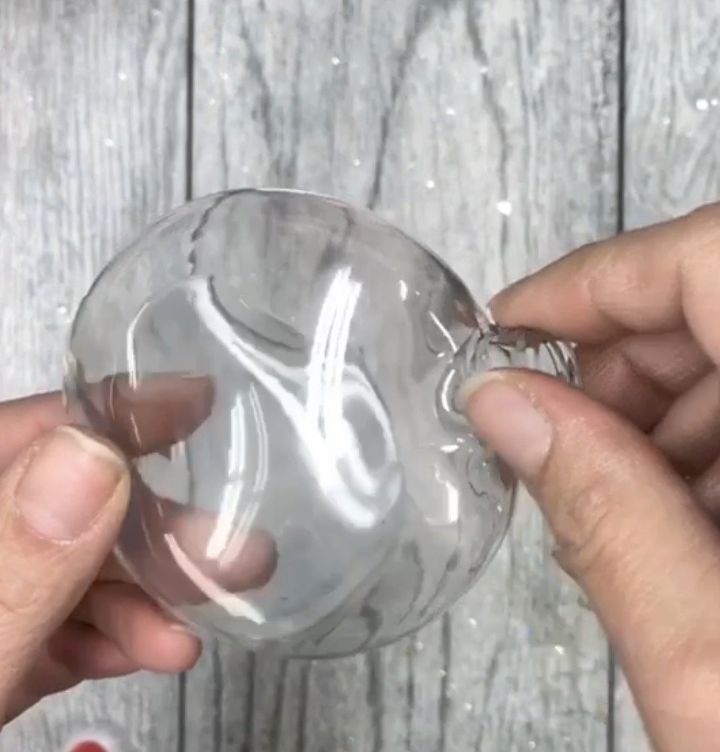
Step 6: Turn the glitter coated bulb(s) upside down in a plastic cup to drain any excess glitter it out and to dry for about 5-10 minutes.
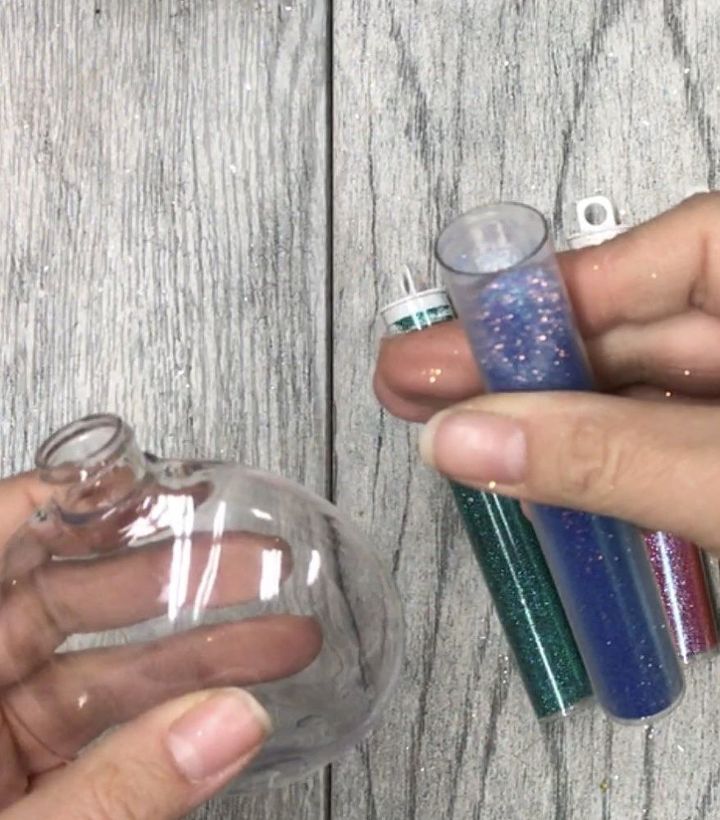
Step 7: Now the fun. Start pouring glitter into the bulbs.
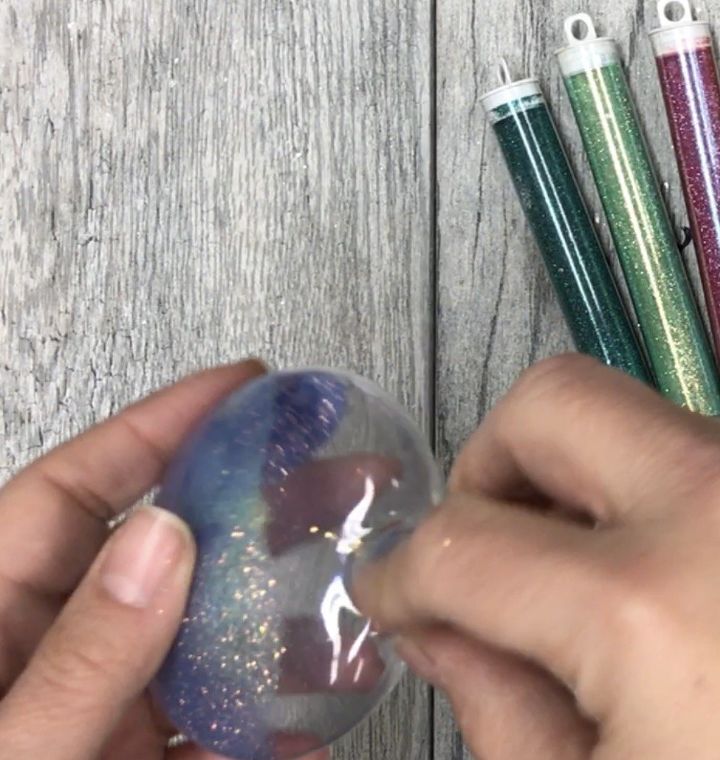
Step 8: Shake the glitter around in the bulb. Pour out any excess glitter over paper. (Applying glitter over paper helps save the glitter for later projects or more bulbs)
Step 8: If you miss any spots with glitter. Apply more glitter it to the inside of the bulb, let dry and add more glitter. (This can create some really cool effects).
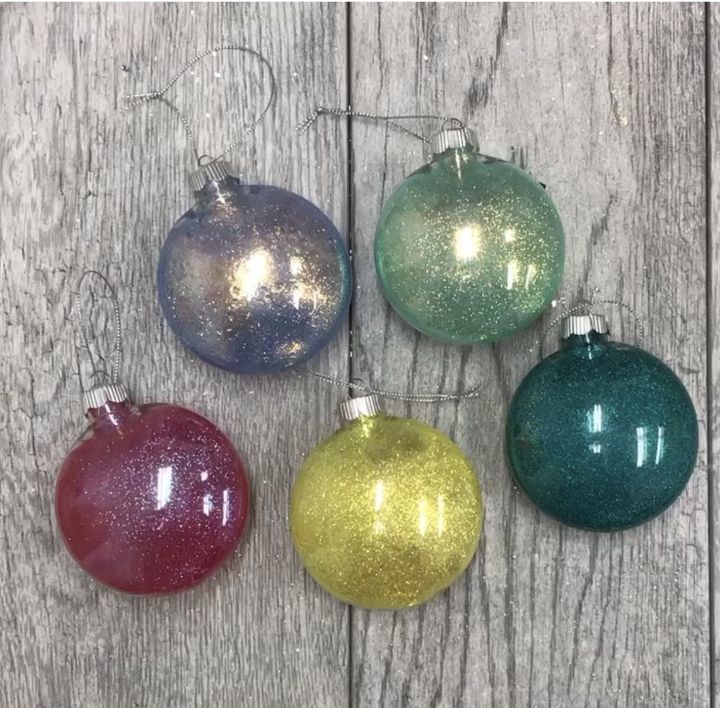
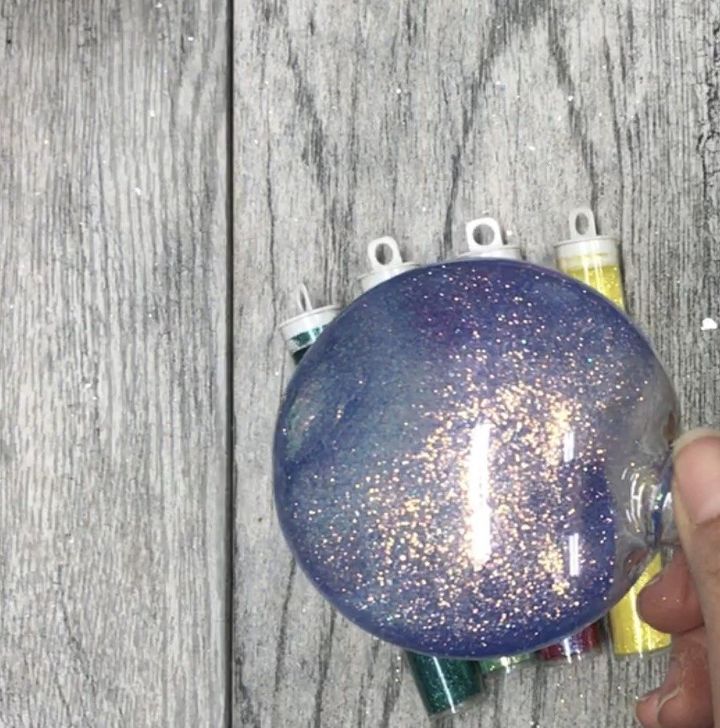
These are the final results. Fun, Glittery Bulbs.
If you want to turn your glittered bulbs into the latest ornament trend. Grab some letter stickers, paint, fast finish decoupage and scroll down.
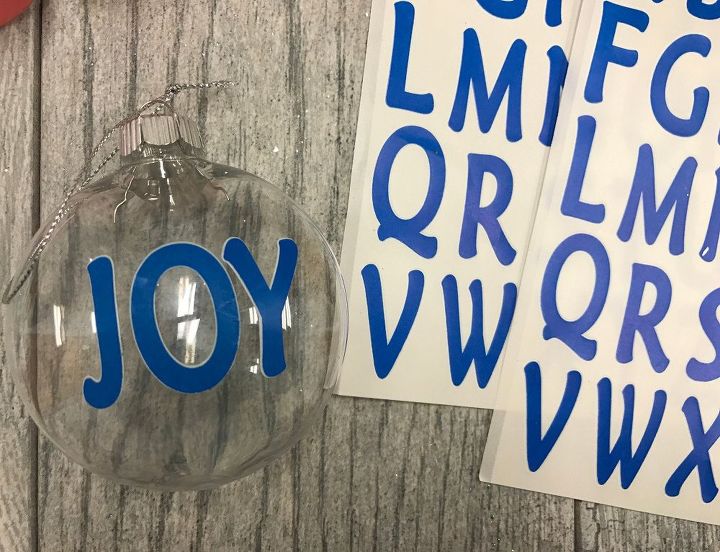
Step 1: Grab small to medium sized letter stickers, any color or pattern will work. Peel and stick the letters to the bulb(s).
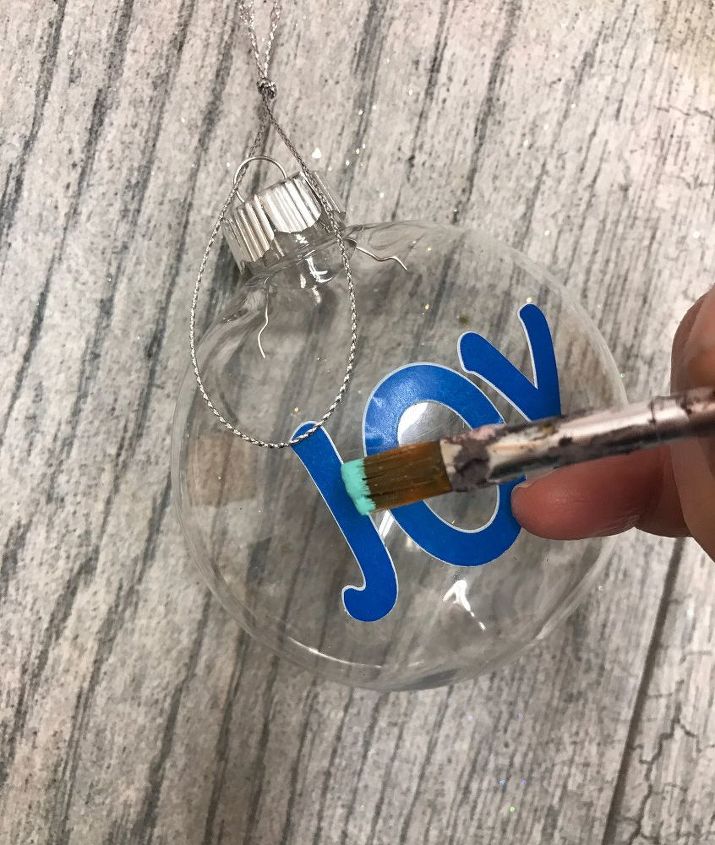
Step 2: Start painting over the letters with craft paint. About 2 coats will do the trick. (This is perfect for those who aren't good at hand lettering. Plus it saves tons of time. You could even buy fun sticker patterns and by pass the painting).
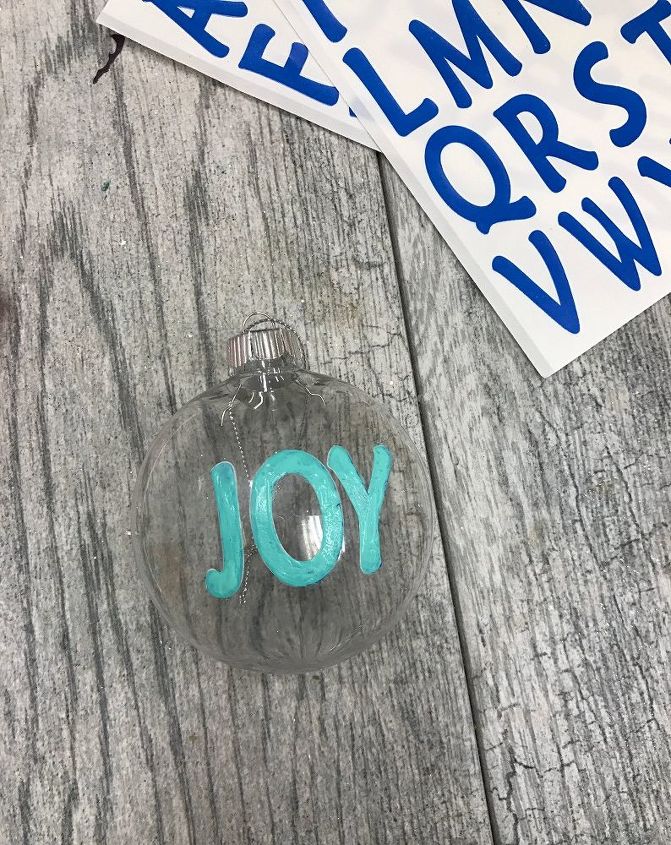
Step 3: Once the paint dries, seal the painted letters with Beacon Adhesives Fast Finish Decoupage and a foam brush. Why? Because it goes on clear, dries clear and seals these letters perfectly.
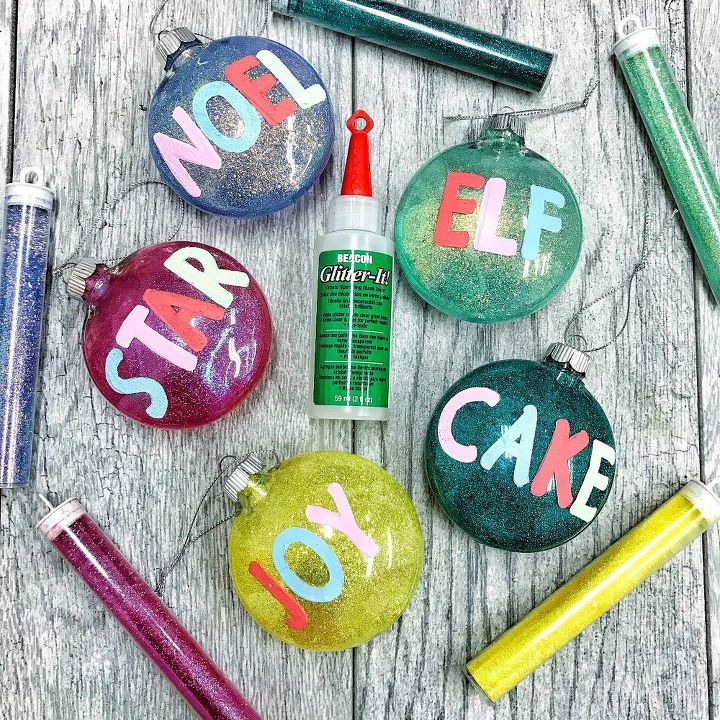
Look how fun these ornaments look with the painted letters. Its amazing what a sticker and paint can do.
Want more details about this and other DIY projects? Check out my blog post!


Frequently asked questions
Have a question about this project?