


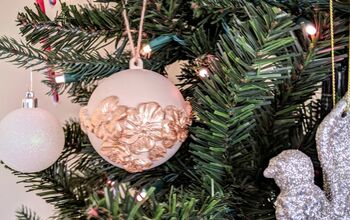
Air-dry Clay Ornaments

7 Materials
Easy
A simple project you can do with kids that could be repurposed all year round!
{
"id": "3657196",
"alt": "",
"title": "",
"video_link": "https://www.youtube.com/embed/GMw1tzlxoC8",
"youtube_video_id": "GMw1tzlxoC8"
}
{
"width": 634,
"height": 357,
"showRelated": true
}
First off: protect your work surface! Clay always makes a mess. I laid down a piece of wax paper but I later changed it with a plastic sheet I have underneath my computer to protect my desk from scratches. That's the easiest thing to clean I could find in my house and it was a lot more practical than the ever-slipping oven paper.
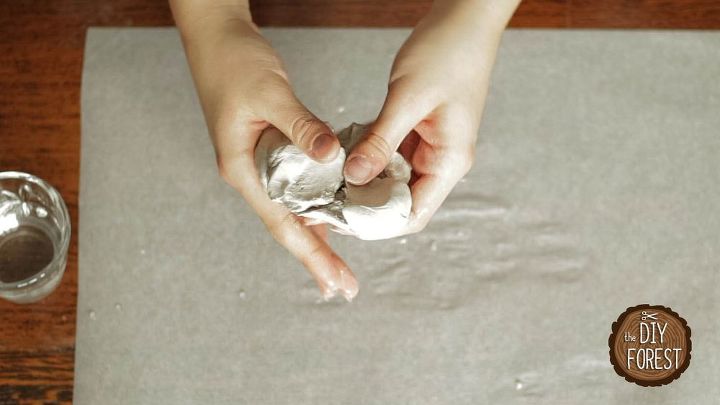
Now you can begin to work your clay, adding water to make it softer.
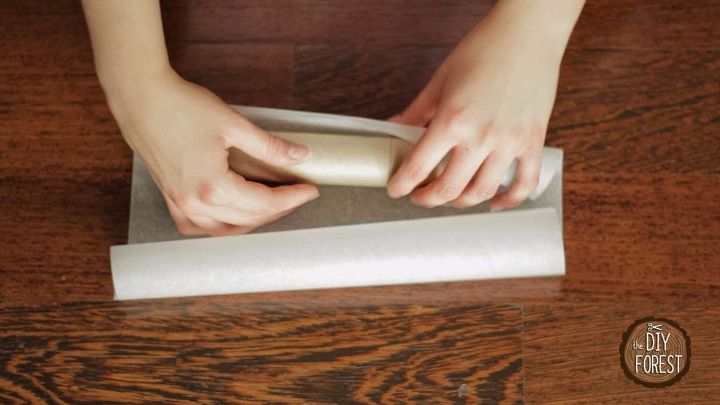
Once the clay is soft you can flat it down with a clay rolling pin. I didn't have one so I made my own: I wrapped a cilindrical object in oven paper. Be careful to wrap the oven paper tight or it will make creases that will transfer on the clay.
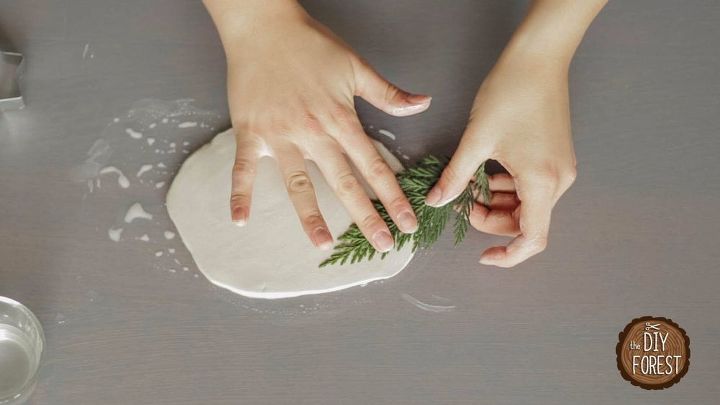
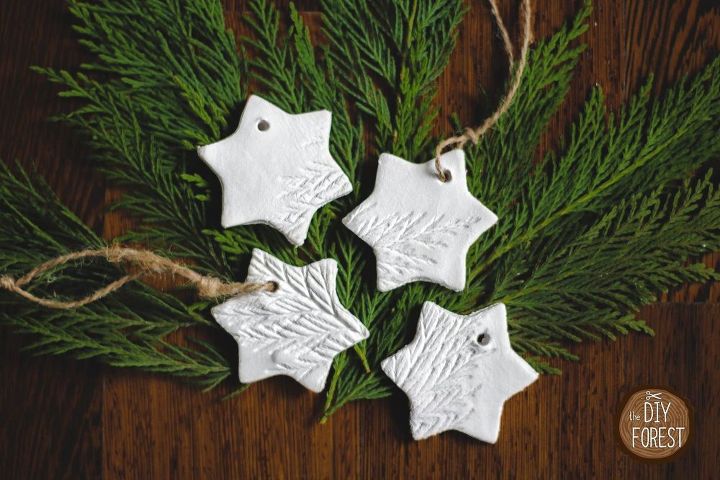
Once you have your clay flattened evenly you can stamp whatever object you chose. Gently press it with your fingers or lightly roll the pin over it. I cut some branches from the trees in my garden, you can use any type of leaf, a doily, your kid's hands, let your imagination run free!
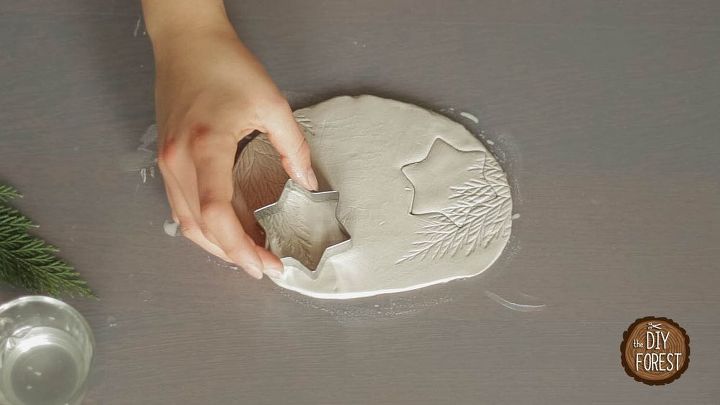
You can now use the cookie cutter to cut the ornaments. To make your life easier later I suggest you press down firmly to cut all the way into the clay, then lightly wiggle your cookie cutter while keeping it down so that the clay around the ornament will come off easily later.
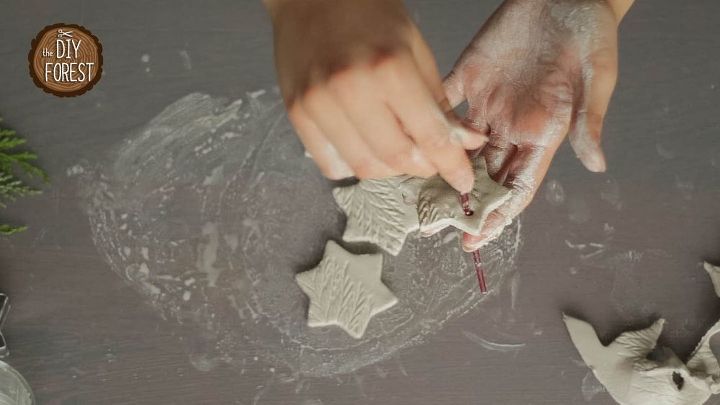
Now use the craft knife to lift the ornaments without ruining them and use the pointy object (in my case a small paint brush) to make the holes for the string.
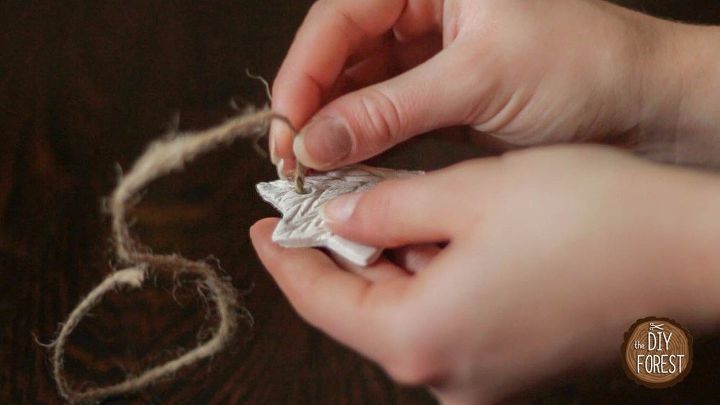
Let the ornaments dry for a couple of days and once dry add the strings to hang them where you want! I made mine christmas-y but you can easily make this project for any season :)
Thank you for reading! I hope you enjoyed these You can find this and other diy projects on my YouTube channel: https://www.youtube.com/channel/UCMNhHOfPG4LmsvuqYZneZ9w


Frequently asked questions
Have a question about this project?