


Apartment Friendly Faux Wood Floors With Contact Paper

If you need to cover a floor you just can't handle looking at anymore this is PERFECT! I honestly was stunned at how great this stuff looked... and felt! This contact paper faux wood flooring is a great option for renters, because it can be peeled back up if needed, but is durable enough to withstand traffic. A couple rolls of wood contact paper can transform any old linoleum floor with ease.
We want to help you DIY, so some of the materials in this post are linked to sellers. Just so you know, Hometalk may collect a small share of sales from the links on this page.

SUPPLIES: -As many rolls of contact paper you need to cover the space you are looking to cover. (I got this awesome wood print contact paper, because I love the look of hardwoord floors, but you can get any print you like.) - X-Acto Knife
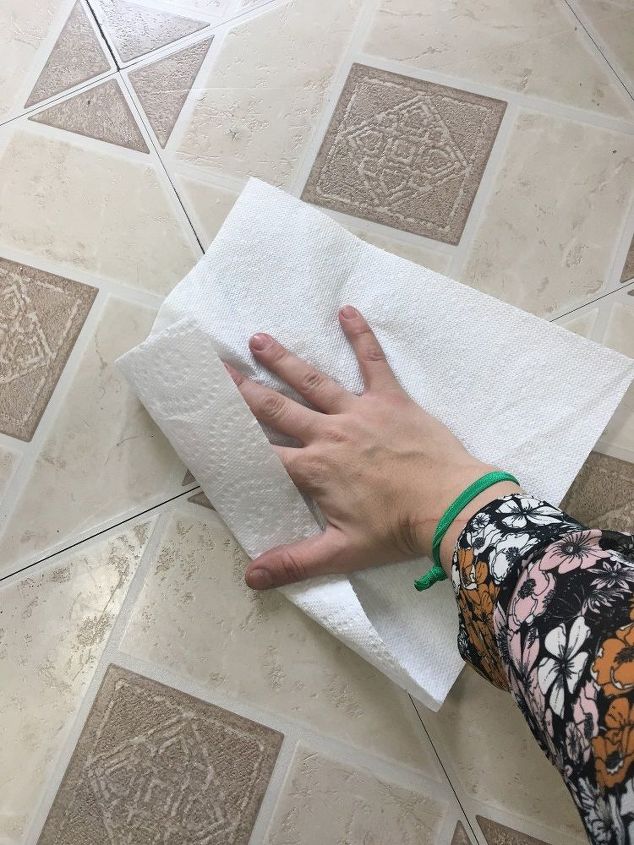
STEP 1: Clean your floors Clean the floors you are looking to cover making sure all crumbs, hairs, dust and grime are wiped away.
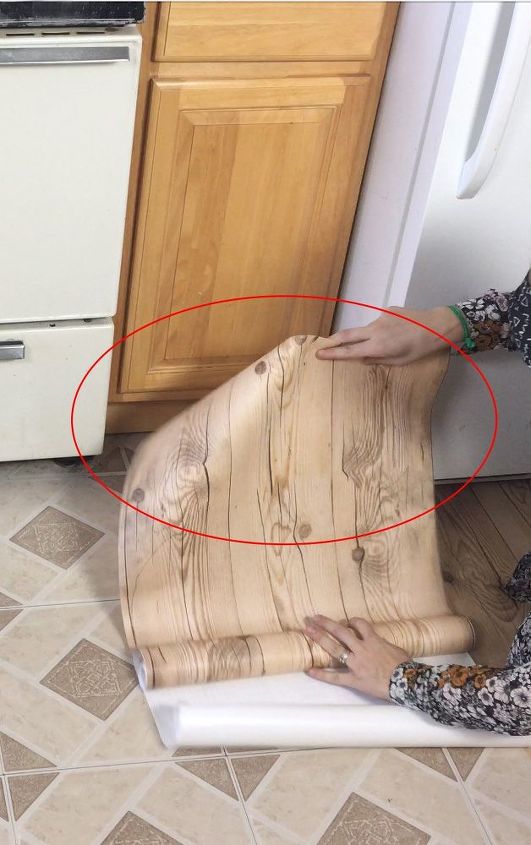
STEP 2: Start unrolling your contact paper Grab your roll of contact paper and peel away a small corner. Start in a far corner of the room and attach the exposed sticky side of the paper.
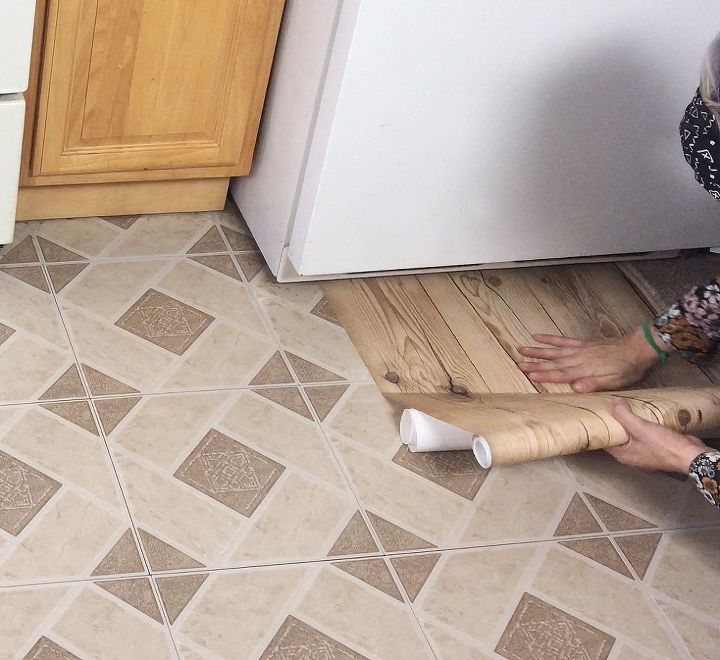
STEP 3: Keep unrolling and sticking Slowly remove more backing from the roll and press down the paper as you go.
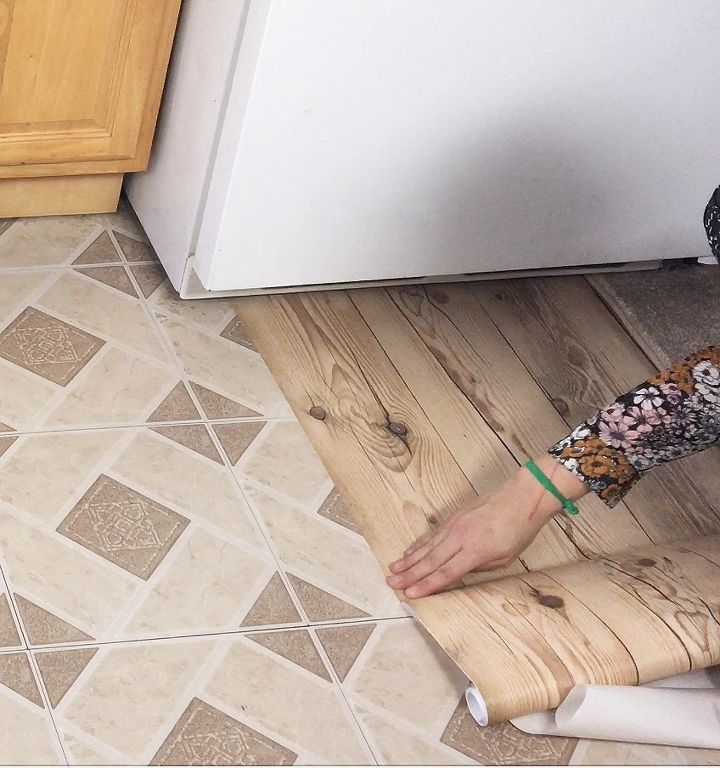
STEP 4: Press down to squeeze out any bubbles Continue unrolling the paper from the backing pressing down as you go and squeezing any bubbles out from underneath with your hands or a credit card if needed. Be sure to keep the strip of paper as straight as possible.
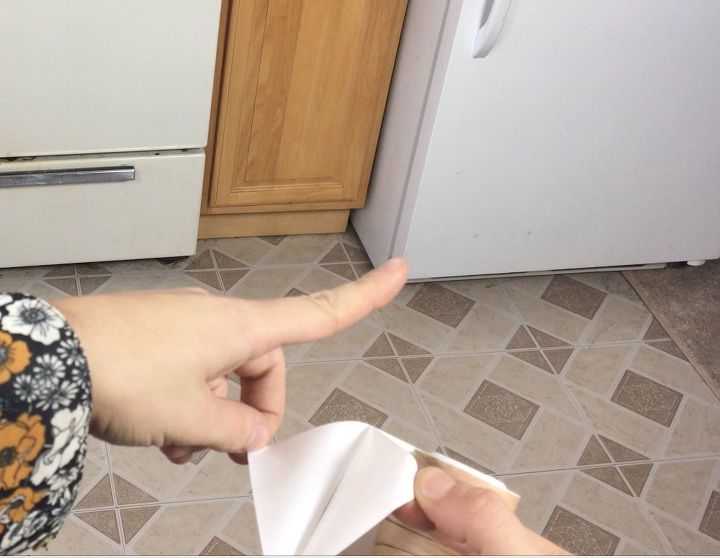
STEP 5: Cut the paper to fit corners For the next panel I was going to run into some corners to cut around. You can either measure and cut out the angle before placing it down, or you can do as I did and cut it once installed. To do this I gave an ample amount to go around the corner and sort of left it flapped up for the moment.
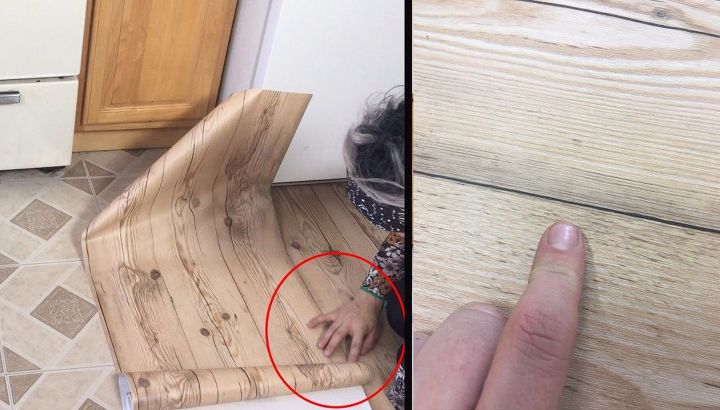
STEP 6: Match up the seams When installing a new panel you will need to make sure the seams meet, so there are no cracks between them. I found it was easiest to line up the seams first before sticking it to the floor completely, so that it was nice and straight and the seams met the whole way down. On the right is a picture of the seam between the panels. It is almost invisible.!

STEP 7: Do the angles and corners last Once the panel is in place it is time to adhere the piece around the angles and corners. I first cut out a small square to go around the foot of the fridge and then pressed the panel in place.
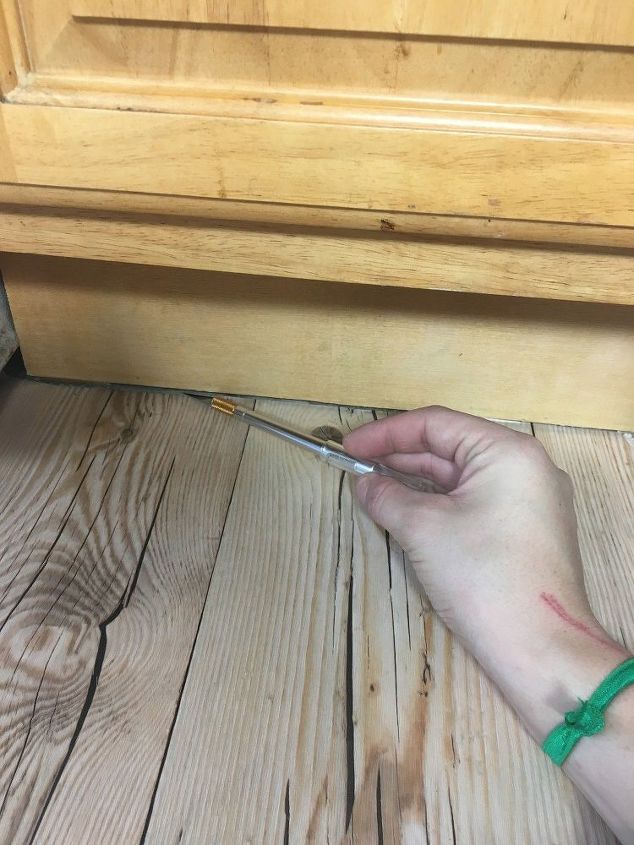
STEP 8: Slice off any excess Because I cut out an ample piece, there was excess that I sliced off at the base of the cabinets with my X-acto knife making sure it was nice and flush with the edge of the cabinets.
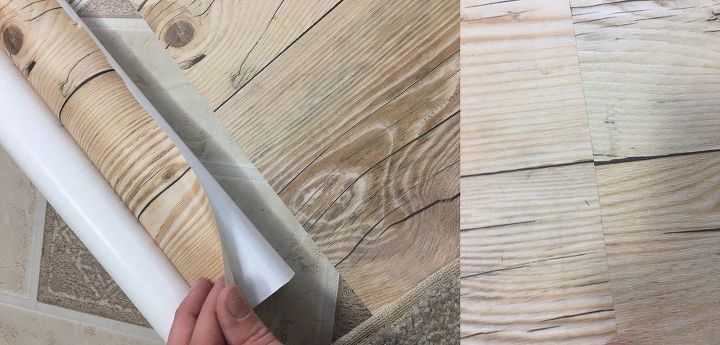
STEP 9: Make sure it all matches up If you run out of long panels and have to piece panel pieces together lengthwise try to match up the grain as good as possible. If you are close up you can see that they don't match perfectly, but as you will see below it is not noticeable from a distance due to the grains in the wood.
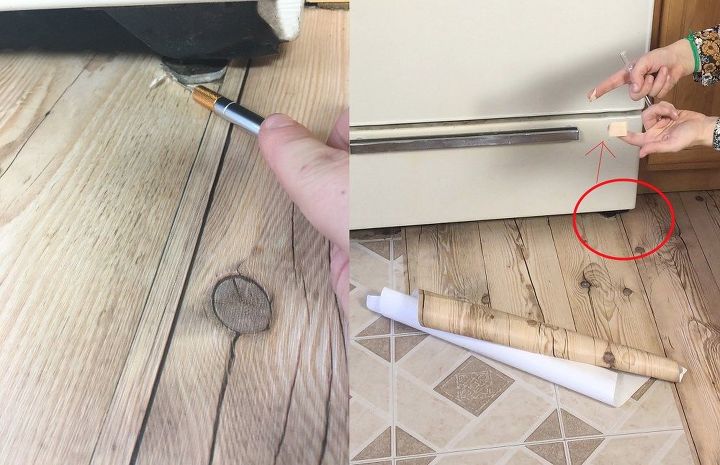
STEP 10: Use your X-acto knife to cut small pieces Use an X-acto knife to cut away any small little pieces that need to fit around small areas such as these oven feet. And then you are done!
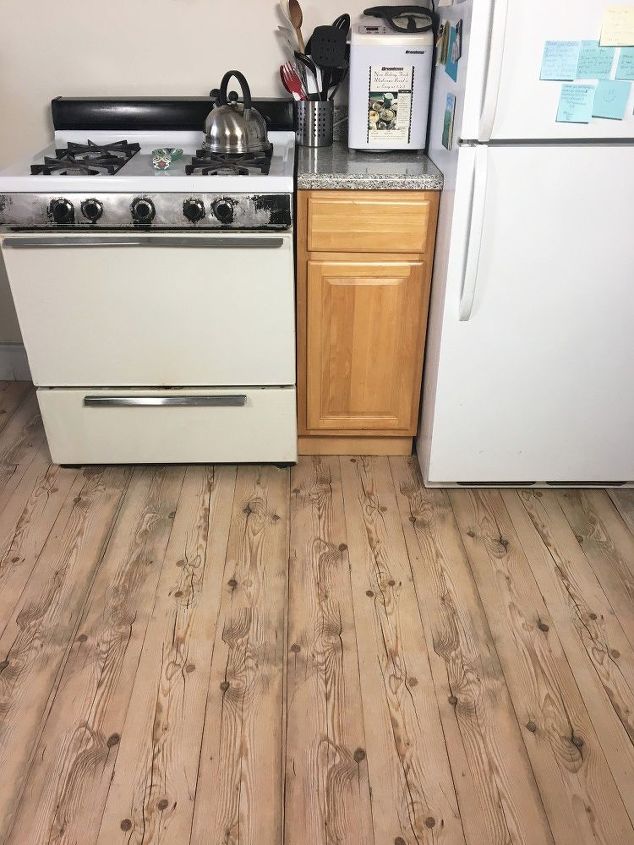
Look how amazing this looks! Seriously my mind was blown with how great this stuff looked! And it has texture so it gives it even more of a realistic feeling.

Look at how crazy of a change! The picture on the left is the linoleum beforehand and it was chipping and installed terribly and got all covered up on the cheap with the beauty on the right.
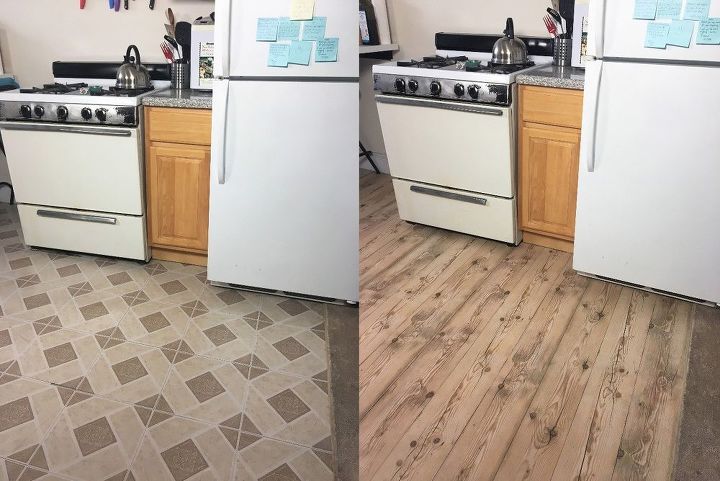
Here is another before and after. Painting the cabinets would probably make this pop even more, but it still has such great charm!
This thing looks good from every angle! I want to install this all over the place!
Comments
Join the conversation
-
LOVE how creative you are!!! Impressed with the look!!! Great job explaining and great gluon showing!!! You are extremely talented girl ❤️Congrats on this project!!!
-
I'm going to try this in my kitchen. Let's see how it goes.


Frequently asked questions
Have a question about this project?
Do you think you could seal this with an overcoat of clear fixative for protection? I'd love to do this in my bathroom, but I can see difficulties with water in the area. I've used this stuff on walls and it works great for that.
Enjoyed your work! If the linoleum has digs or tears, what could keep them from impacting the roll going over it?
how will the contact paper hold up with a lot of walking on it