


DINING ROOM CHALKBOARD WALL
Creating a chalkboard wall (aka blackboard wall) in my dining room has been on the agenda for a while now. Like most things, for a while can sometimes mean weeks, months, years…never?
Thankfully, this project only got dragged out for a few months. But wanna know why it happened so ‘quickly’? Because dear hubby took it upon himself one day to whip out the rollers and just start painting. That’s right, he doesn’t dawdle when it comes to breaking my procrastination cycle.
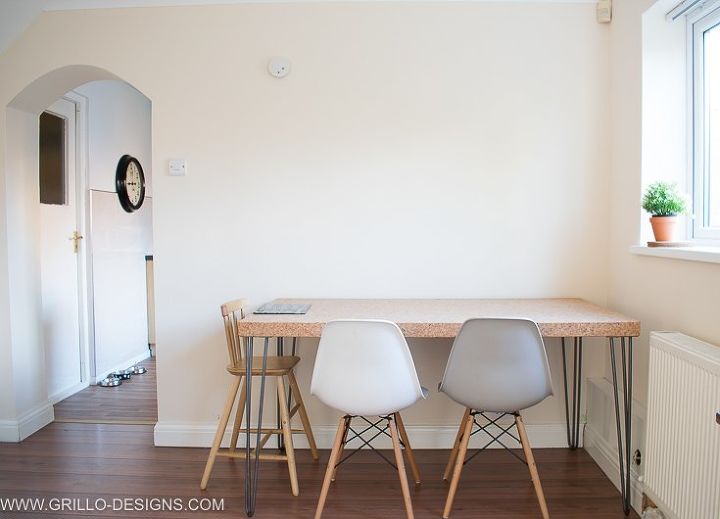
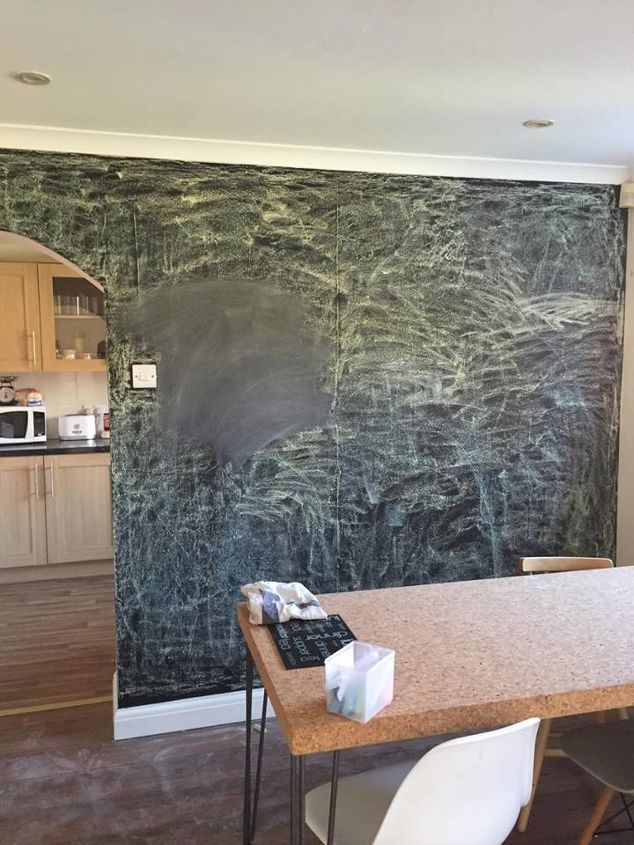
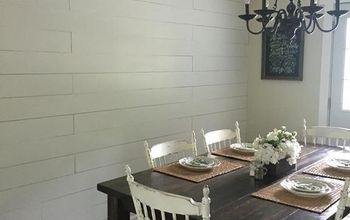
As you can see from the picture below, I chose this wall in the dining room to become the chalkboard. When it comes to decorating I can be pretty bold - just check out my other ROOM MAKEOVERS HERE if you dont believe me!
Thankfully, this project only got dragged out for a few months. But wanna know why it happened so ‘quickly’? Because dear hubby took it upon himself one day to whip out the rollers and just start painting. That’s right, he doesn’t dawdle when it comes to breaking my procrastination cycle.
As you can see from the picture below, I chose this wall in the dining room to become the chalkboard. When it comes to decorating I can be pretty bold - just check out my other ROOM MAKEOVERS HERE if you dont believe me!
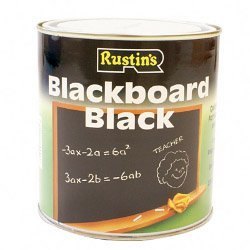
This is the product we used to paint, but you can also use the rustoleum brand!
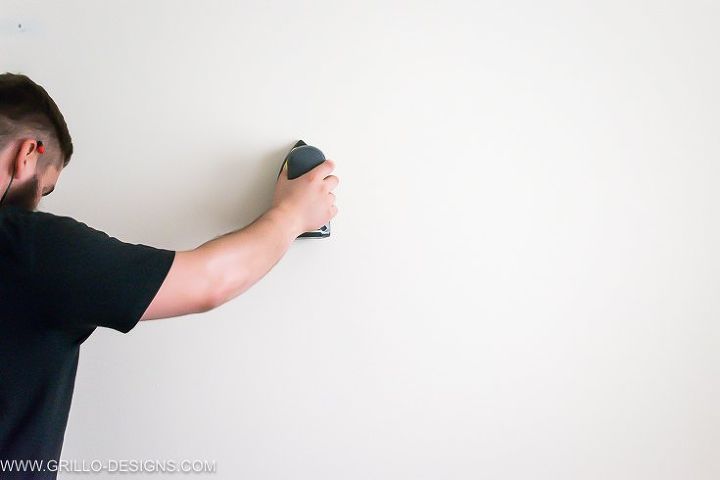
First we prepared the wall by sticking tape around the edges and then we sanded the whole wall down .The sanding can be done with a sanding machine or a sanding block. No brainer to which one we decided to use
Next the painting itself! We did the edges first and then the middle..how do you paint normally?
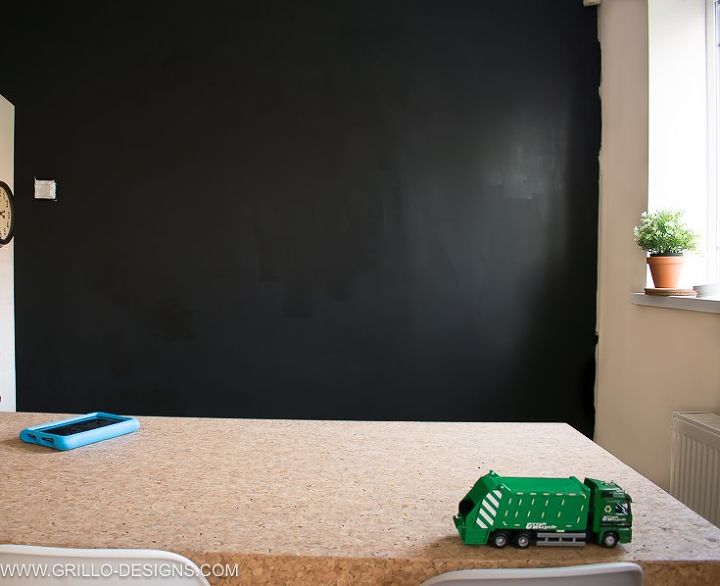
Once it was all done we seasoned it :) Truthfully, I had no idea about this step until about a month prior to this but basically it ensures things you write on the wall are permanently erased when cleaned as opposed to it just looking ‘faded’
And this is the end result! You can see more AFTER pictures of the whole dining room area at the blog link below
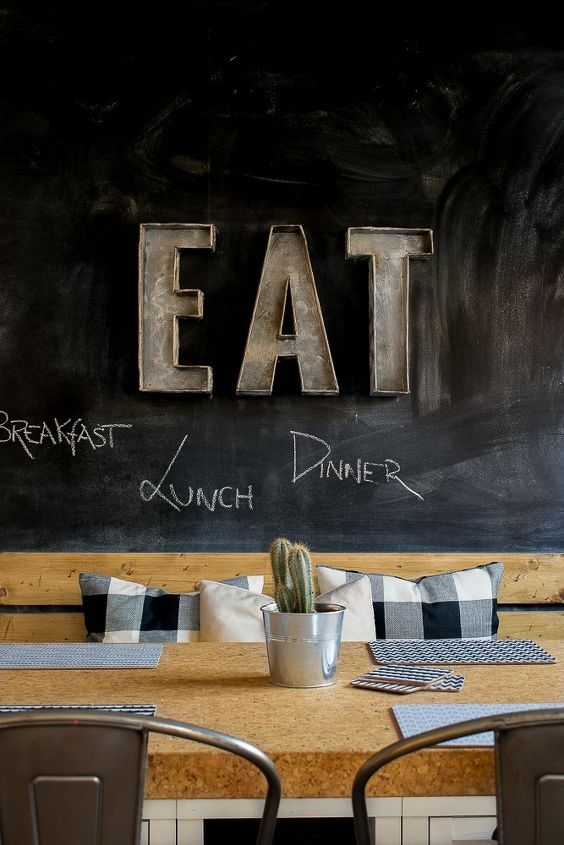
Do you remember those FAUX METAL LETTERS I made from cardboard? Well I stuck them on the wall too :)

Want more details about this and other DIY projects? Check out my blog post!


Frequently asked questions
Have a question about this project?