


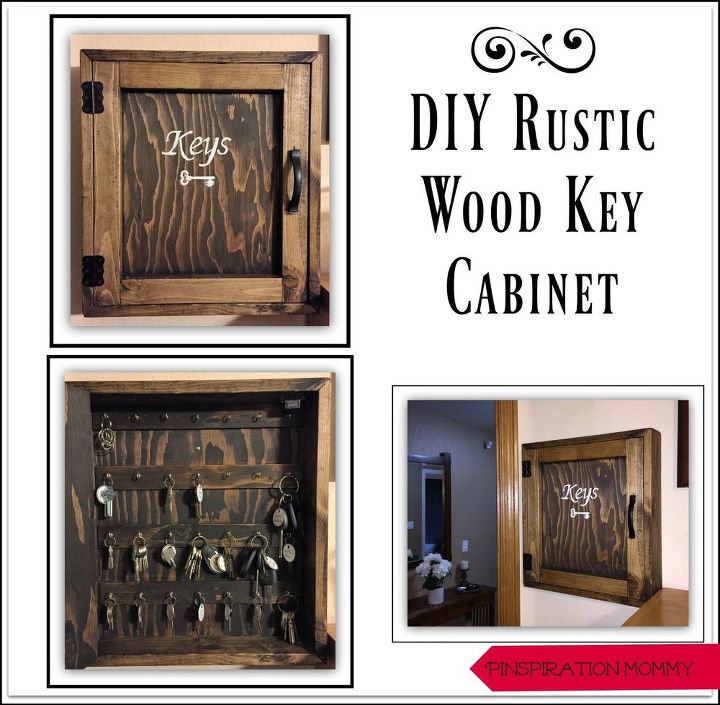
DIY Rustic Wood Key Cabinet
1 Material
Several months ago, Hubs mentioned that he would like to have a key cabinet to store all the random keys that were strewn throughout his desk drawer. So, I filed that information into my brain as a future gift idea. Well, I decided to pull it from my brain archives just before Christmas (and I do mean just before – started this project two days before Christmas and finished it up the next day, leaving me just enough time to wrap it on Christmas Eve!) Whew!
Here are the abbreviated details for how I built this cabinet. For full instructions, please visit my blog at the link below.
Here are the abbreviated details for how I built this cabinet. For full instructions, please visit my blog at the link below.
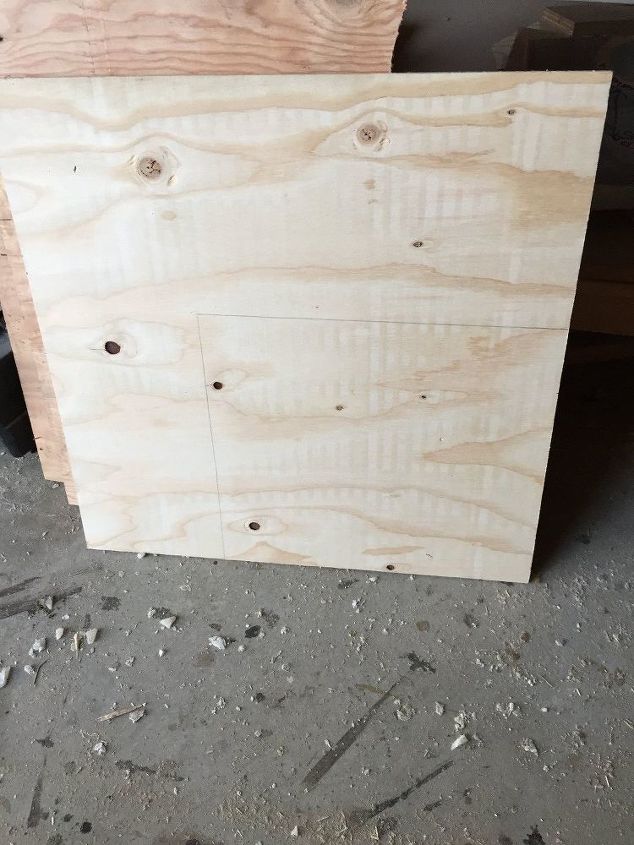
Using a circular saw (and a Kreg Rip Cut if you have one – really helps to ensure a straight cut) or a table saw, cut out the plywood backing to size.
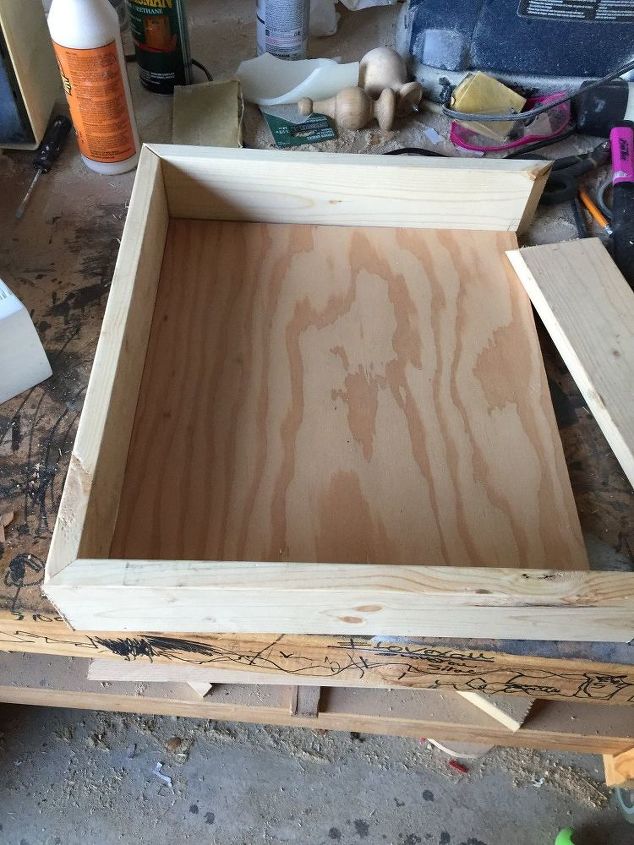
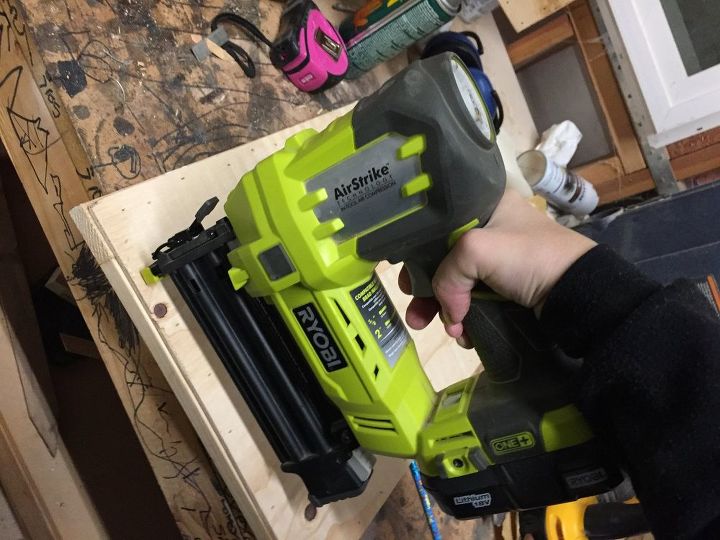
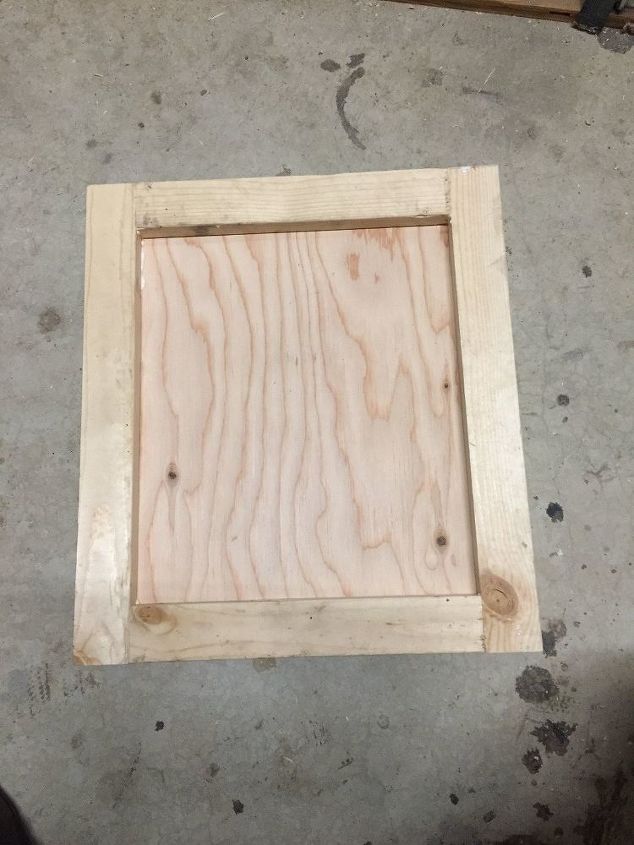
Next cut the 1x4 boards (miter the ends at 45 degrees) to make the top, bottom, and sides of the cabinet. Attach the the plywood backing using wood glue and brad nails.
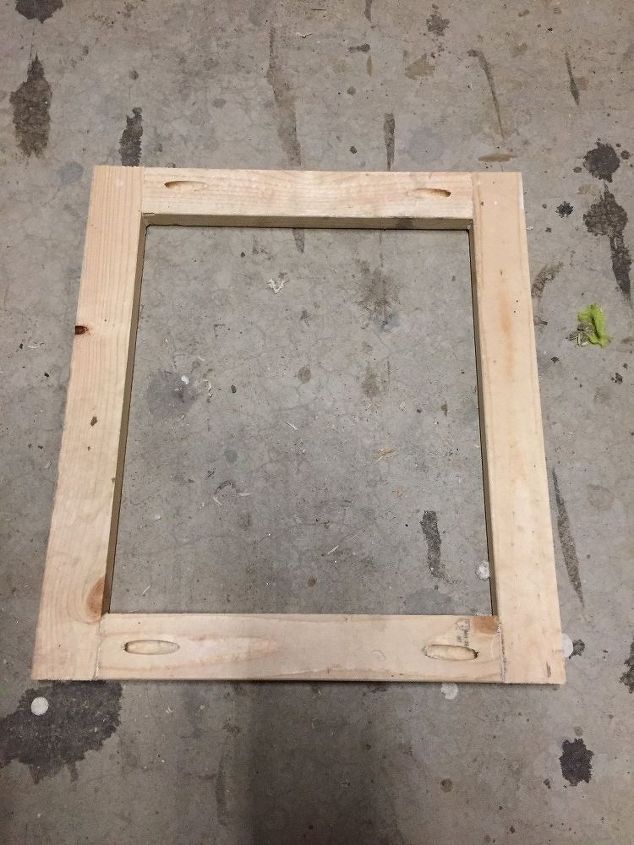
Now that the main cabinet box is built, time to build the door. Cut the 1×2 boards to size to create the tops and sides of the door frame. Drill 3/4″ pocket holes into each end of one side of the top and bottom boards. Assemble the cabinet door frame using wood glue and 1 1/4" pocket hole screws.
Now, using a circular saw or table saw, cut a 1/4″ piece of plywood to the proper size. Use wood glue and 5/8″ brad nails with a nail gun to attach the 1/4″ plywood board to the back of the frame.
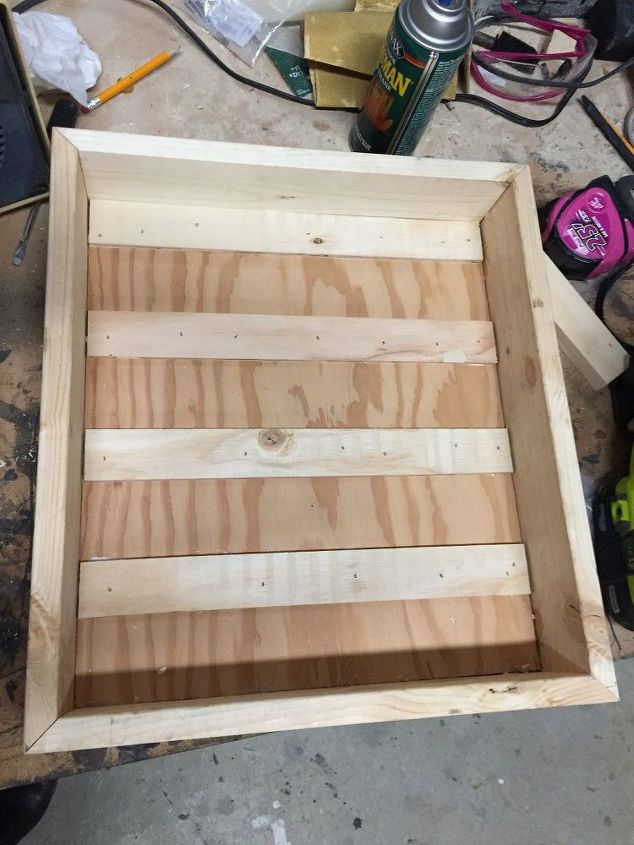
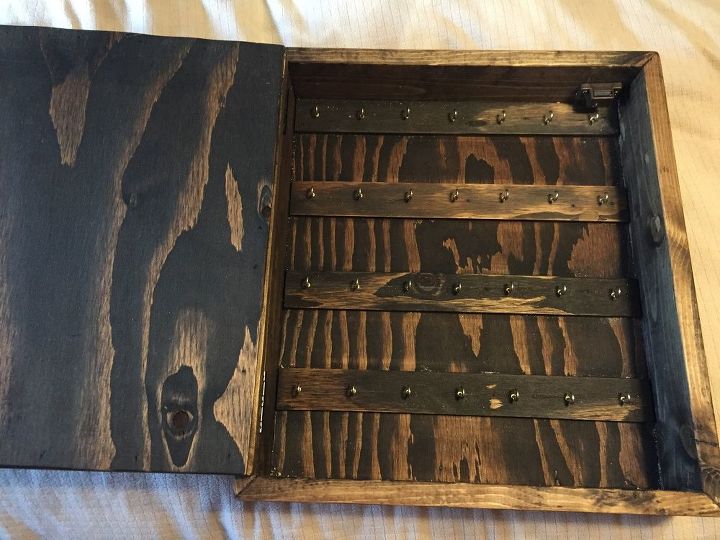
Now, cut four 1/4″ plywood strips to size and attach them to the back of the inside of the cabinet with wood glue. The first strip will be flush with the top of the inside of the cabinet and the additional strips will be 2 1/2″ apart.
Sand the cabinet box and door until smooth and then stain with the color of your choice, I used my goto fav – Minwax Dark Walnut.
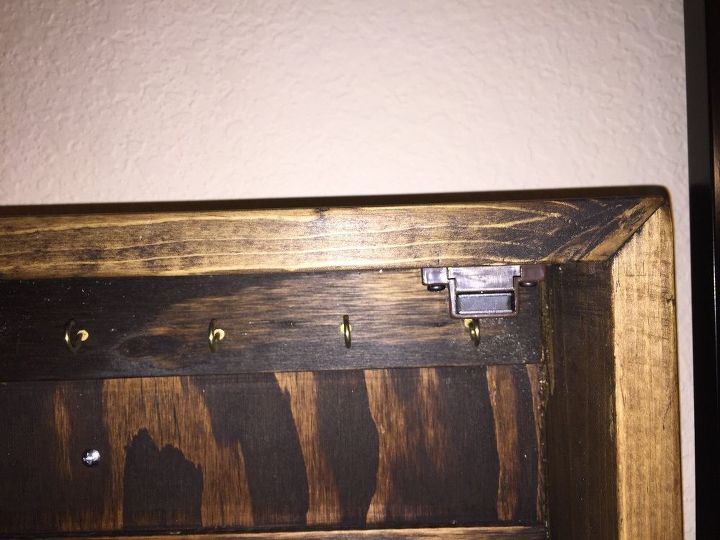
Almost done! 🙂 Time to add the hooks to hang the keys from. Using a ruler, I first marked the location of where each hook should go. I added 7 hooks to each row. I aligned the hooks in the center of each of the four strips of wood and predrilled the holes with a very small drill bit before screwing in the hooks.
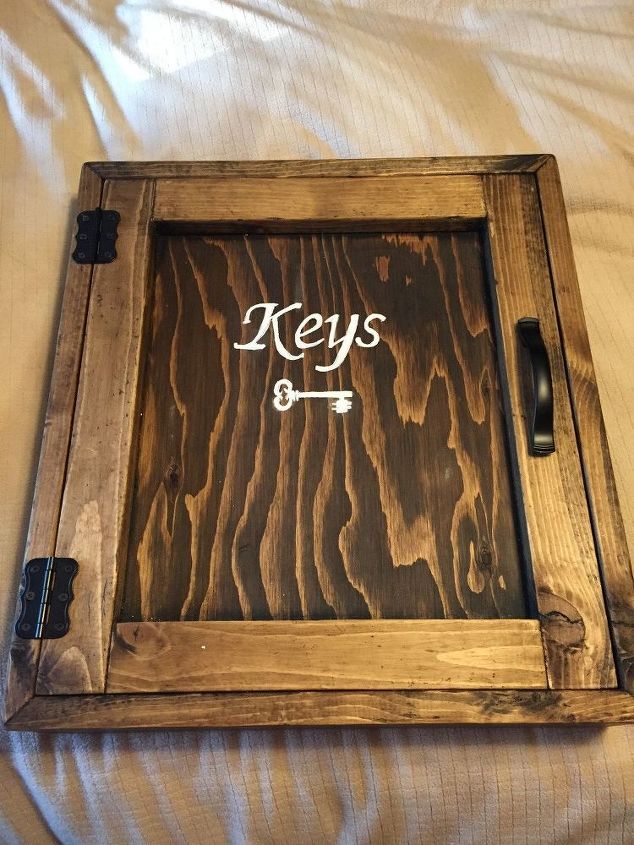
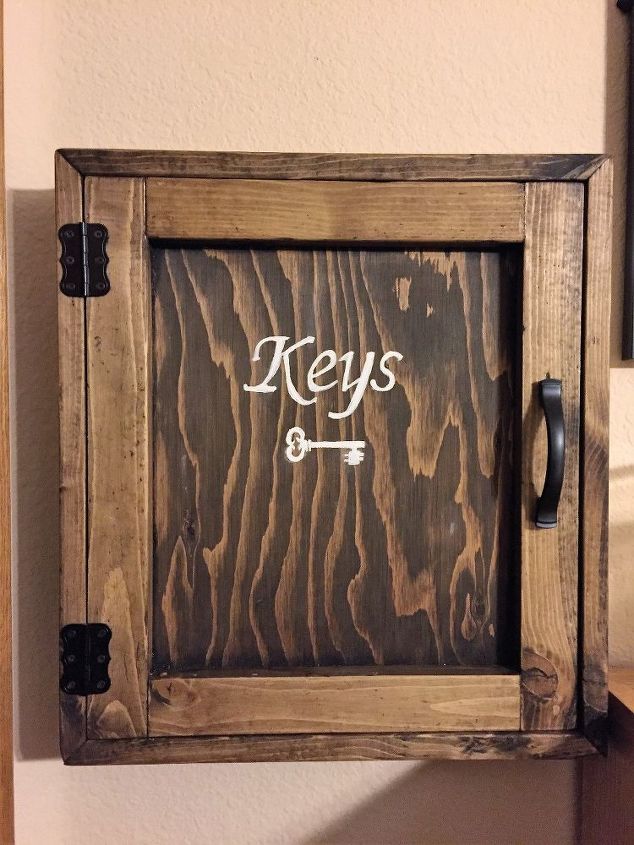
The final step I did is not necessary, but I thought it added a little flair to the cabinet. Using a font I liked and a picture of an old-fashioned key, I printed out these designs and traced them onto the cabinet door. I then used a white paint pen to fill in the lettering and key picture. Here is a pic of the completed cabinet just before I wrapped it and put it under the tree for Hubs:
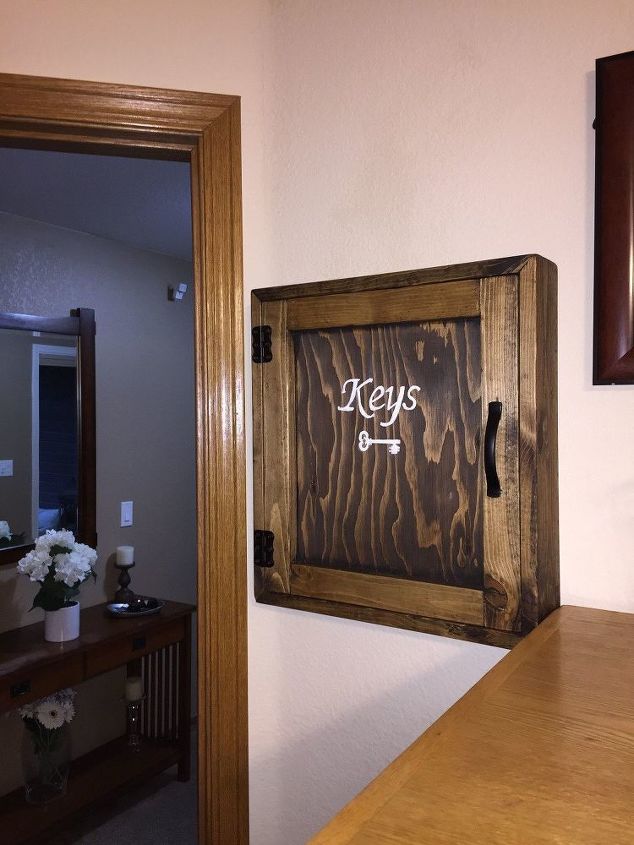
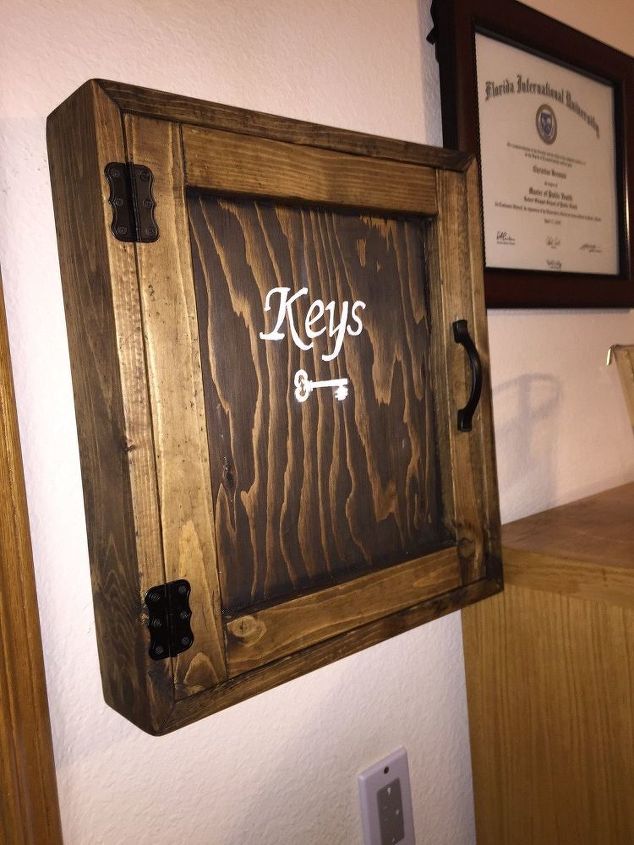
Hubs hung the key cabinet inside our office next do the door. Here are some pics of the cabinet in its final location.


Want more details about this and other DIY projects? Check out my blog post!
Comments
Join the conversation
2 of 6 comments
-
Well Done! You've got a lot of keys!
-
I bought excellent handbook from woodprix website. Just google woodprix and make some dust.


Frequently asked questions
Have a question about this project?