


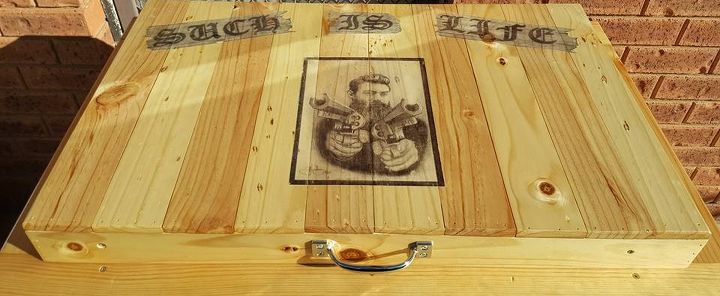
Image Transfer Onto Wooden Chest (do's & Dont's)
2 Materials
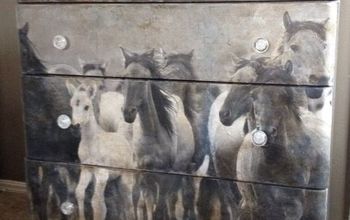
I know what you are thinking, NOT ANOTHER IMAGE TRANFER TUTORIAL but this is a bit different from other methods because the image is in the centre of the wood which creates a whole new set of problems. I search the Web for a way to do this but none of them worked so hence this tutorial.

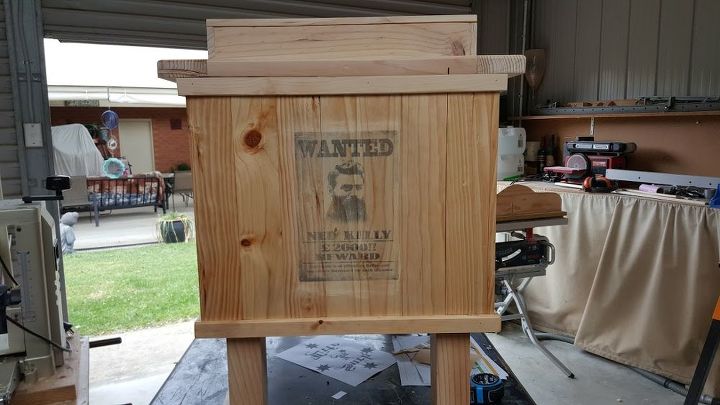
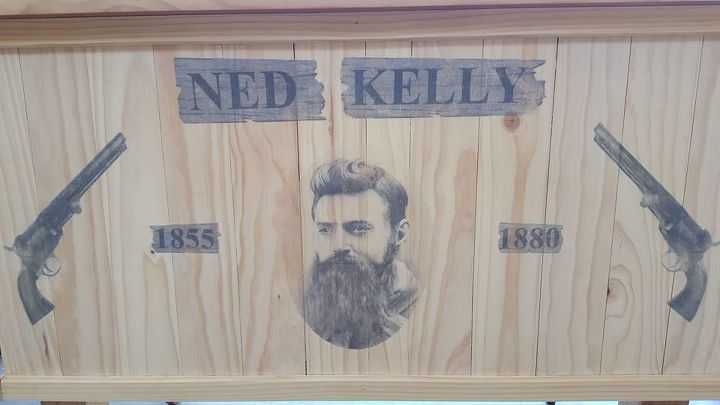
Ned Kelly Outdoor Cooler
Ned Kelly Outdoor Cooler
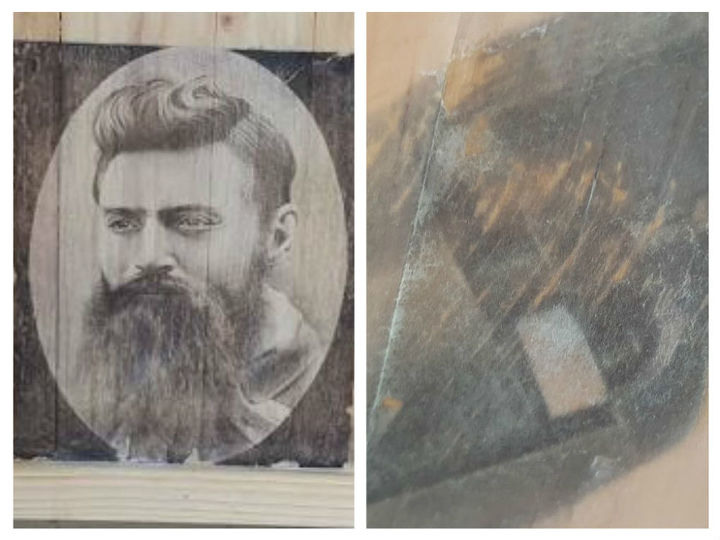
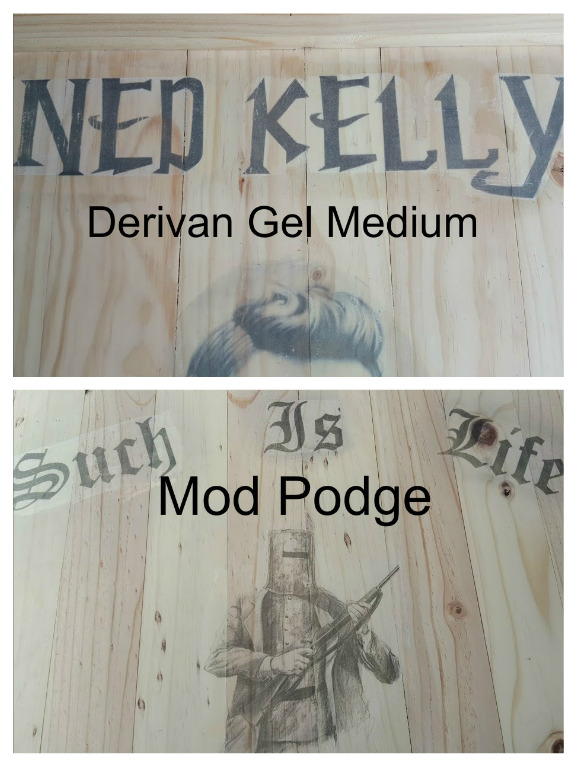
This was the main issue I had with my project. While the image transferred ok, once the varnish was applied the gel medium showed up and my project looked messy. Many of the graphics I wanted to add were small so I had to come up with a way to stop the gel from appearing outside the image. And when the paper is rubbed off the ink from the image smudged onto the wood causing a halo around the image, which looked messy
Gel Medium shows up when varnished
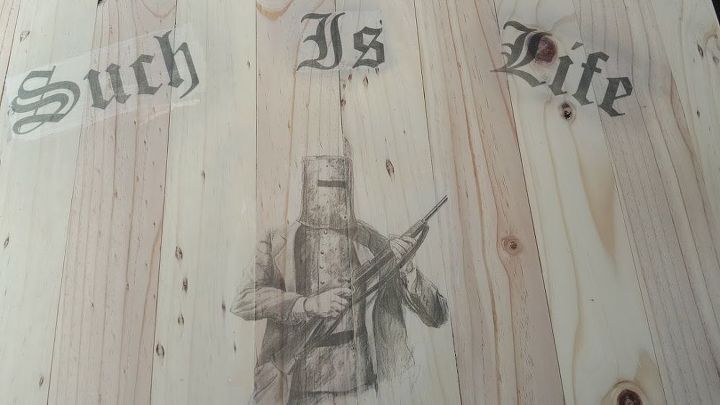
Ink smudges from rubbing off paper
SOLUTION: I used a laser printer and reverse the image using lunapic which is free online. I positioned all my graphics where I wanted them to appear and used masking tape to tape up all the edges so that the wood was protected.
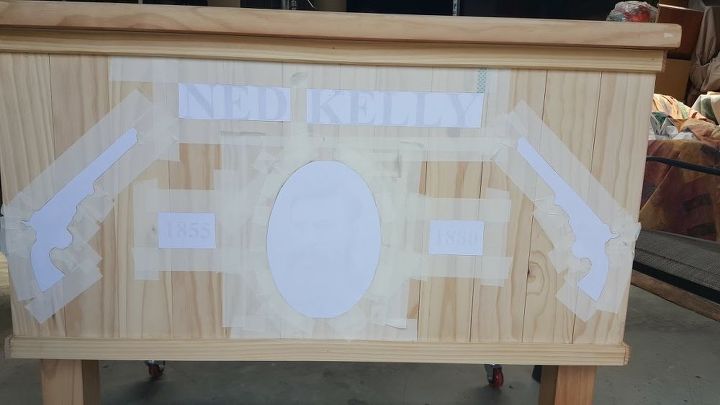
Masking Tape around images
SANDING: I am not a fan of the rustic look and wanted all my images to be as crisp as possible. If your wood is sanding to smooth the gel does not seem to adhere to the surface and rubs off and same if the surface is to rough. I sanded up to 320 grit
Surface to smooth or rough
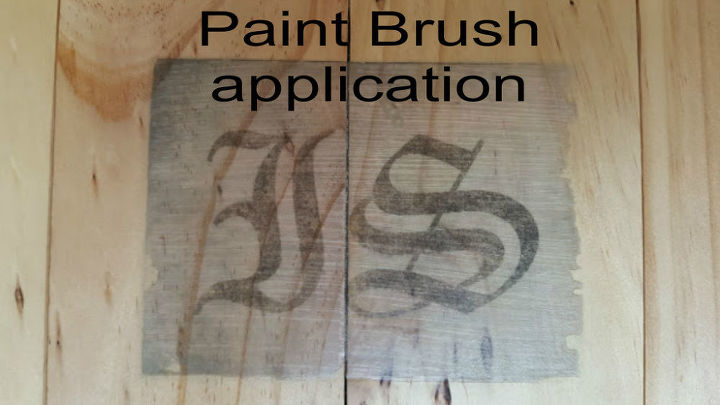
TEXT: The next issue I came across was any text with a clear background did not work. I tried a four different gels and all had the same problem, some more than others. To solve this issue I added a background to the text and used the tape on the edges again.
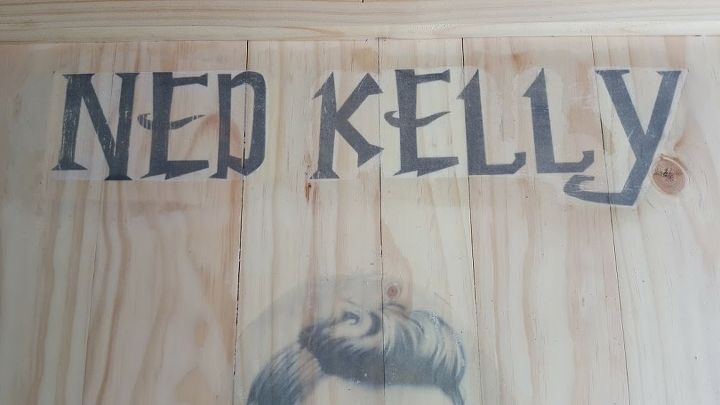
Gel medium background
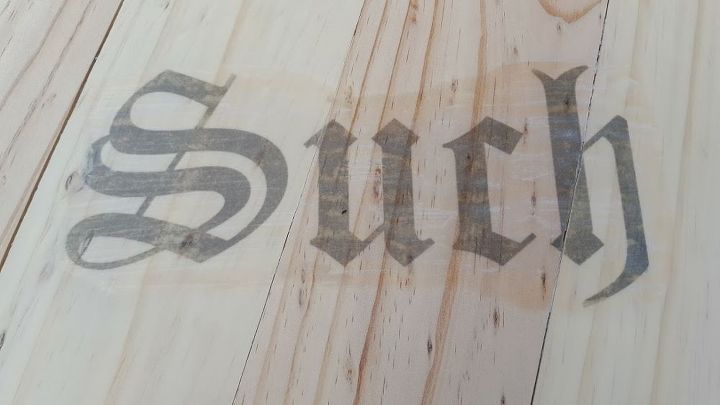
background added
APPLYING GEL: I tried a few ways to apply the gel and found using my fingers to smooth the gel gave it a smoother and better look. Using a brush or sponge pad left streaks which did not look good. I painted the inside of the tape with the gel medium making sure all the inside had an even coat. I found putting the gel on the small graphics like the pistols made them to soggy and they kept tearing. Smooth over gently with your hand. Gel must dry for at least 12 hours. Dont be tempted you will regret it.
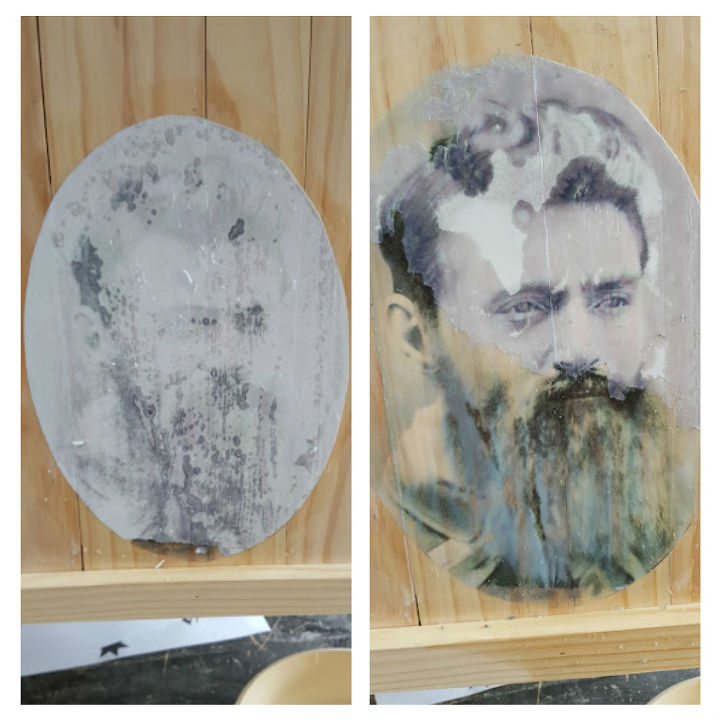
I redid this project so many times and found that if you push a wet cloth onto the image until you can see the image and then wait about 5 minutes before you start rubbing the paper rubs off easier with out loosing ink from the image. Do not soak your image the image, when I used mod podge the image turned white and the ink wiped out. Always rub from the inside out so the gel on the edges don’t lift and ruin the image. Don’t try and remove all the paper in one go, remove a layer and let it dry then repeat again until all the paper is removed. This takes time do not rush.
REMOVING GEL: My best advice is to try and get it right first time. I tried sanding the gel off, but the friction from the sander softened the gel and it because sticky glue that was very difficult to remove. I used a cloth soaked in thinners and spent ages rubbing it off.
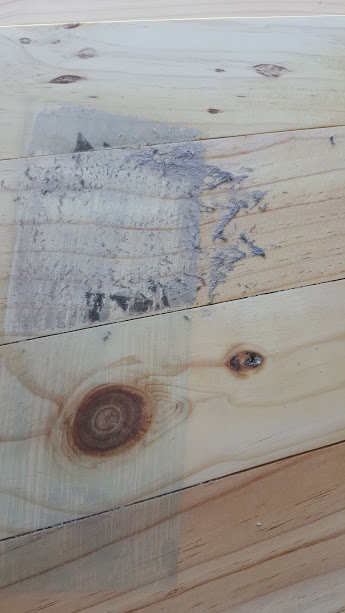
Remove Gel with thinners
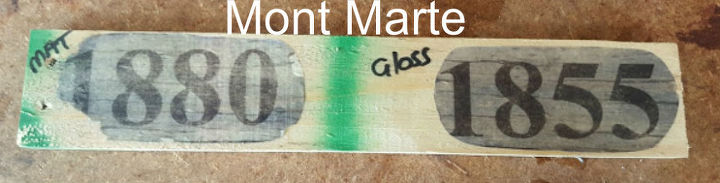
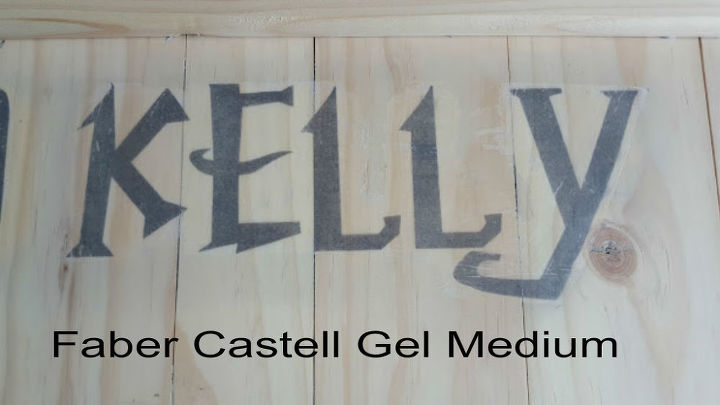
These are the products that I tried. The final one that I found worked best for my project was the Faber castell. It was thin and easy to work with but the images were not as bright. Mod podge held the colour the best so think if it was used on an edge to edge project this would work great. The derivan gel for me was far too thick and hard to get an even coat. And the Mont Marte Gel was the cheapest of all the gels and worked fine. I finished off my project with 2 coats of Clear Polyurethane
Hope you found this useful, I would of loved to have know some of this before I tackled this project..
To see the finished Patio cooler http://www.hometalk.com/diy/build/furniture/ned-kelly-themed-patio-cooler-25651722

Want more details about this and other DIY projects? Check out my blog post!
Comments
Join the conversation
3 of 6 comments
-
Thanks William, did learn alot from my many repeats
-
I really appreciate this. I have many "new" TG mediums and I did exactly as they say and very carefully remove as directed and found bleeding and some parts completely rubbed off. Thank you for these very informative tips!


Frequently asked questions
Have a question about this project?