


Board and Batten Bathroom!

A few years ago, I decided to tackle our smaller bath and give it an updated look. Before my husband left town for the north woods (again), he removed the vanity and toilet for me. The hubster likes to leave me alone when I have a project in the works. This tends to work really well for us, lol.
Best paintable baseboard!
He took out the vanity so darn fast (in a hurry to go up to the cottage) that I didn't get a chance to get a picture of that basic big box of a vanity, complete with a shell sink.
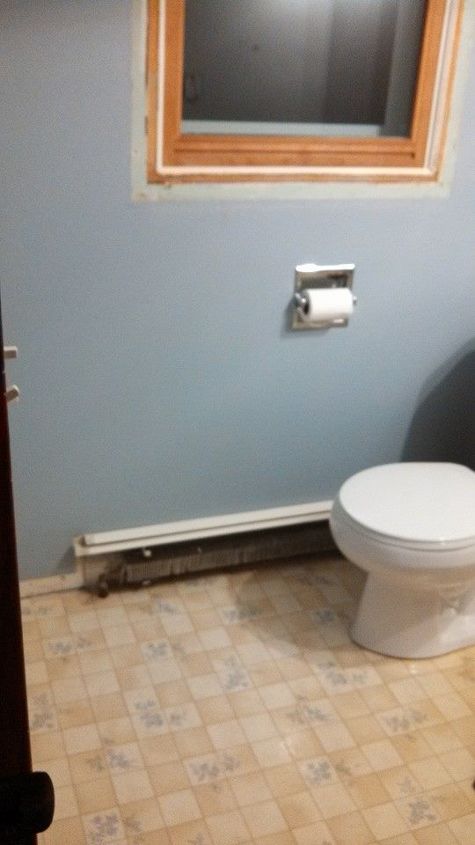
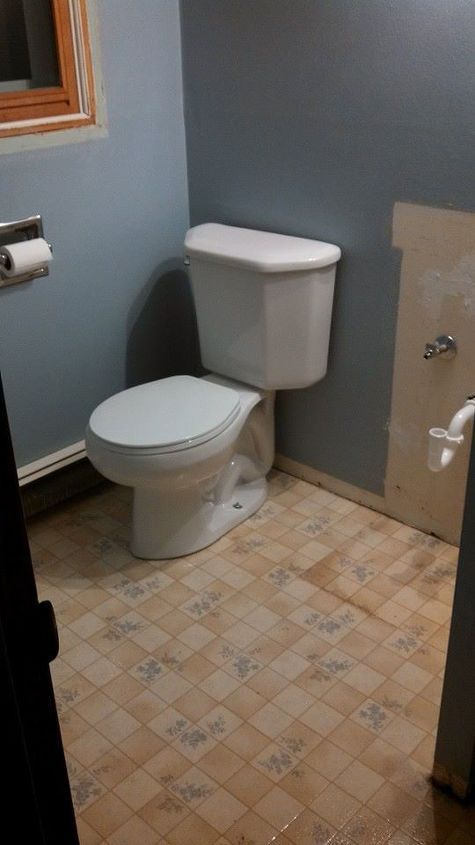
Yes, this linoleum must go!
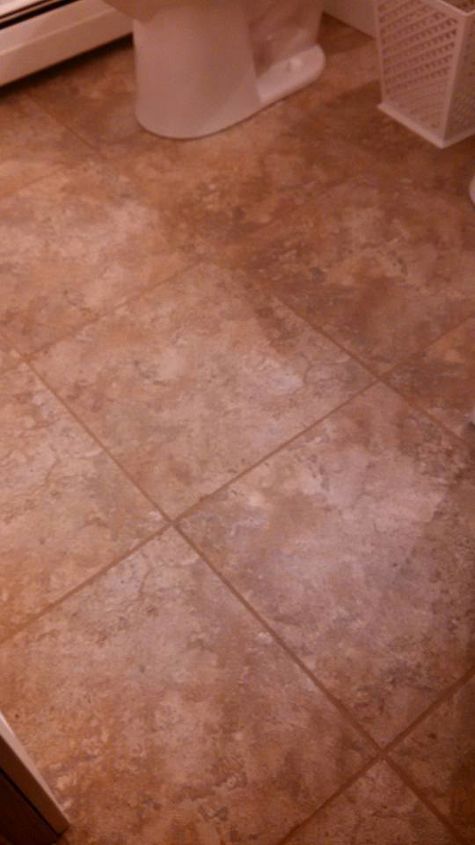
The new flooring is vinyl tile that I glued down on top of the linoleum. That's right, on top of it. I cleaned it up really well and went to town with the glue, spacers and later grouted. This stuff is awesome to work with. I would heat it with a hair dryer and cut out pieces that needed trimming and specific cuts with a utility knife.
My apologies for this tutorial that really isn't a tutorial. When I am in the zone of doing something, I totally forget to take enough pictures.
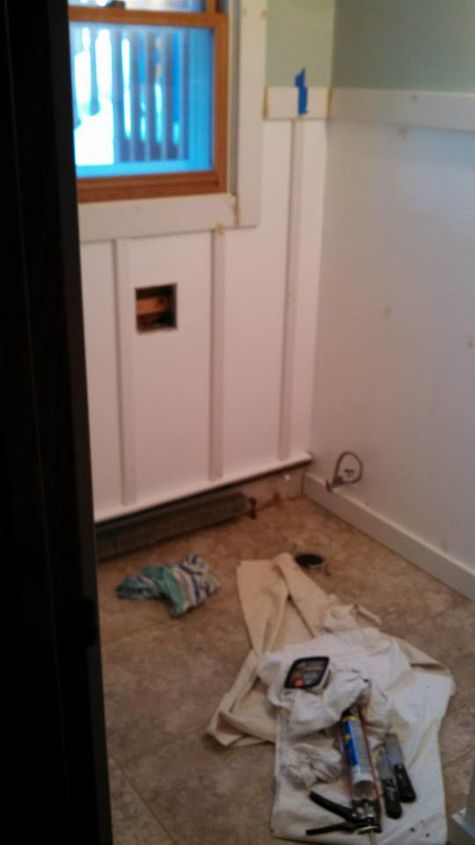
The boards I used are primed MDF boards that I bought at Home Depot. Baseboard and top board are 3.5 in. and the vertical boards 1.5 in. Using the nailgun, I attached the boards to the walls.

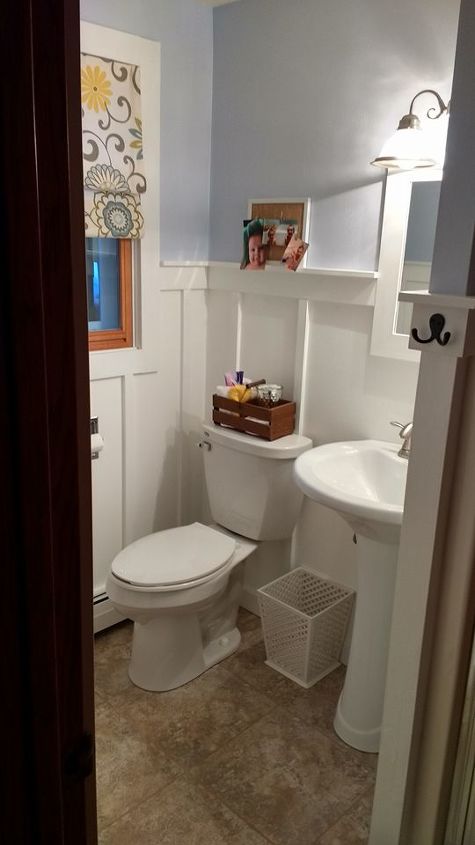
I caulked all the seams, waited until the next day then had fun painting. Now for all you painters, yes, in the one picture you can see it looks a wee bit greenish. I painted the upper part and WHAT, I didn't like it! I ended up with soft shade of blue on top and white on the bottom. I am sorry, I don't have the paint anymore and don't know what the actual colors are.
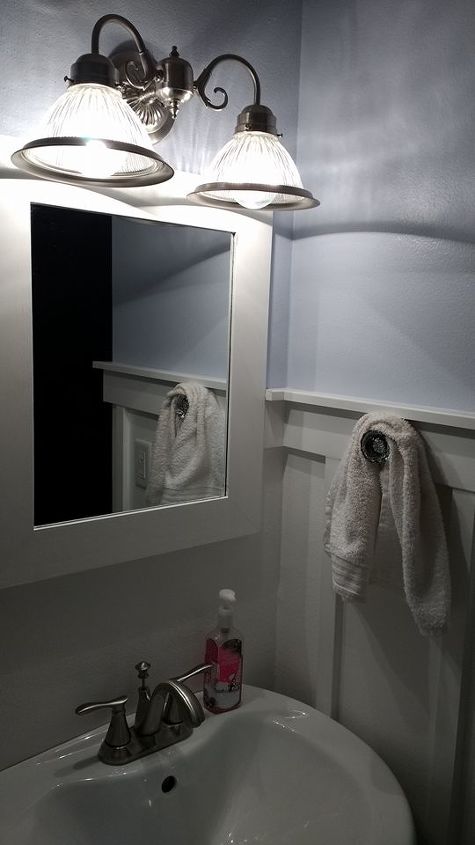
I had this mirror in my stash of stuff and it worked perfect for the look I was going for.
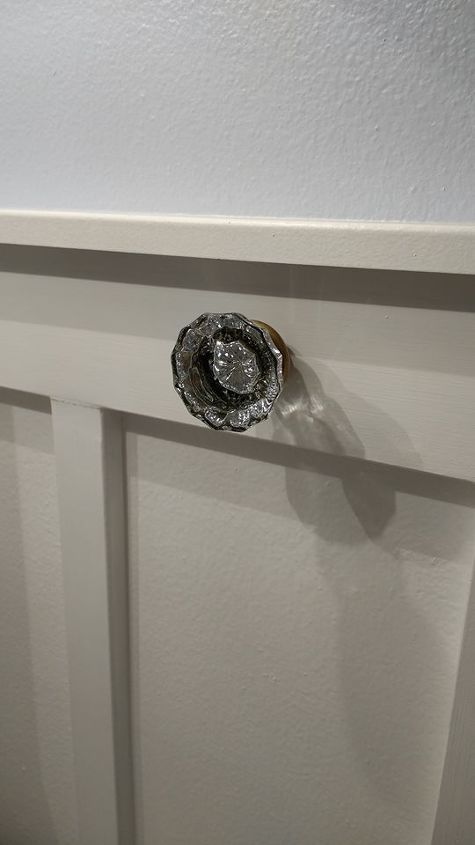
This is a vintage door knob that I also had in my stash. I drilled a hole into the board and using a square piece from the hardware store, I was able to tap the square piece into the hole and the knob fit perfect.


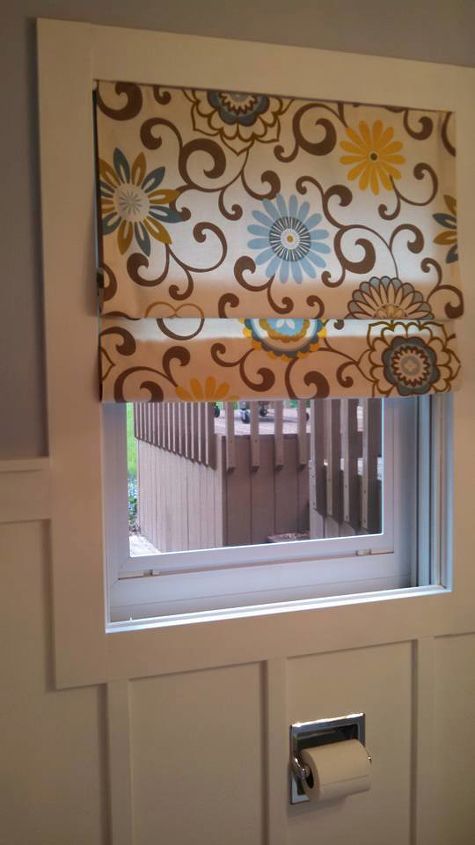
Here is the easiest Faux Roman Shade that anyone can make!
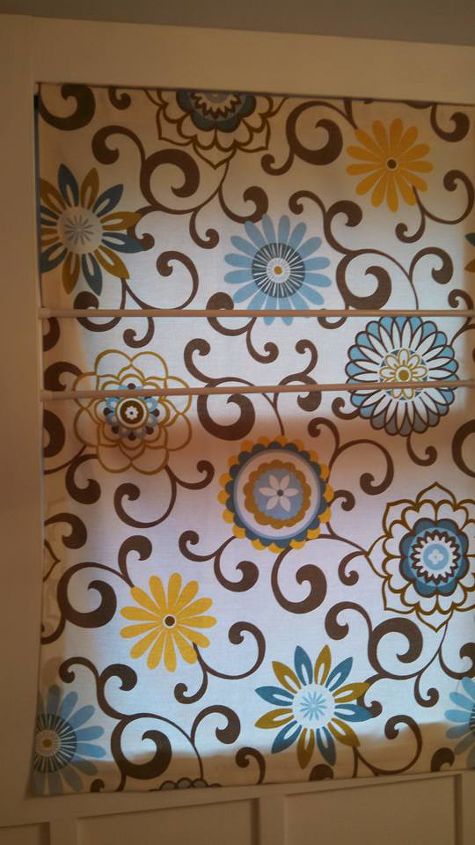
Did I mention, there was no sewing involved?! After measuring your window and cutting the fabric, I used Stitch Witch to iron on the fabric to make the pocket for the rod and hem. This stuff works awesome!
I bought three extension rods (if you want more loops, buy more rods) and looped the fabric to make my faux Roman Shade.
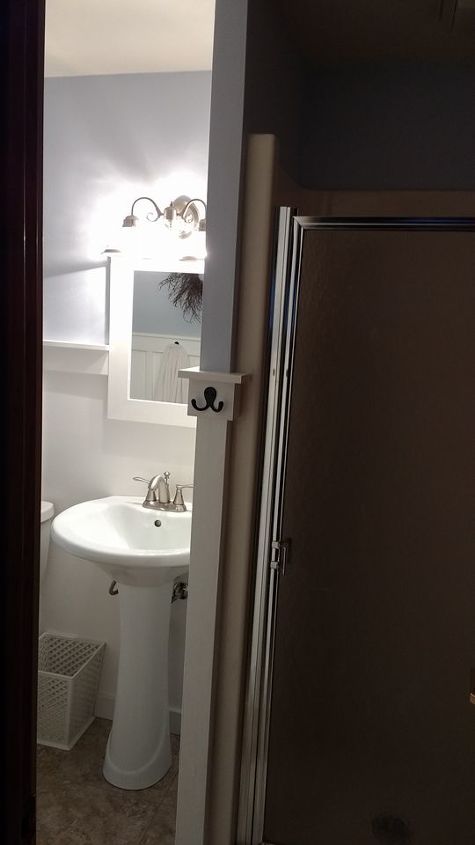
When we bought our home in 1983, we only had one full bath and at the time this was a powder room. There was a closet right next to this bathroom and our handy man was able to find us a small shower that fit in here.
P.S. This is bad lighting, but the shower is white (looks like almond in this picture).
Speaking of almond bathrooms, did I mention that my upstairs bathroom has an almond toilet and tub...Yup, that bathroom is on my to do list!!
Comments
Join the conversation
-
You are very lucky that your husband leaves you to get on with jobs. Mine used to stand and criticize, until I told him, if he could do any better to get on with it himself, consequently, it NEVER got done - Ugh.
-
I want to know how I can make over my rectangular small bathroom.
It has a bathtub and the bathtub and toilet sit is on the same side the only space I have is behind the 🚪. I need diy ideas please kindly help me.


Frequently asked questions
Have a question about this project?
Do you have more explicit instructions for the faux Roman shades?
Where do you get board from that are on the walls
What is the surround under the pedestal sink?