


$12 Paint Storage From a Hobby Lobby Small Natural Wood Pallet

by
Stacy Davis
5 Materials
$12
45 Minutes
Easy
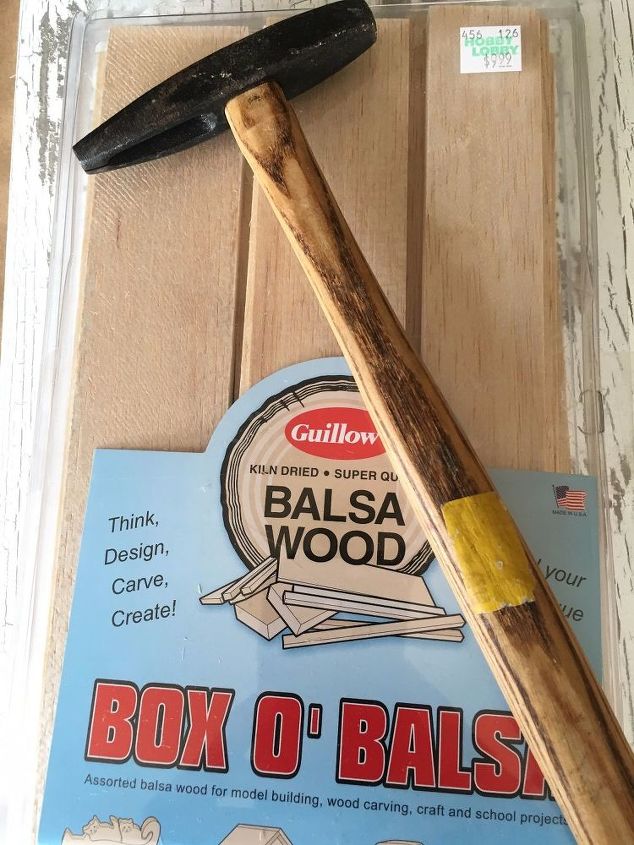
$12 dollar paint storage and less than an hour of your time. I am so excited to share this project with you. It is an affordable way to store all those little bottles of craft paint. All in, this project was only $12. I brought my husband to Hobby Lobby, so we could each use coupons on the two items that I needed. But, Hobby Lobby quite often has a sale on their wood pallets so keep your eyes on their ad. I bought the small wood pallet, which was $6, and my husband bought a Box O Balsa which was $6, both of these prices are after coupons. The Box O Balsa is life changing for me. I will be sharing more storage ideas with my leftovers. Some of the thin Balsa pieces can be cut with scissors but you will need a small saw for the thicker pieces, I recommend the manual miter box (around $15).
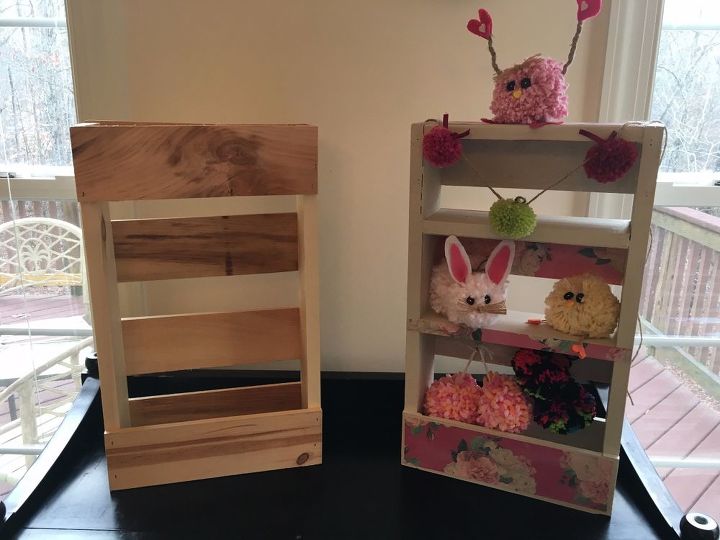
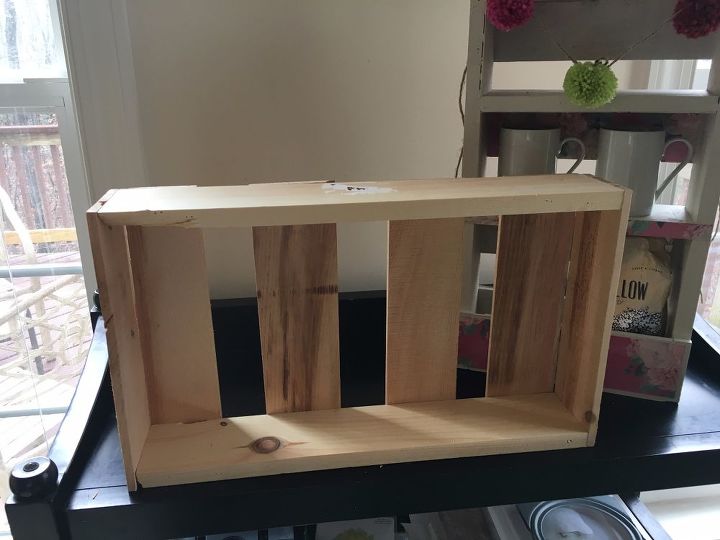
The pallet on the left, is an unfinished small wood pallet from Hobby Lobby. On the right, I used it to make a small shelf. (By the way, I am loving the new poster board that comes in patterns, by We R Memory Keepers... Kate Spade inspired patterns, reclaimed wood and shabby chic.) While I was making this shelf, I realized that this pallet would solve my paint storage problem.
For my purposes, here is the back view... but I am pretty sure Hobby Lobby has this as the front view.
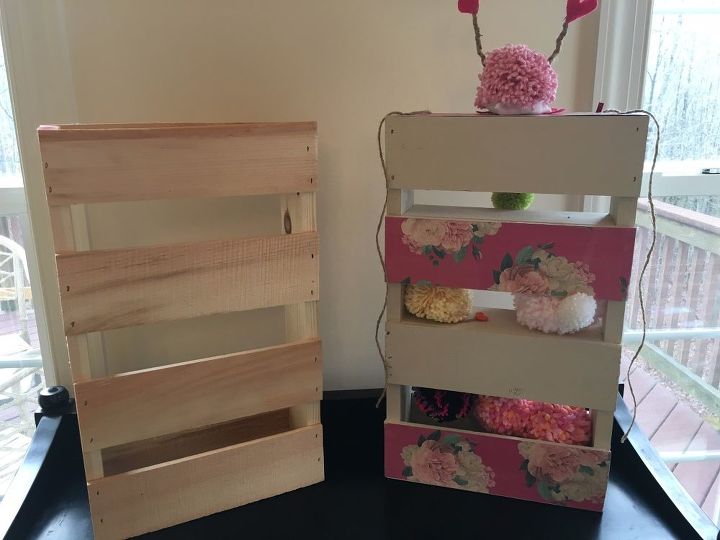
The first thing that I did was remove the top panel and nailed it to the top, instead. (On the right, I was playing around with a coffee bar idea.)
Then, I removed the bottom panel. If broken wood scares you, this might not be the project for you. Any time I had something splinter, I just shrugged and said "That just makes it rustic." Then I nailed the bottom panel to the bottom of the pallet.

My crate had some existing damage but I was able to cover it up. You might want to look your piece over more carefully before you buy it.
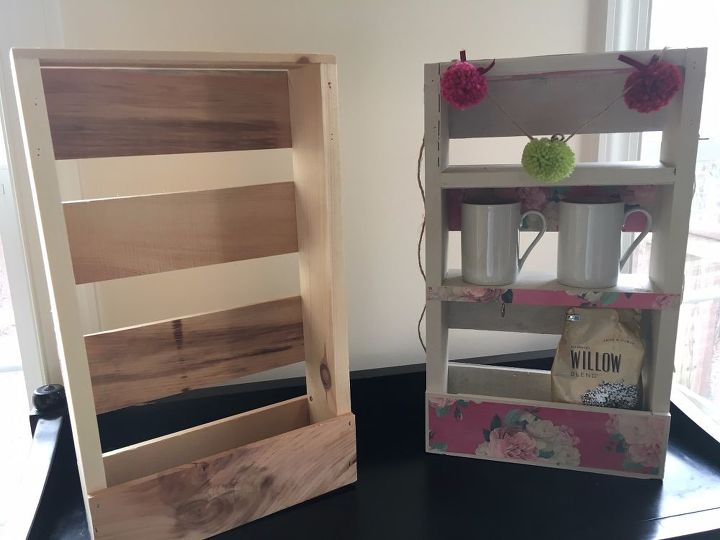
You can see how I added the pieces, that I removed, to the top and bottom in this picture. This is where I turned it on its side and the light bulb went on. All the plans that I had in mind for this shelf went to the wayside.
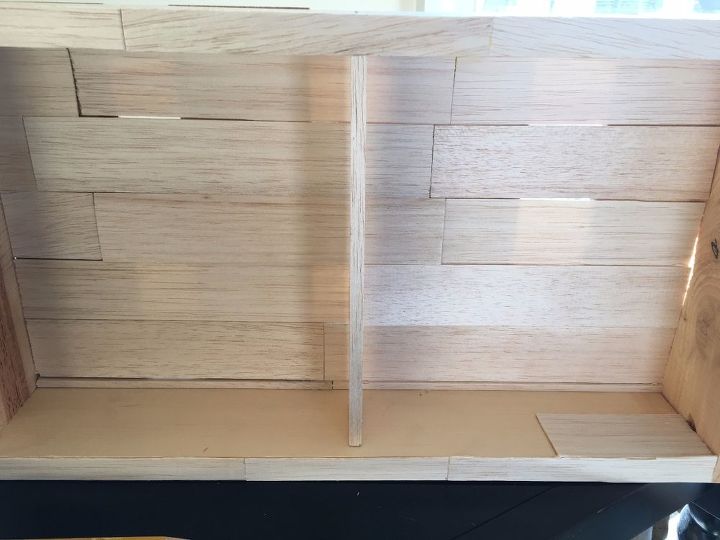
I decided to use thin sheets of balsa wood to cover the opening in the back so that my paint bottles wouldn't slide through.
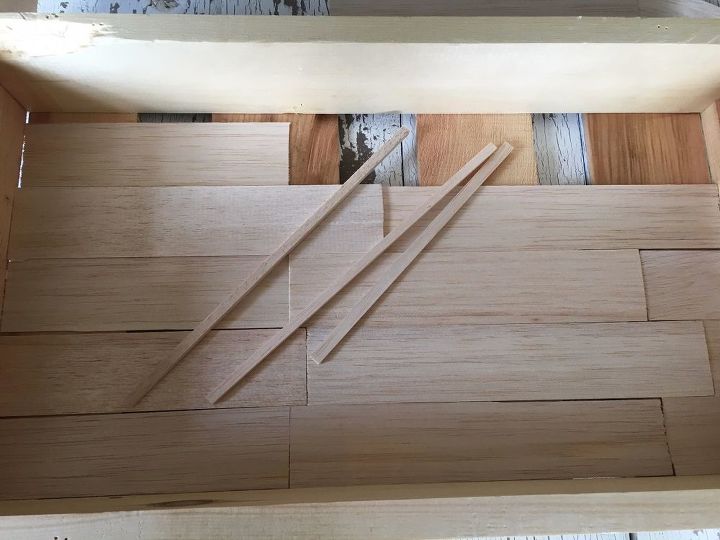
I didn't have enough of the super thin to cover the whole back so I used a combination of the two thinnest slats. Happy accident, those sticks are that size, right out of the Box of Balsa and they cover the small space at the top pretty well. I used a scissors to cut these thin pieces but the thicker pieces require something a little more. I glued them in place and tried to stagger them so that the ends always ended on an existing slat for stability. But on the last two rows, I decided it didn't matter and just ended them where they ended.
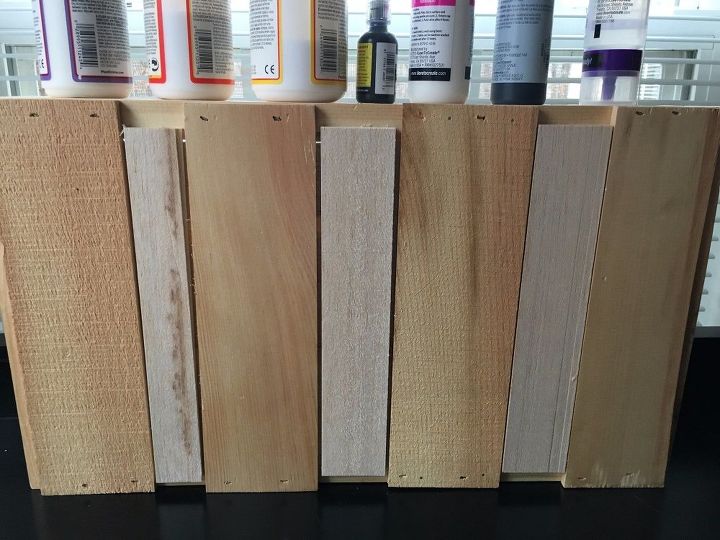
Here is the back view. I could have left it with just the balsa from the inside but because I had so much balsa wood left over and my fingers would almost go through the thin pieces when I picked it up, I decided to beef it up. No cutting was required. I glued 3 thicker balsa slats over top of the thin slats.
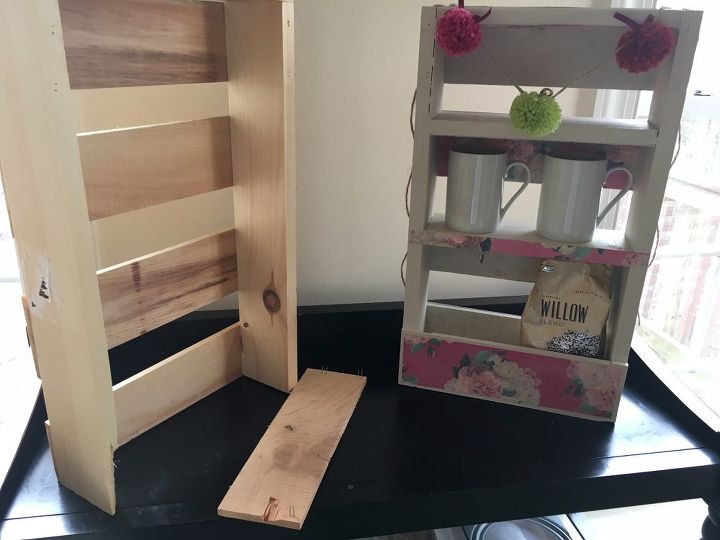
I decided to have 4 even sections. I first cut a piece vertically and it is held with tiny finishing nails.
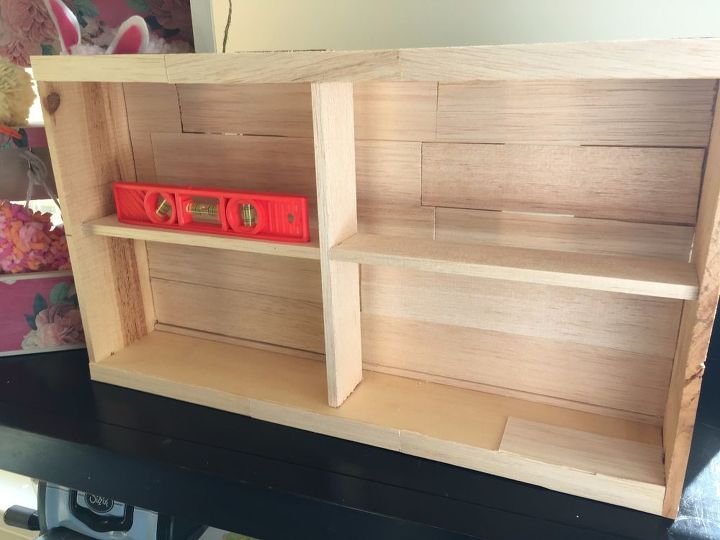
Then I added two pieces on each side. Use a level. I used nails on the outside.

I glued supports for the inside shelves.
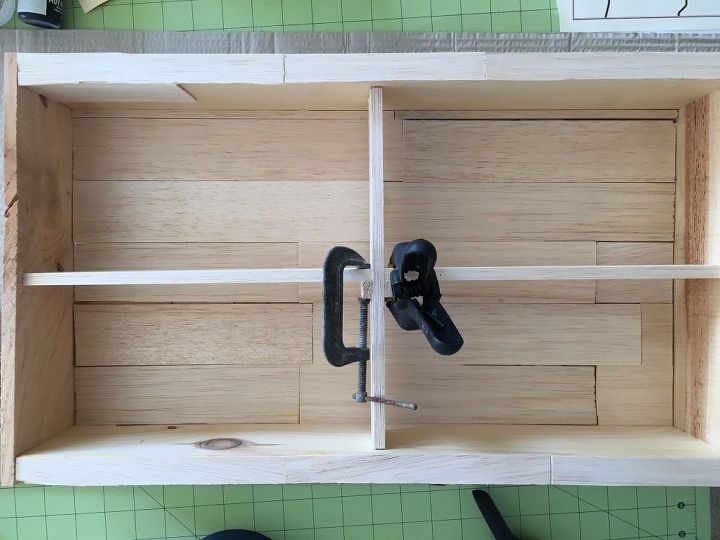
These were left over pieces and just happened to be the right size. No cutting required. I have no idea how that happened.
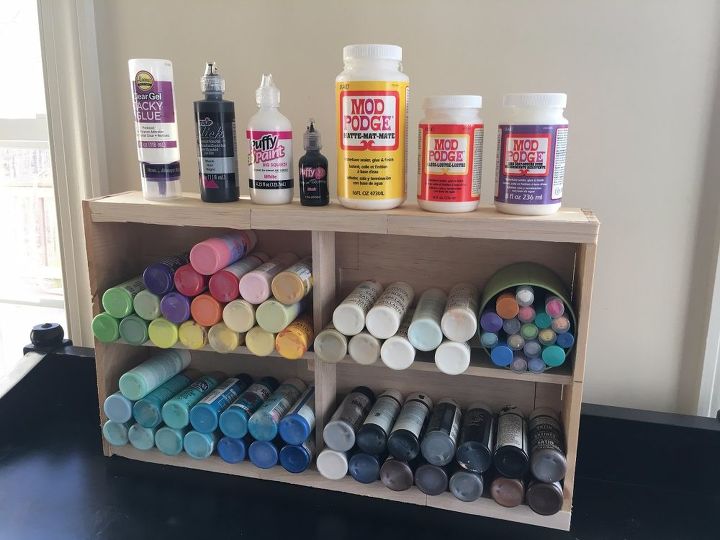
Originally, I was going to paint it white but I am loving the natural look. So, paint storage for $12 (I already had the saw, glue and nails) and less than an hour. I couldn't be happier!
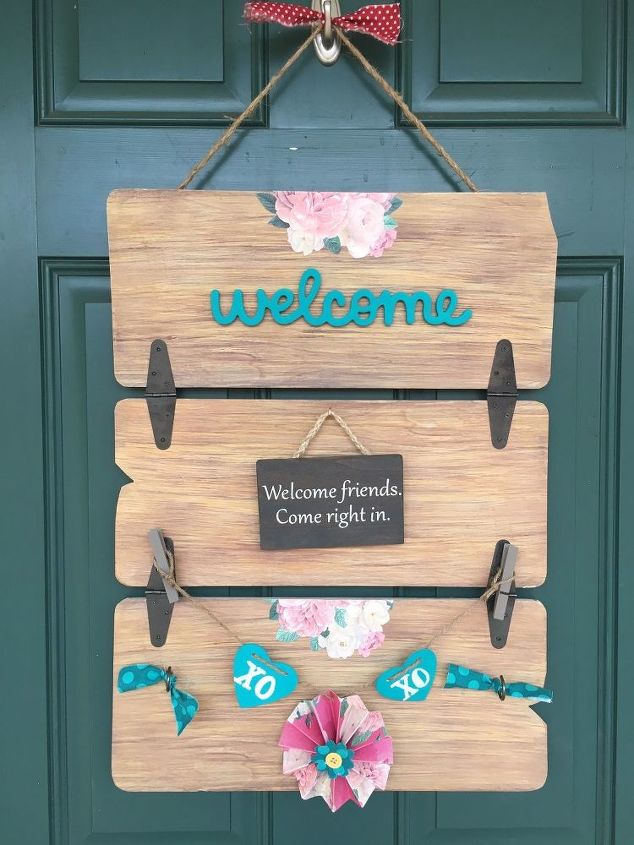
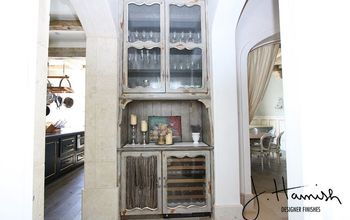
And while you are in the unfinished wood aisle. Check out this hinged wood panel. It could be a family command center with menu plan, daily schedule and a hanging calendar. I made it into what I like consider as Front Door Decor. I can change out items with the seasons and holidays.
Comments
Join the conversation
5 of 7 comments
-
Beautiful!! I really want to try this!
-
Oh Wow, I love this!! You did a fantastic job! I just might have to steal this idea from you!! I was wonderful meeting you this week!! ;-)


Frequently asked questions
Have a question about this project?