


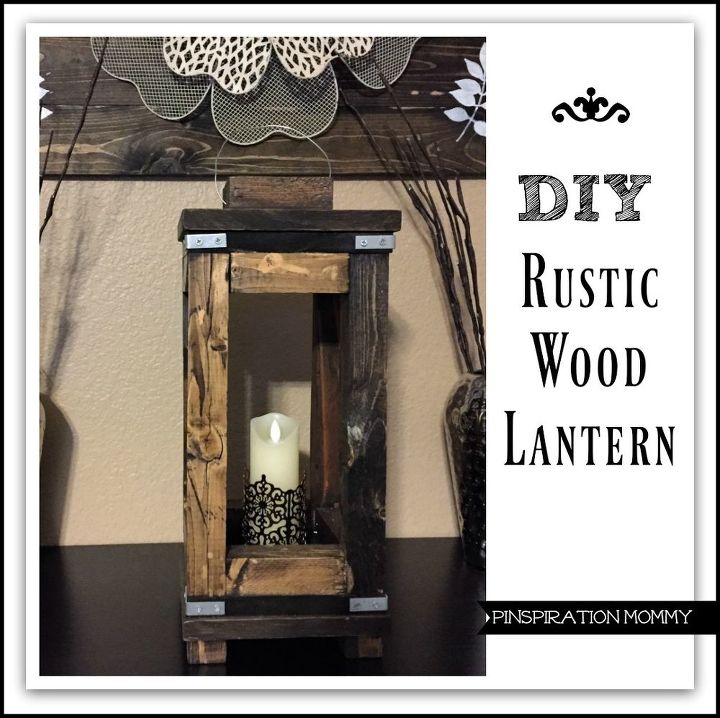
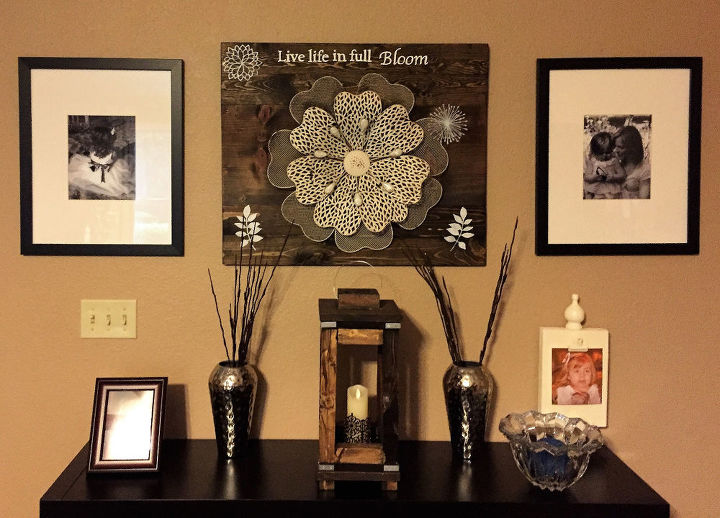
DIY Rusic Wood Lantern
1 Material
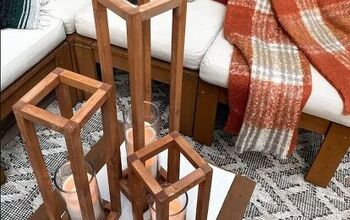
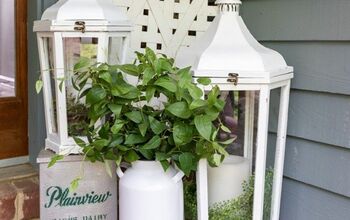
In the months prior to Christmas, as I was searching for DIY Christmas gift ideas, I saw several pins on Pinterest (of course!) displaying DIY wood lanterns that different DIYers had created. I liked the ones I saw, but wanted a lantern that was a little "beefier". So, I decided to create my own.
Here are the abbreviated instructions for building the lantern. For full instructions and pictures, please visit my blog at the link at the botto of this post.
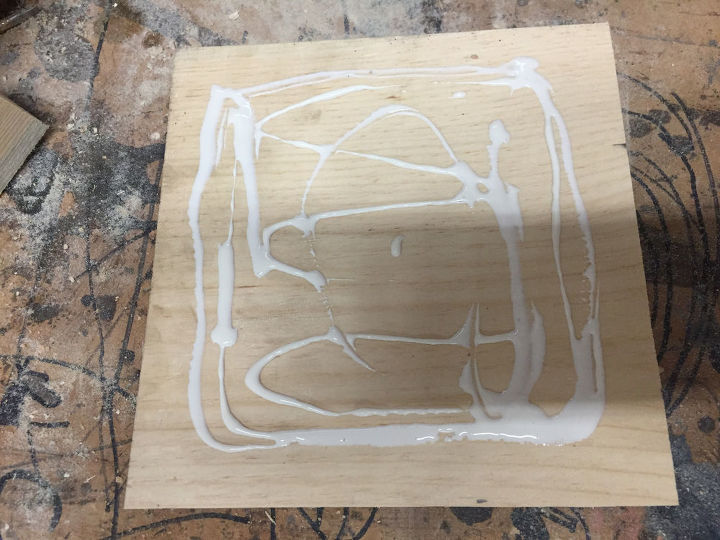
Next, add wood glue to one side of each of the large square boards.
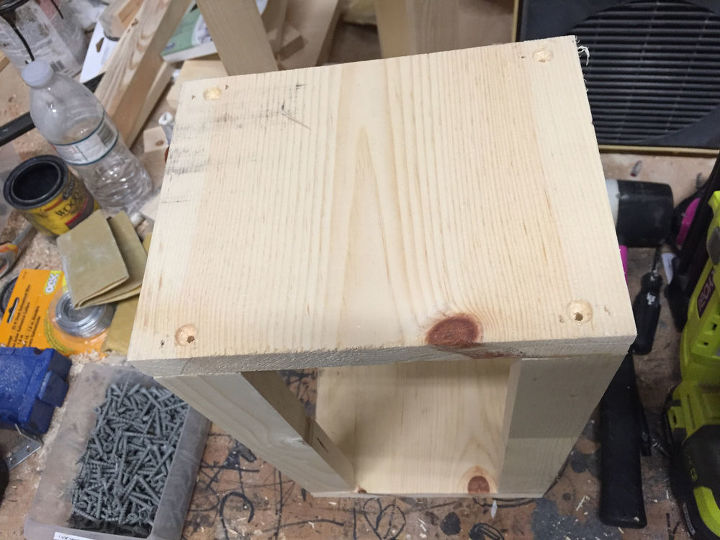
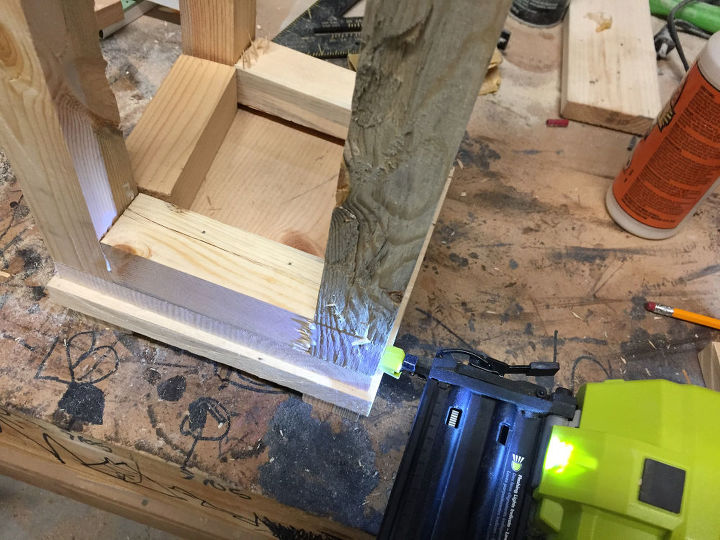
Now attach the larger square boards to the smaller square boards using the wood glue and brad nails.
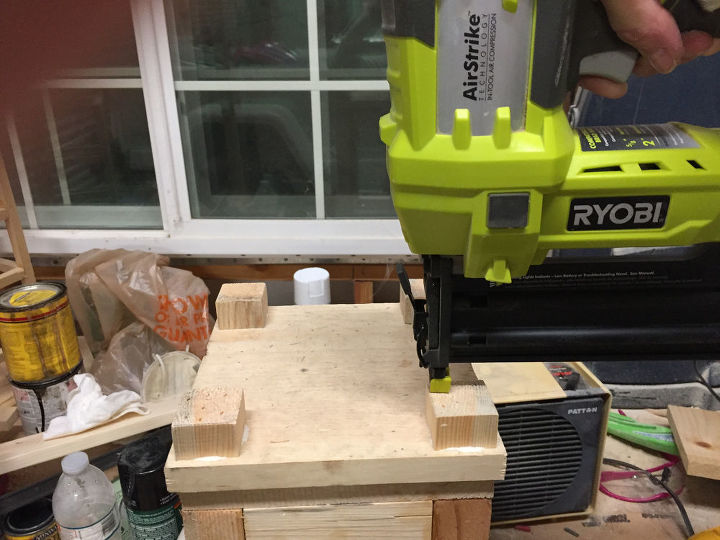
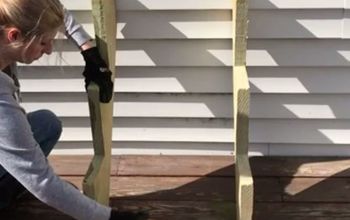
Now, cut eight 2x2 boards to to length and secure these between the top and bottom of each of the long 2x2 boards with wood glue and brad nails.
Next cut the 1x2 boards to create the lantern top and attach these to the top of the top board using wood glue and brad nails. Then sand the lanterns and stain.


Want more details about this and other DIY projects? Check out my blog post!
Comments
Join the conversation
2 of 7 comments
-
Love this! Envy talented people!!
-
Very pretty. I love it!


Frequently asked questions
Have a question about this project?