


DIY Diamond Tufted Upholstered Headboard

by
Kathy R
23 Materials
We had a four-poster bed for years. I wanted a change. I envisioned a Diamond Tufted Upholstered headboard - from paper plans to realization - check out our step-by-step DIY tutorial. I searched out different styles of upholstered headboards. I loved the look of diamond-tufted upholstered headboards and then chose a style with wings - like a wingback chair. The vision was put down on graph paper....then we began.
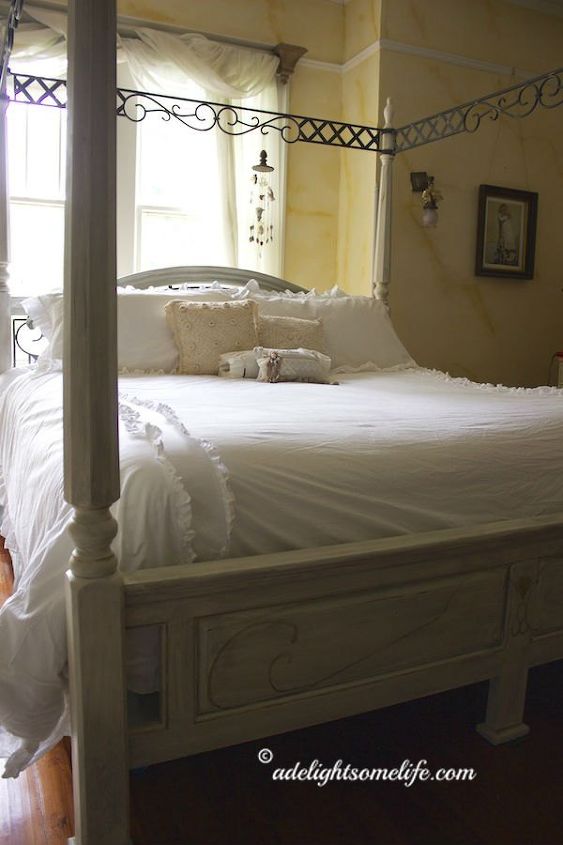
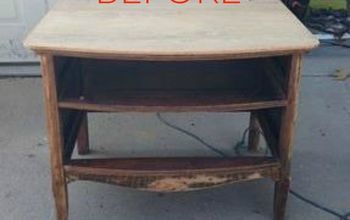
The king-sized bed before. This four poster bed has gone through a transformation, it once was a dark stain. We're ready for something completely new!
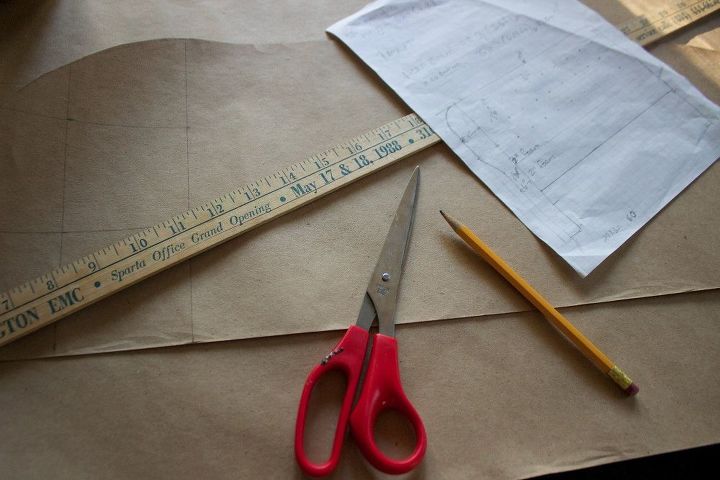
I decided the support material I'd use for the headboard would be plywood. The first thing we determined - the dimensions - I wanted the headboard to be tall enough to be seen behind European pillows. Then I determined where the tufted buttons would be...
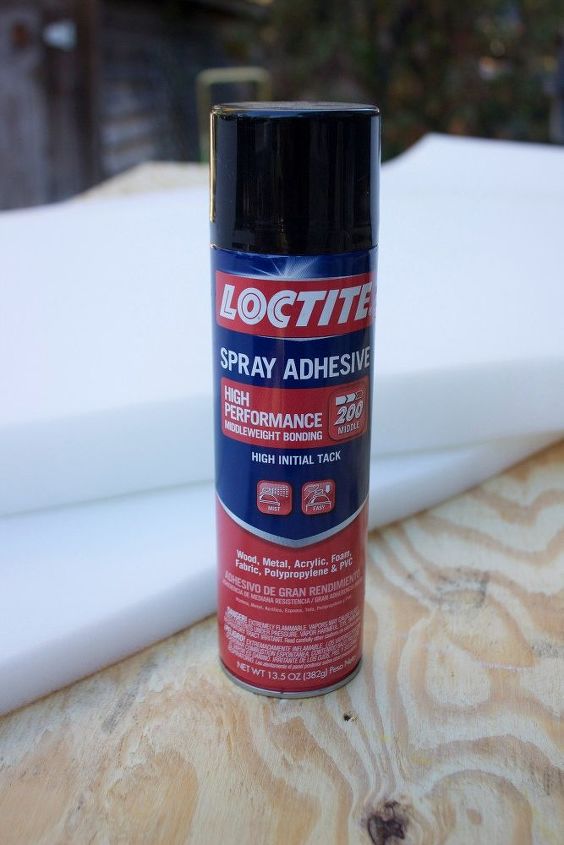
I used two-inch and one-inch foam adhering them together and to the plywood with spray adhesive. I left about 1 1/2 inches from each side to allow for connecting with wings and to give the sides a curved appearance.
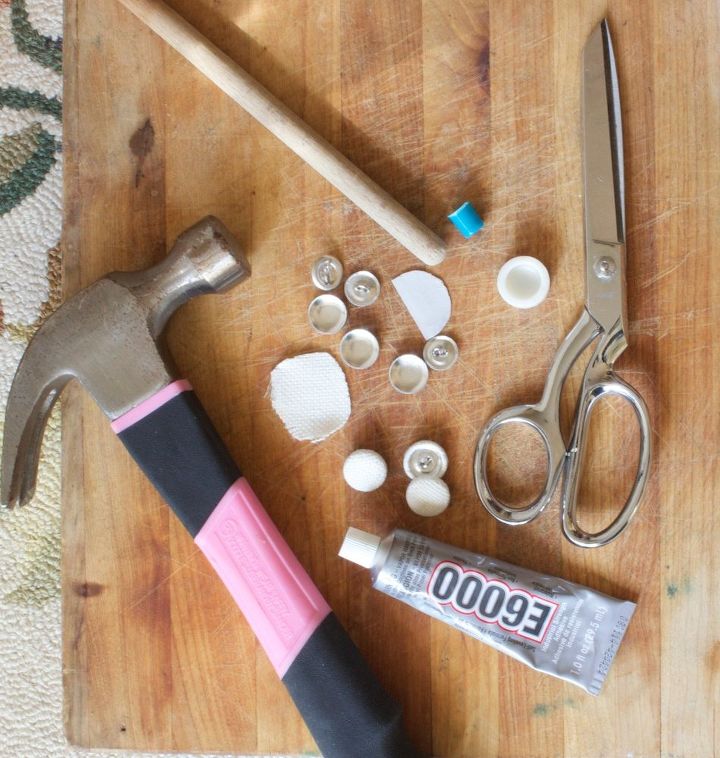
For the tufting buttons, I used a button kit to create the upholstered buttons - this was quite difficult - the fabric was thick. I gave it extra support with a dab of glue
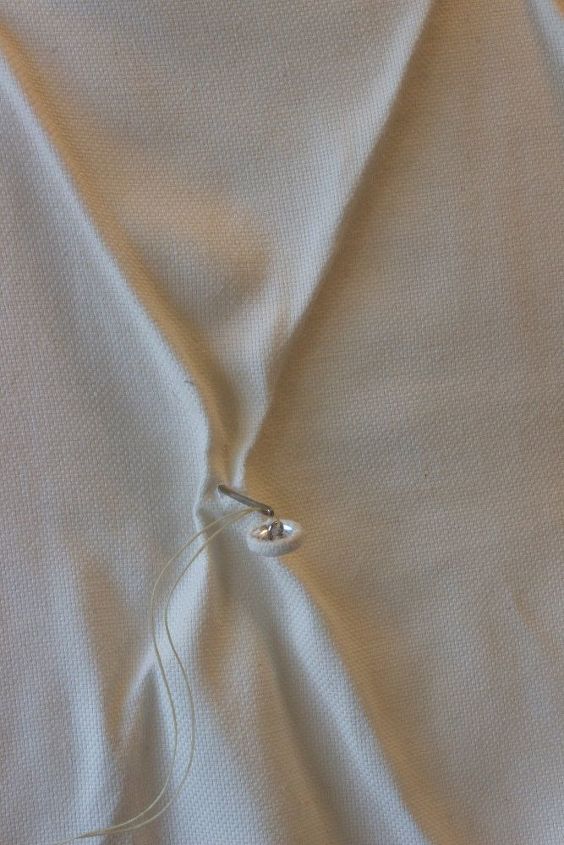
The foam was covered with quilting batting, then the fabric was applied. Holes had been pre-drilled in the plywood and I threaded the buttons through attaching buttons on the back to secure.
After the upholstered buttons were threaded through with waxed upholstery thread, we pushed the buttons down and secured the thread in the back with buttons - tying the thread.
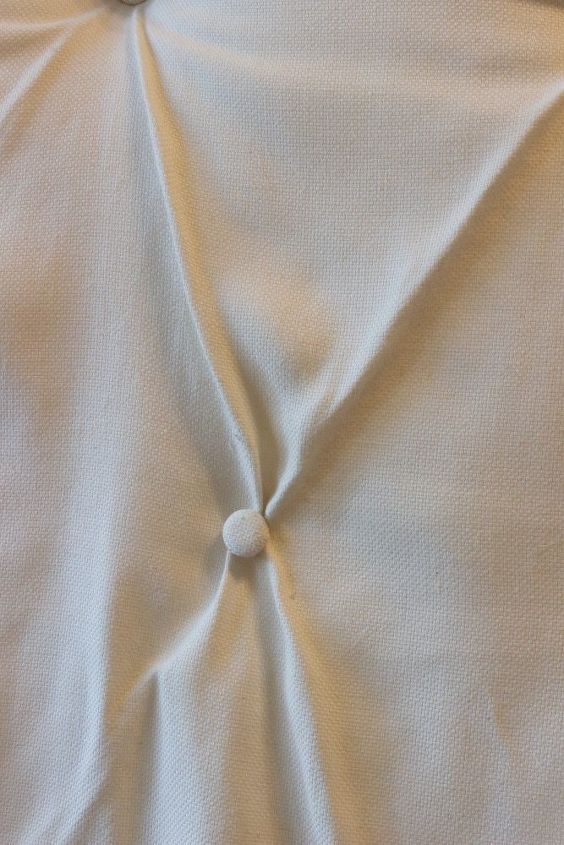
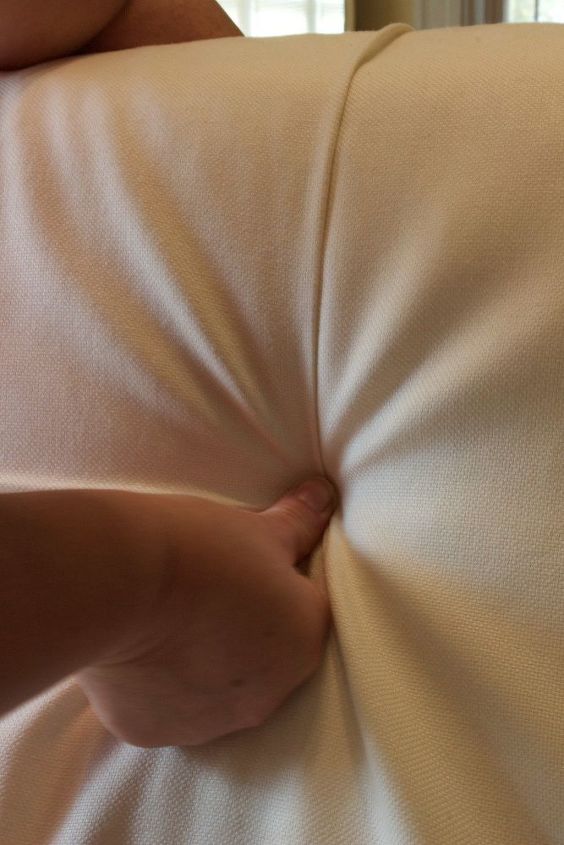
To make the diamond tufting, I pre-folded the material. It's important to consistently fold the fabric in the same direction for all buttons - I folded the material toward the center of the diamond tuft.

Once the buttons and the tufting completed, the fabric on the headboard was secured on the back with staples using a staple gun. The wings were curved with the widest part at nine inches tapering to six inches. Again I secured foam with adhesive spray and wrapped the wing with fabric.
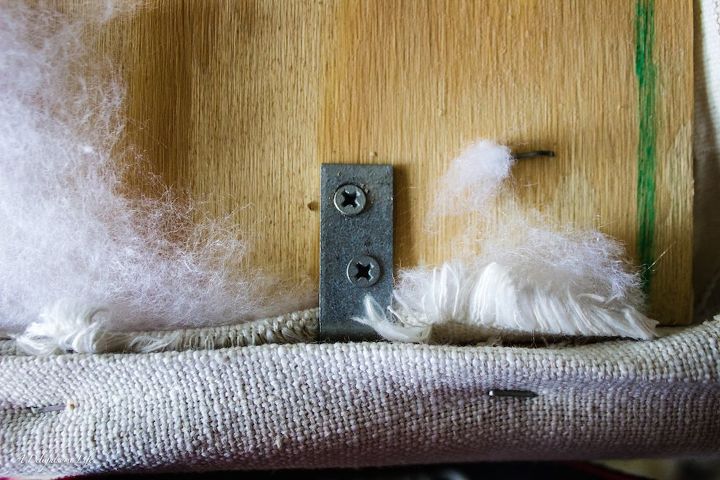
We secured the wings with three L-Brackets
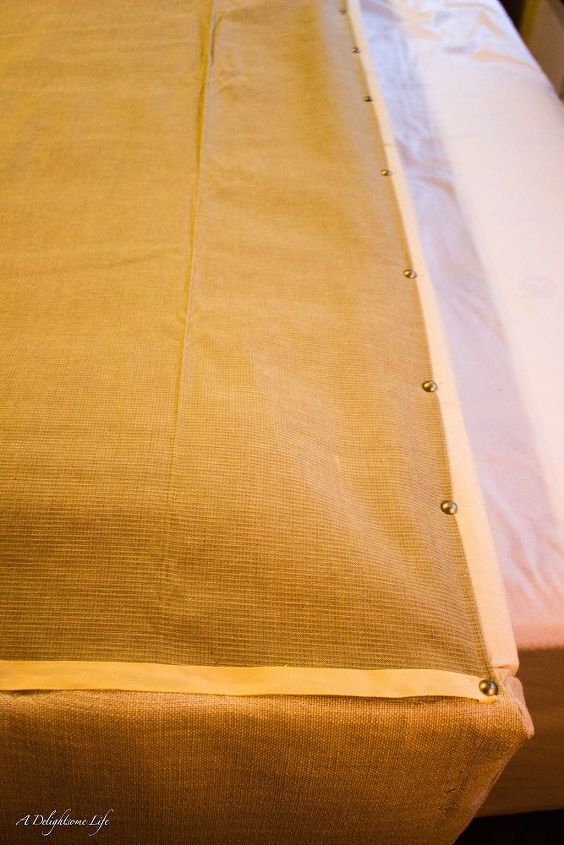
After adding the supports to attach to the bed frame and to stand the headboard, I finished the back with fabric, hot glue and tacks.
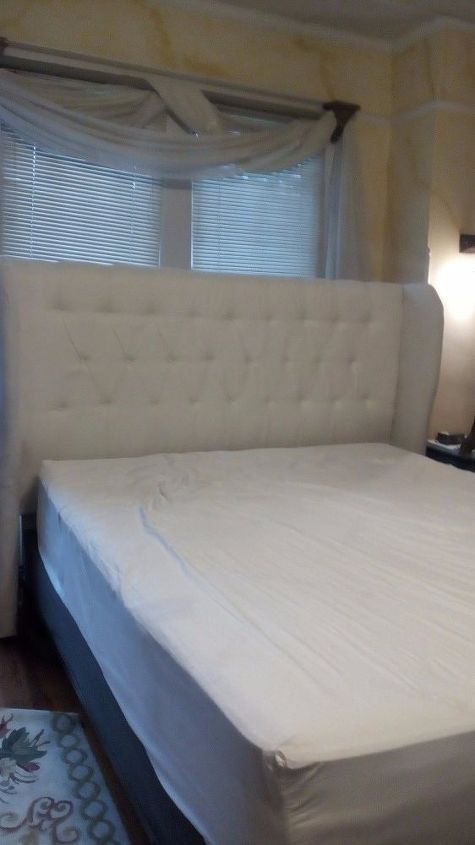
The completed headboard before decorating the bed.
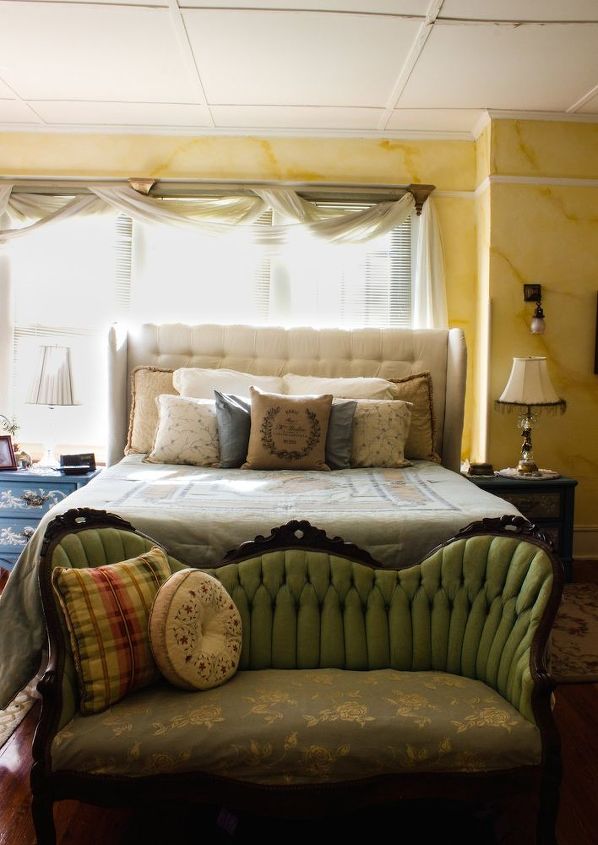
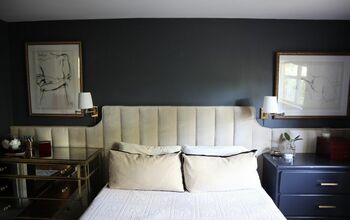
The completed and decorated king-size master bed with diamond tufted upholstered headboard.


Any price and availability information displayed on [relevant Amazon Site(s), as applicable] at the time of purchase will apply to the purchase of this product.
Hometalk may collect a small share of sales from the links on this page.More info
Want more details about this and other DIY projects? Check out my blog post!
Comments
Join the conversation
2 of 68 comments
-
Fantastic job!!! I’m so impressed. Congratulations.
-
Thank you so much for sharing! You did a beautiful job!!!


Frequently asked questions
Have a question about this project?
How did you attach the plywood to the bed frame or is it free standing?
How did you attach the plywood to the bed frame or is it free standing?
Did you attach the wings before upholstering? BTW, you did a fabulous job!!