


DIY Vintage Farmhouse Light Upgrade Using Existing Fixture
2 Materials
Hi there, Hometalk Friends! If you’ve ever wanted to upgrade your existing kitchen light without the expense and hassle of replacing the entire fixture, this DIY is for you--all it takes is a little patience and creativity. Honest, if you can change a light bulb, you can tackle this project!
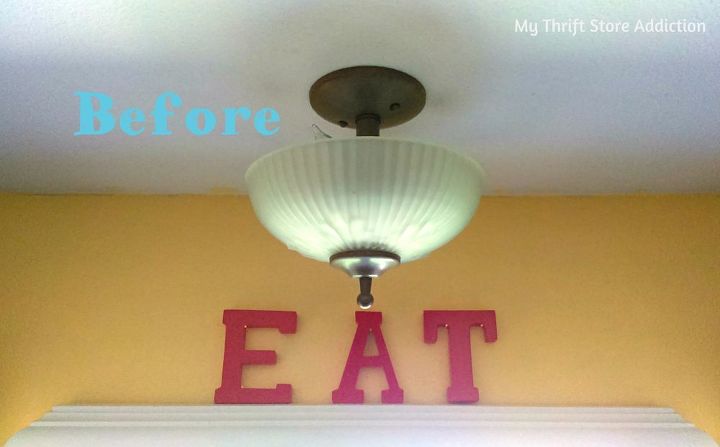
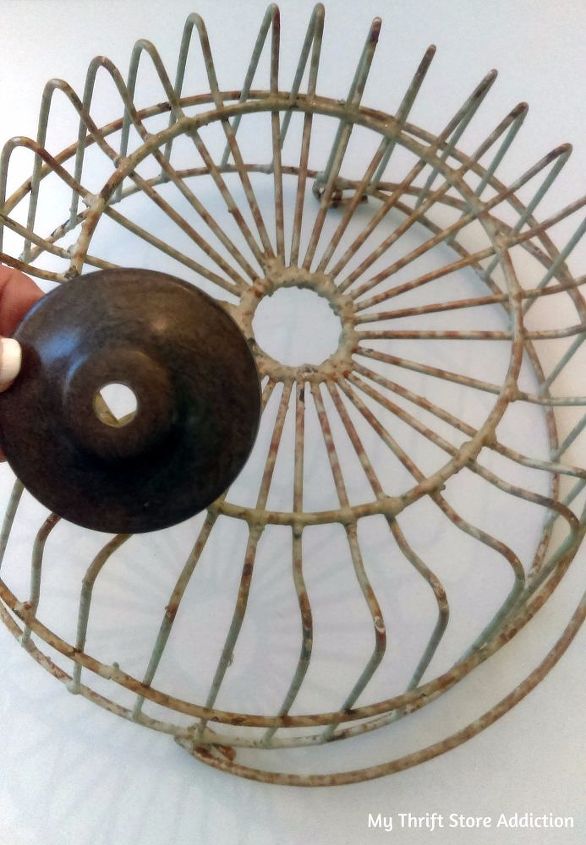
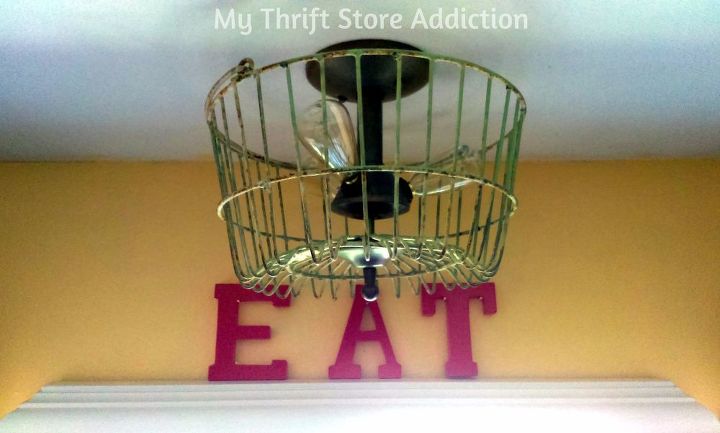
I had been wanting to upgrade my 3 dated kitchen light fixtures and ideally, hoped to replace the shades without going to the trouble of having to change out the entire fixtures. I could picture farmhouse style baskets in place of the dated frosted light shades but as you might imagine, the challenge was finding replacement shades that would fit, or should I say, those that I liked AND would fit ;) That's where the patience I mentioned earlier comes in! When I finally found metal baskets with openings large enough for the fixture rods but not larger than the round brackets, I knew I had found winners!
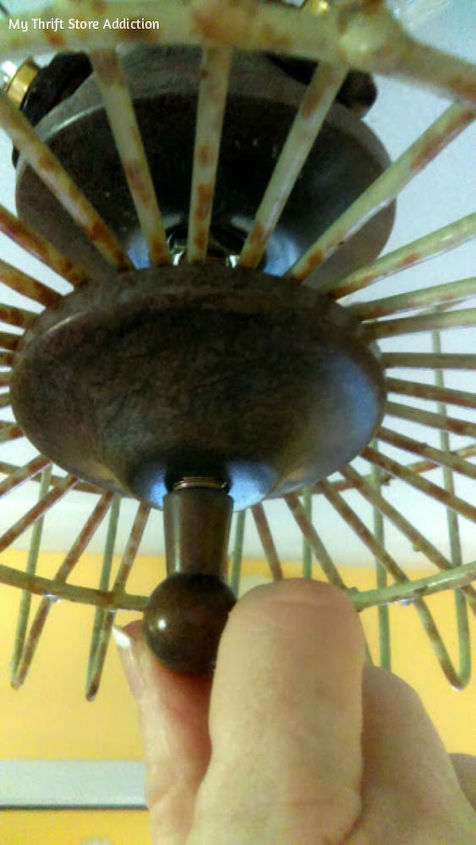
The key is finding the right basket to accommodate your existing fixture. Once you have that, the DIY part is as easy as removing the existing shade and replacing it with the basket, by centering it over the rod...
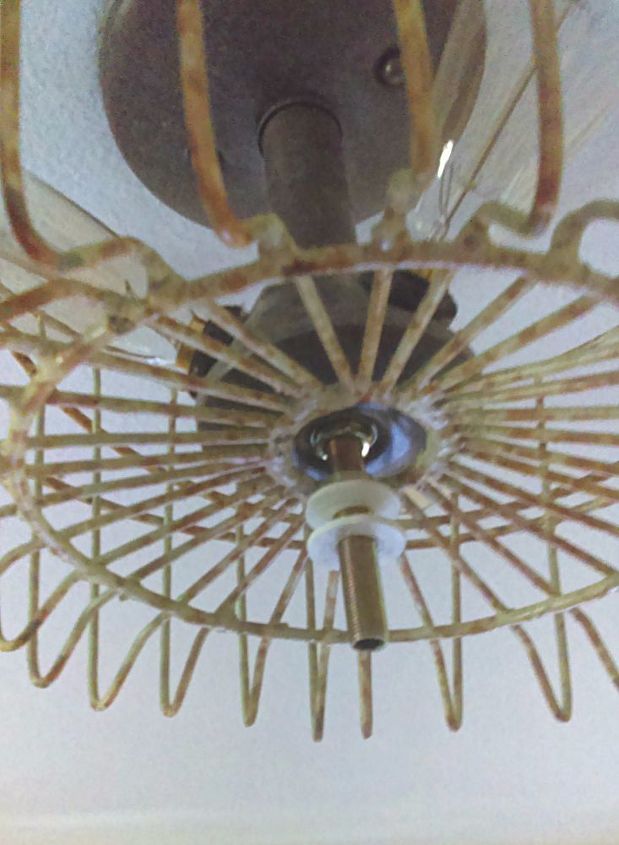
...and replacing the bracket.
To complete the vintage farmhouse vibe, I also switched out the light bulbs from chandelier style to retro Edison types. These can be pricey but are cheaper online. Find them here!
I was able to give the three light fixtures in my kitchen a farmhouse light upgrade for less than one new fixture would cost, had I replaced the entire thing. Continue to my blog to see the other fixtures and for more details!

Want more details about this and other DIY projects? Check out my blog post!
Comments
Join the conversation
4 of 6 comments
-
so cute!
-
Such a great transformation!


Frequently asked questions
Have a question about this project?