


Under-Cabinet Wine Rack
by
Kasey
There’s pride to be taken in cultivating a well-stocked liquor cabinet with specially selected spirits and your favorite fine wines. But when you have a smaller kitchen area to work with and storage space becomes a little too stuffy for your liking, it’s time to get creative to keep your cabinets working well and looking great.
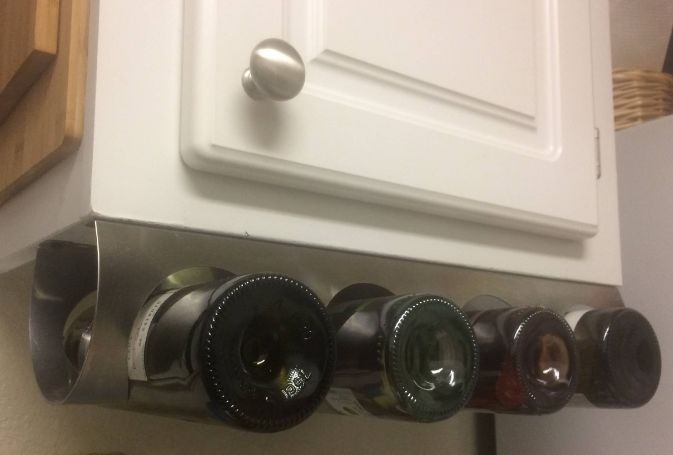
Presenting the under-mounted wine rack, a literal twist on the classic wall-mounted method of decoratively displaying your best wine bottles. If you have a habit of embellishing your kitchen like I do, most of your wall space may already be occupied. Thankfully, this neat method of mounted wine storage will save you some vertical wall-space and look fantastic while doing it.
Presenting the under-mounted wine rack, a literal twist on the classic wall-mounted method of decoratively displaying your best wine bottles. If you have a habit of embellishing your kitchen like I do, most of your wall space may already be occupied. Thankfully, this neat method of mounted wine storage will save you some vertical wall-space and look fantastic while doing it.
What You Will Need
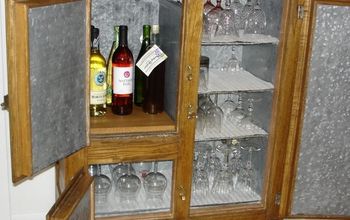
To install an awesome under-mounted wine rack like that in the picture above, you will only need to gather a few materials.
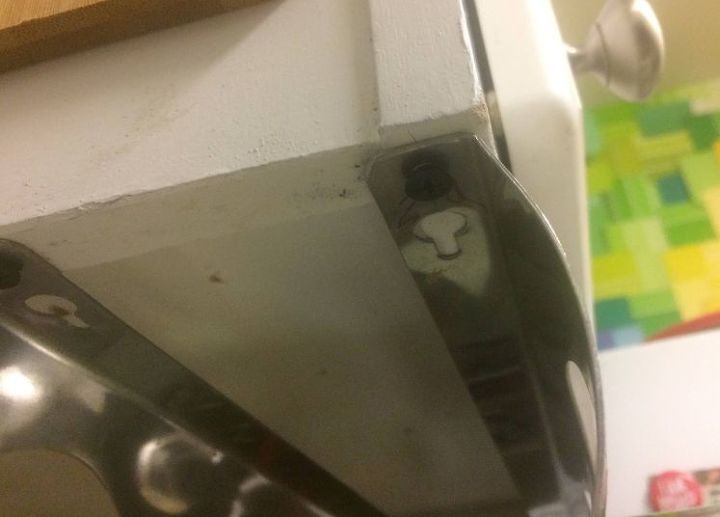
Installation
Now that you have everything you need together, we are only a few fast steps away from enjoying our brand new wine rack! Simply follow these steps.
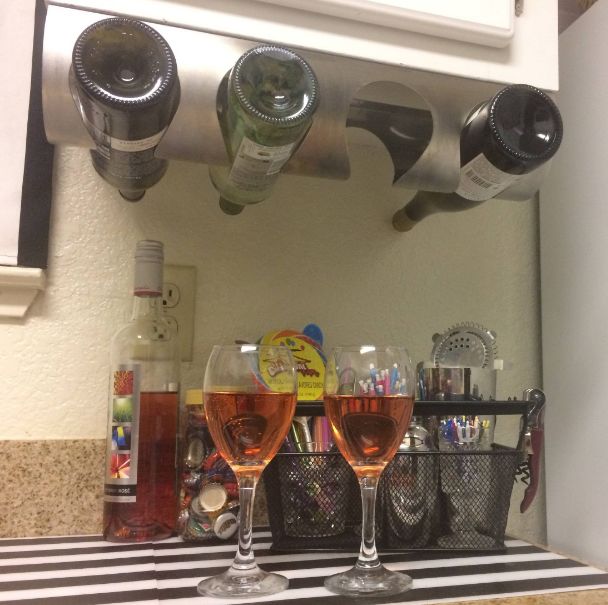
Display
After doing the dirty work, it’s time to stand back and appreciate your efforts. Load up the wine rack with your favorite whites, reds, rosés, or whatever else you may prefer.
Comments
Join the conversation
2 of 4 comments
-
I love this! Thanks for sharing :)
-
This is super impressive. Great job!


Frequently asked questions
Have a question about this project?