DIY Faux Cement Tile Backsplash (with DIY Stamps)

7 Materials
$30.00
3 Days
Easy
Create your own backsplash by stamping designs onto your current "ugly" or "dated" backsplash. This even works in rentals since you can wipe it all off with warm water and a scrub sponge.
Yet it is durable enough to withstand the normal wear and tear of daily use. Surprisingly, grease won't stick to it so it's very easy to clean. Use only mild soap and water to clean (no harsh scrubbing).
This is the tired brick over the stove
I always dreamed of having a cement tile backsplash for my farmhouse kitchen but, since I could not afford "real" cement tile I had to create mine.
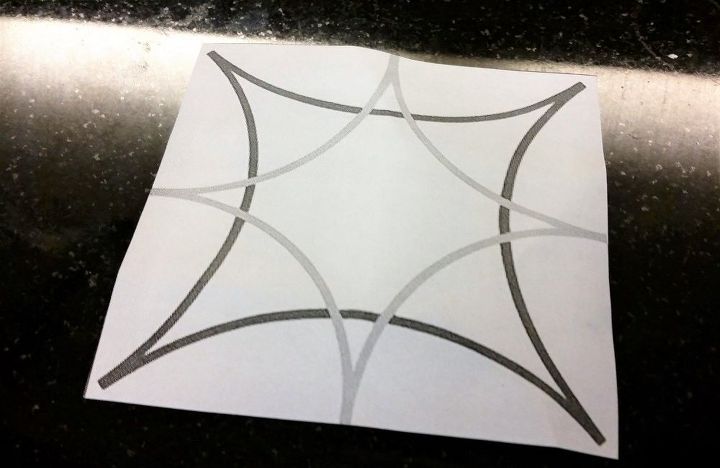

As you can see in the photo above, I still had brick on that wall to start. So, I had to install a base tile first. Most of you will have the tiles already installed. Unless you don't have a base tile you can skip this part.


For my base tile, I simply used 4 1/4 x 4 1/4in white subway tiles. They are very cheap at the home improvement store. If you go this route, be sure to tile first and stamp second.


DO NOT STAMP FIRST!! The grouting process alone will remove all your prints.


Now, all projects out there for "Faux" cement tile involve using stencils. I have nothing against them but for this project, I chose to use stamps instead.


Much quicker and less messy.
My selected design
For my stamps, I chose this design from the "interwebs". It was simple and modern and it looked like an easy design to make a stamp from.
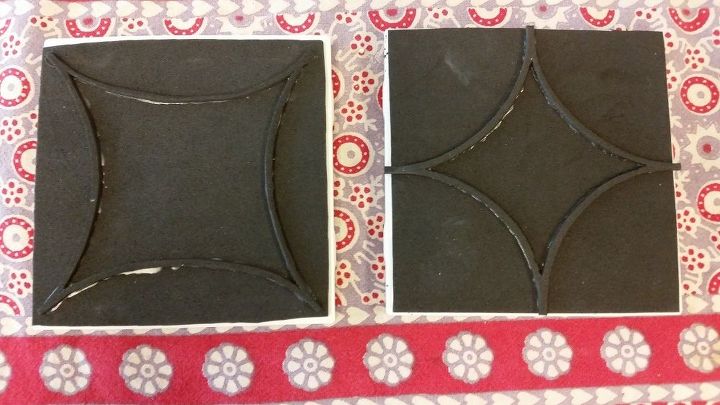

If you go to my website (shown below) and sign up for my email list, you can get free designs you can use to make your own backsplash without having to dig around the internet.
The stamps
Here are the stamps I created for the design above. Basically, you need a base, craft foam (EVA) and tacky glue. Click here for my stamp tutorial.
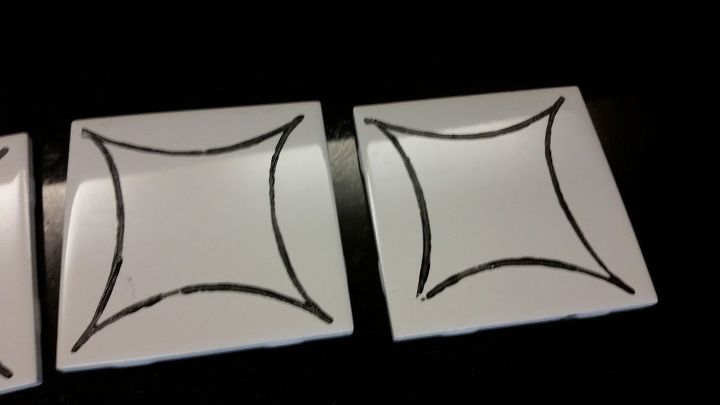
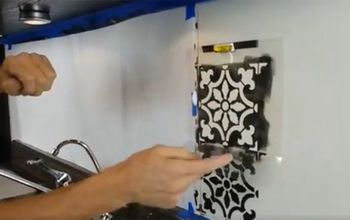

Once the stamps are done you will need to prep the tile first with a high-quality tile primer. Apply at least 2 coats. Once the primer is dry (overnight), you can start stamping away.


Start with the dark color design first, then move on to the lighter color.


The best part is that the paint dries so fast that you can actually stamp the second color within an hour after applying the first color.
First color print
Now, notice the imperfections? Don't worry!


First of all, "real" cement tile has imperfections on their prints because they are all hand made. If you want perfection you would need to buy porcelain imitations. So, it's part of the charm.


If the print comes out too light or smudged, simply wipe off the paint with warm water and start over. You can do some test prints to get the technique down before you start.
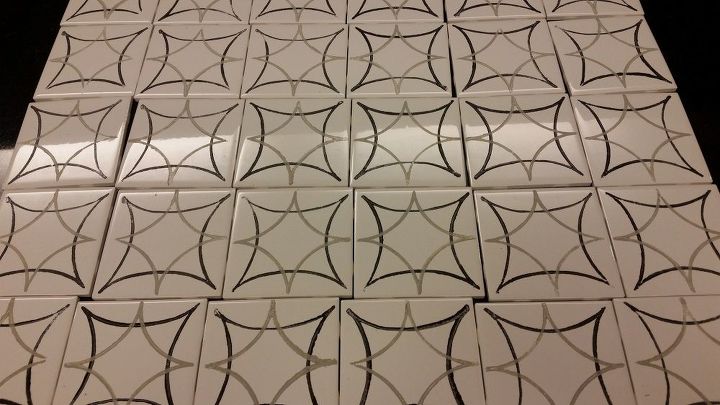
Printed tiles with both colors.
See the pattern? I love this design because it looks modern and farm-housey at the same time.


After the paint is dry (overnight), apply a polyurethane sealer. My suggestion is to use a semi-gloss or satin finish unless you like it shiny. Cement tiles are not usually shiny.


Apply at least 3 coats of sealer. Let it dry for at least 4 hours between coats. Use a foam roller to apply the sealer (I don't recommend brushes at all). Also be careful to test the sealer first. Some sealers will "yellow" the final color of the tile and print.


That's it. Your backsplash is ready to be admired!


The cost for the stamp project only was less than $30 bucks and only because I had to buy the sealer and primer. With the tile and materials (grout, thin set) this project was still less than $100 for two walls (approx. 72inx43 each).


To see the final look, visit us at amigas4all.com
Suggested materials:
  • White Subway Tiles   (Home Improvement store)
  • Black and Gray color Chalk paint   (DIY Chalk paint recipe using latex and baking soda)
  • EVA/craft foam for the stamp   (Craft store)
See all materials
Tatiana (amigas4all.com)
Want more details about this and other DIY projects? Check out my blog post!
Go
Frequently asked questions
Have a question about this project?
  1 question
  • Birdz of a Feather Birdz of a Feather on Feb 03, 2017
    Three questions; 1. How thick is the foam you used (i.e . 1/8", 1/4")? 2. How exactly did you apply the paint to the stamp itself before you stamped it? 3. Did you have to remove some of the paint before you used the stamp? Thanks!
Comments
Join the conversation
 6 comments
Next