


DIY Choker Necklaces

Chokers are all the rage. (Yes, I used the saying “all the rage”.) I see chokers everywhere, in stores, on tv, and in person on people I know. Some chokers are completely over priced but what people don’t realize is that making your own custom choker is so easy!

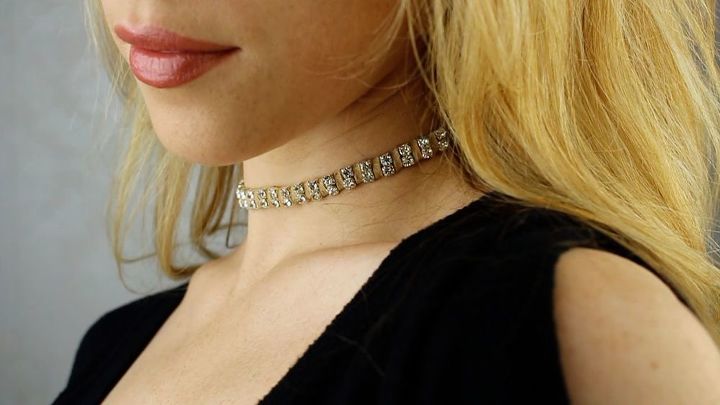
The first choker we are going to make is this rhinestone choker. Its the perfect choker to dress up a casual outfit. This choker allows you to add sparkle without looking over done.
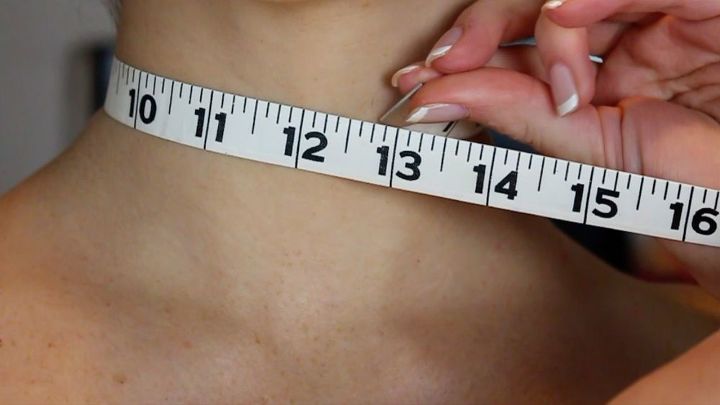
First thing that you will want to do, is measure your neck. You don’t need a tape measure in order to measure your neck, you can easily just use a ribbon. Whatever you’re using you just want to make sure that the choker you make is a half an inch less than the length of your neck.
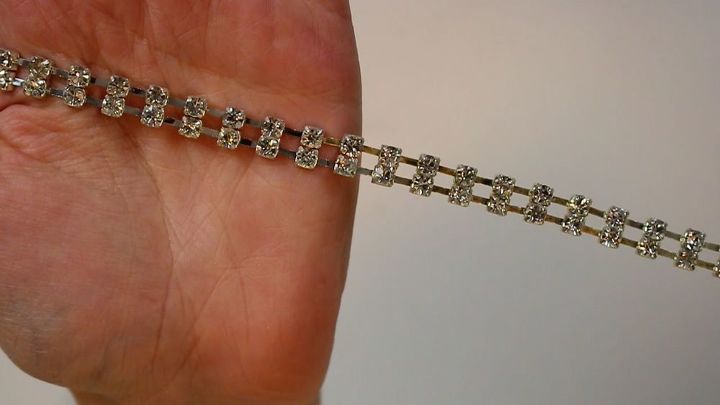
In order to make this rhinestone choker, you will need a double link rhinestone cup chain that you can easily find on Etsy. You will want to cut the rhinestone cup chain to your preferred length. Since my neck length is 13 inches, I’m going to cut anything I use to be 12.5 inches.
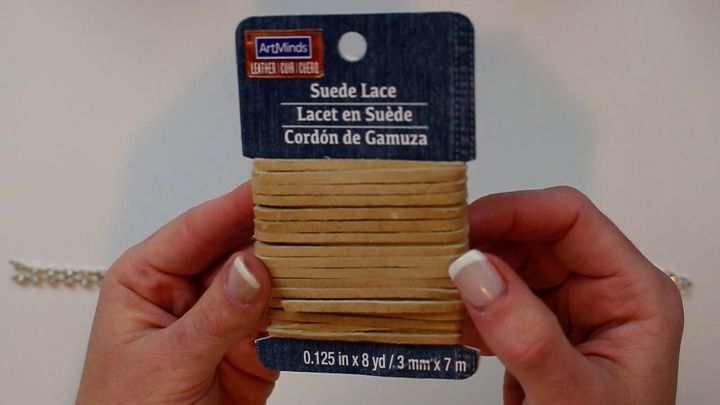
You will also need suede lace. I bought my suede lace at Michael’s craft store.
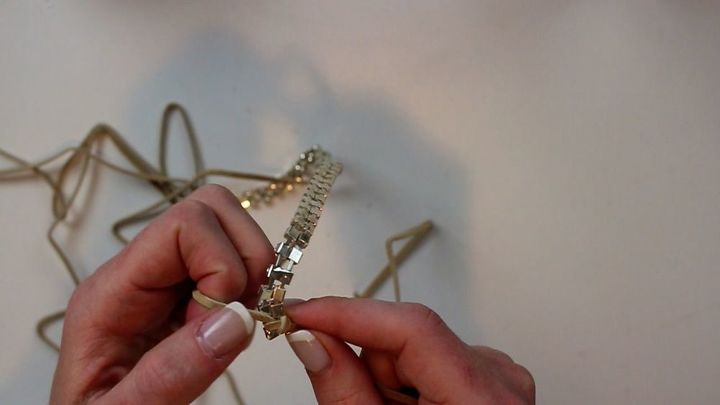
In order to secure this around your neck you were going to be tying a bow at the back your neck. First you were going to unwind lace and leave a large amount on the end and then tie a knot around the first link of the rhinestone cup chain.
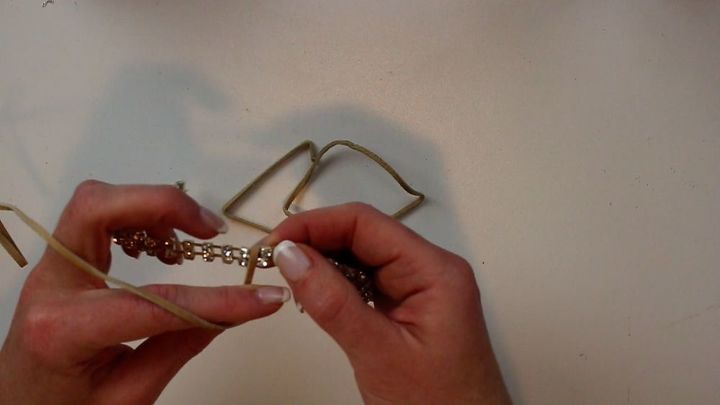
You only have to do one knot, you don’t have to tie a double knot, it will be securely fastened. Once you have a knot in place. You were simply going to wrap the suede lace around each gap of the rhinestone cup chain once you have reached the end you will tie another not at the other end.
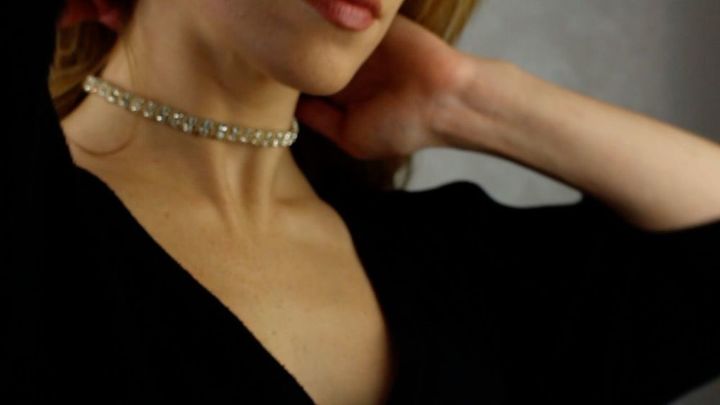
Leave enough length on each ends, in order to tie a bow at the back your neck. And then you are finished. You’re able to wear your rhinestone choker and dress up any outfit.
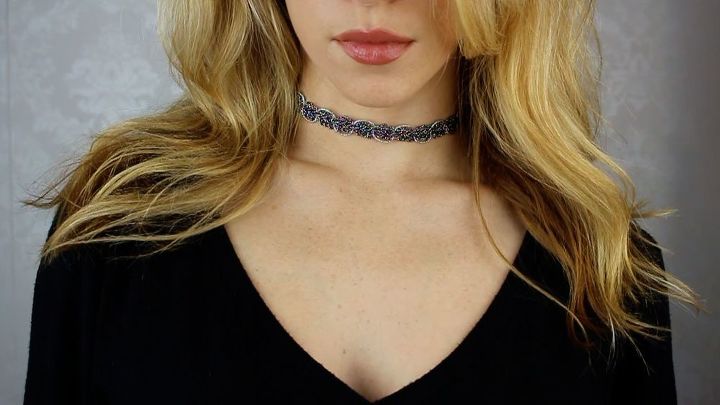
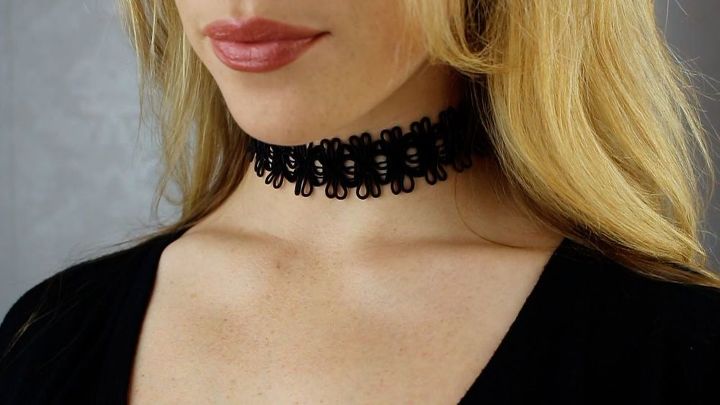
Next choker we are going to make is this beautiful trim choker and this technique applies to all trim and all fabric. The hardest part about this choker is picking out the right trim or the right fabric.
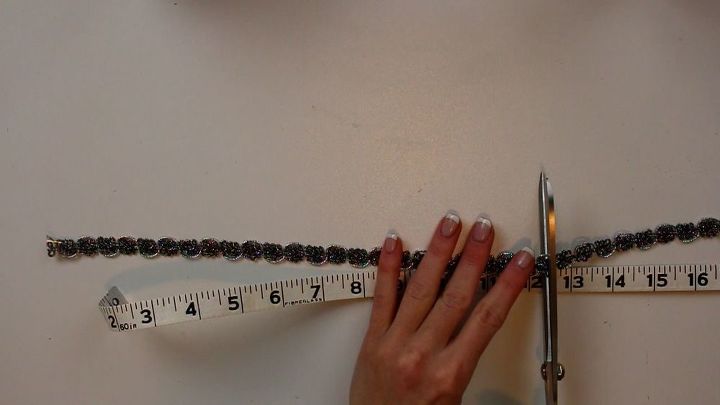
You were going to cut the trim to your preferred length. I bought my trim at JoAnn’s Fabric and I purchased a half a yard, it cost me $.75.
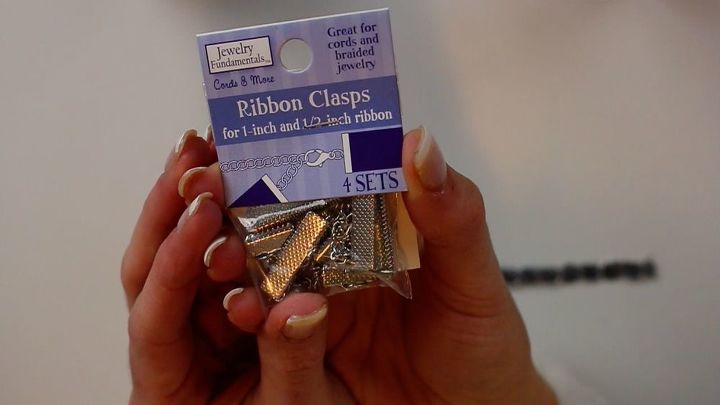
I bought these ribbon clasps which are specifically made for ribbons necklaces. You will find these clasps in the jewelry section at any craft store. They have big claps or small clasps, if you decide to buy a thicker trim or a thinner trim.
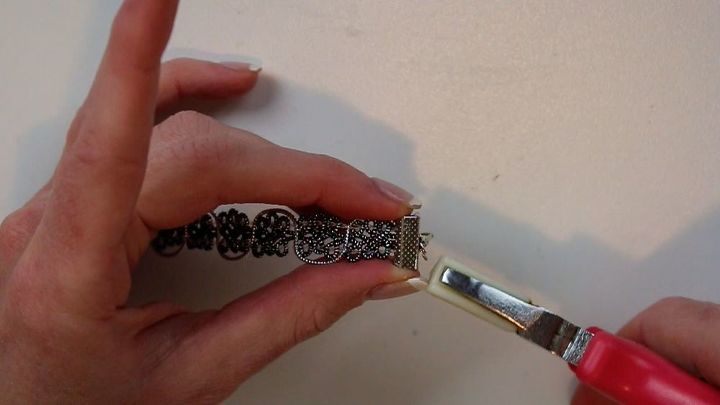
All you will simply do is place the trim within the teeth of the clasps. You will take your pliers and smash the teeth together, making sure the trim is securely fastened within the clasps.
Then you will want to do the exact same thing to the other side. Making sure the trim is securely fastened within the clasps.
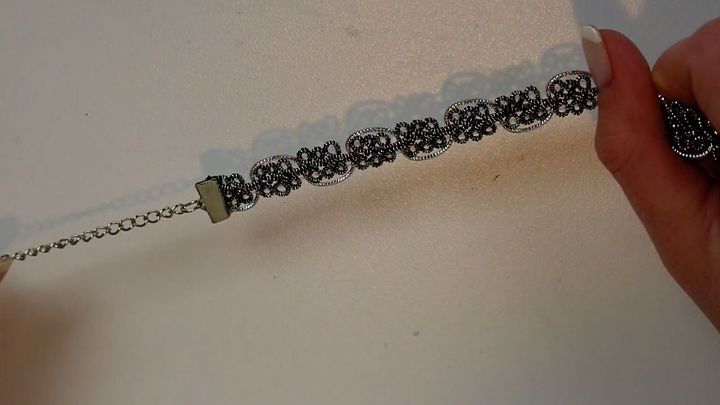
Once everything is fastened, you are finished. All you have to do is get dressed and pick an outfit, so you can display your beautiful handmade choker. You can also make this choker with a thicker trim and using the same exact technique.
{
"id": "3719176",
"alt": "",
"title": "",
"video_link": "https://www.youtube.com/embed/nnQ_tAyHbs0",
"youtube_video_id": "nnQ_tAyHbs0"
}
{
"width": 634,
"height": 357,
"showRelated": true
}


Frequently asked questions
Have a question about this project?