


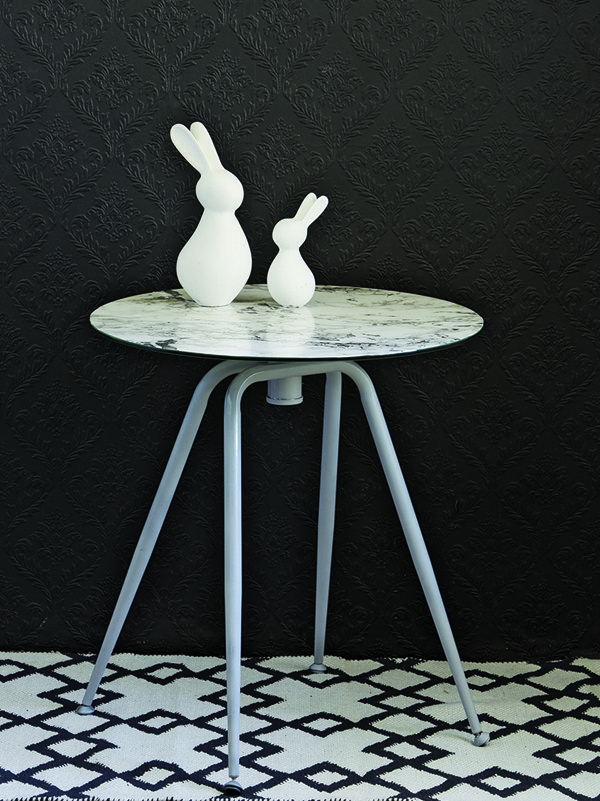
DIY Marble Table in 6 Easy Steps!
Easy
I have mentioned the natural trend a few times this month already, and marble is definitely at the top of the natural list. Luxurious, beautiful, durable and timeless, marble is a natural stone product that is still as covetable today as it was in Ancient Greece. Marble can be quite the investment though, so let me show you how to update an old-fashioned second-hand store find to a pretty little focal piece.
This post was originally developed for Ideas Magazine.
This post was originally developed for Ideas Magazine.
YOU WILL NEED
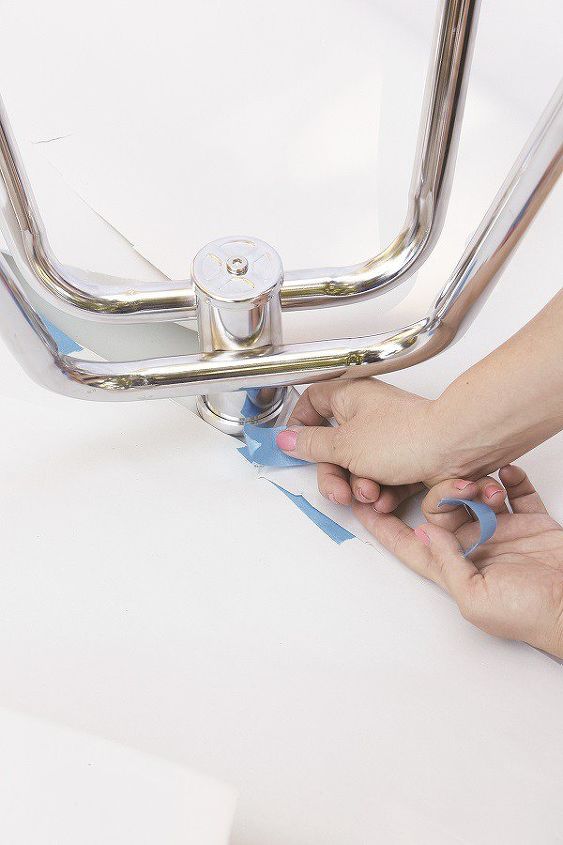
Step 1: Lay the table on its top and tape paper the underside of the glass to protect it from the spray paint. Take special care to cover the area around the table legs.
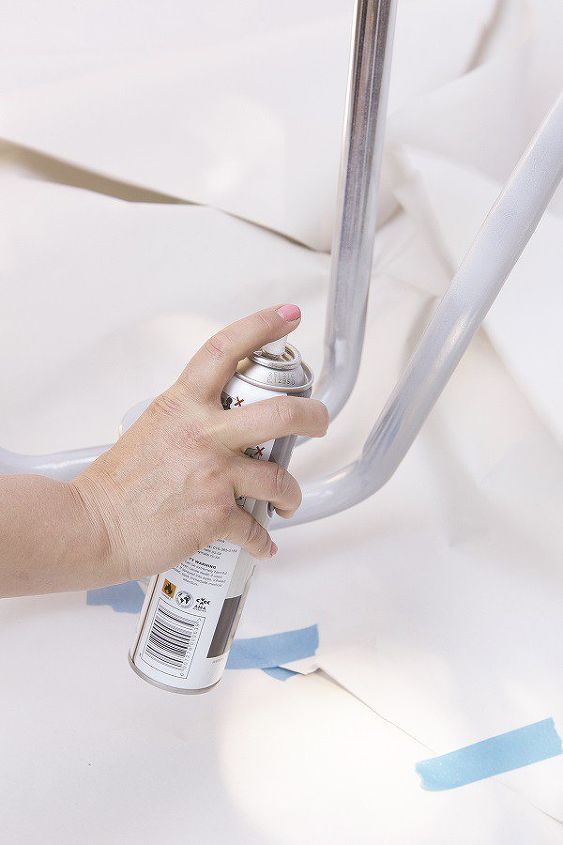
Step 2: Prime and spray the table legs, ensuring the paint dries properly between coats. To prevent the paint from running, ensure that you maintain 15 – 20cm distance between the spray nozzle and the legs.
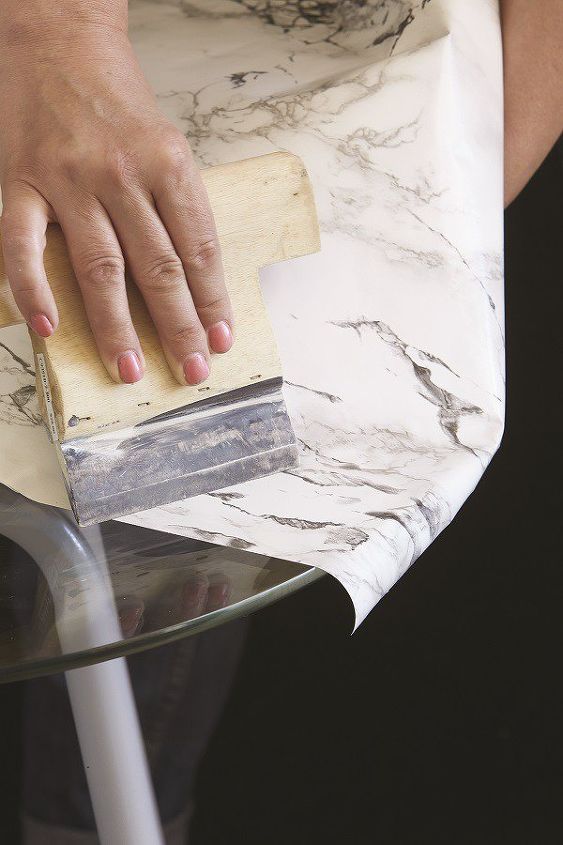
Step 3: Cut the vinyl roughly 3cm bigger than the surface of your table. If the table top is wider than the vinyl, you will have a join line. Place this join line slightly off-centre to make it less obvious. Peel back the paper on a corner of the vinyl and start applying it to the table. Slowly peel back the backing paper and use the squeegee continuously to eliminate any bubbles as you go.
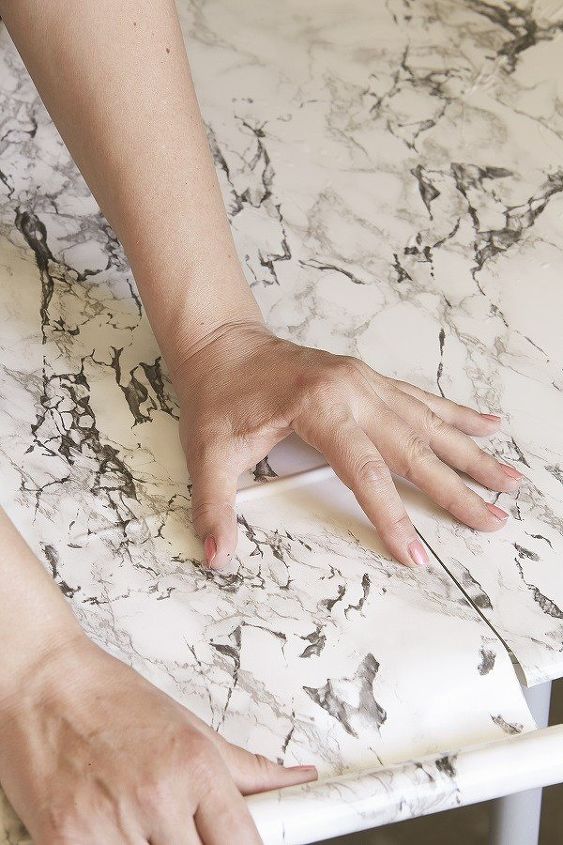
Step 4: When the first piece of vinyl has been applied, carefully line up the second piece to find where the pattern matches. Then remove the backing paper little by little and apply the vinyl in the same way as in step 3.
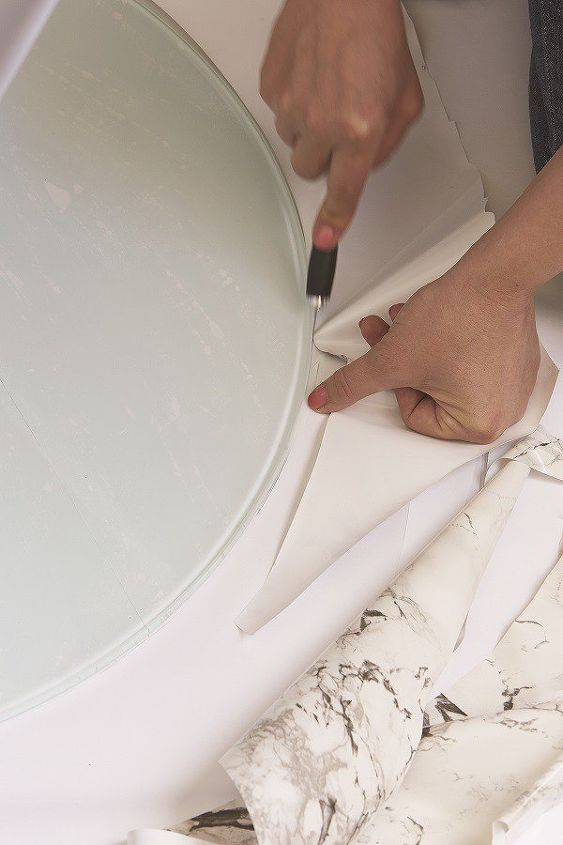
Step 5: When the vinyl is in place, turn the table over and place it on a protected surface. Using a craft knife, carefully trim the excess around the edges.
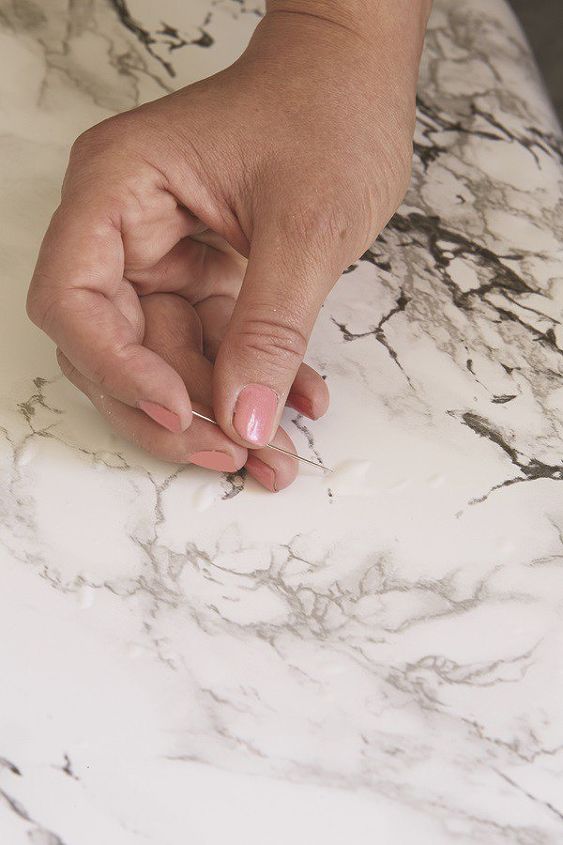
Step 6: Use a needle to make small holes in any bubbles that may remain. This will let the trapped air out and give you a smooth surface.

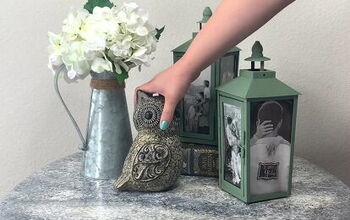
As simple as that! Just remember to use coasters for hot drinks otherwise it might damage the vinyl.

Want more details about this and other DIY projects? Check out my blog post!
Comments
Join the conversation
3 comments
-
This looks awesome! I will definitely try this. Thanks for sharing!
-
This is amazing!!


Frequently asked questions
Have a question about this project?