


Enhanced Sea Glass Bottles

6 Materials
I have seen the hack where you paint a clear glass bottle with glue and a drop of food coloring to achieve a sea glass effect. I tried it on a number of glass containers, but when I painted a "flat" bottle it dried in the most amazing way.
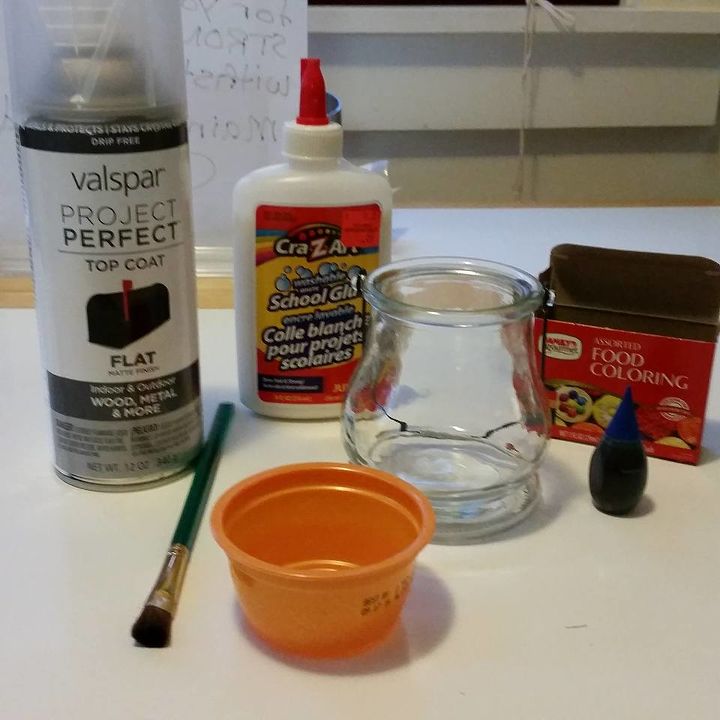
These are the materials I used. I also used Elmer's glue - it seemed to make the striped effect better than this cheap version - you will see what I mean.
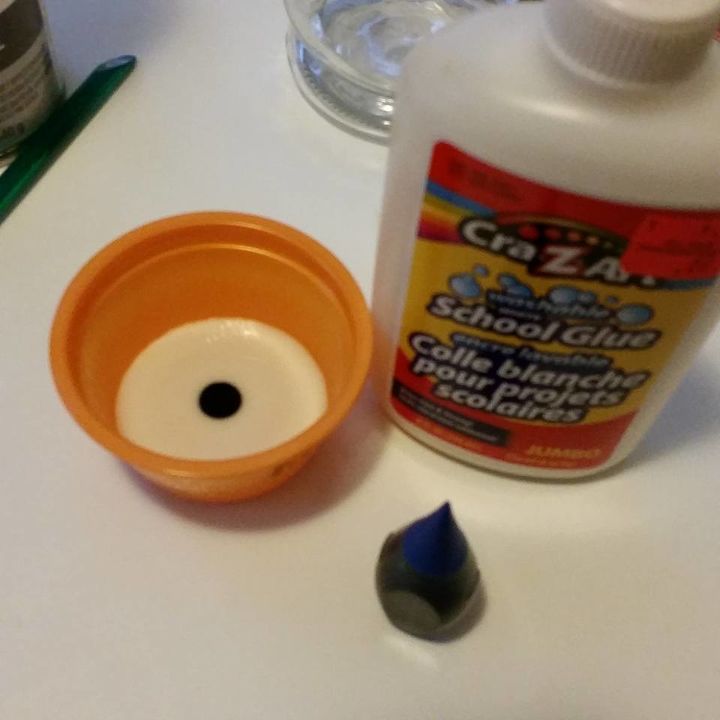
Pour some glue in the mixing container, then add a drop of food coloring - I used blue. You will have to adjust the amount of glue based on the size of the glass you are painting.
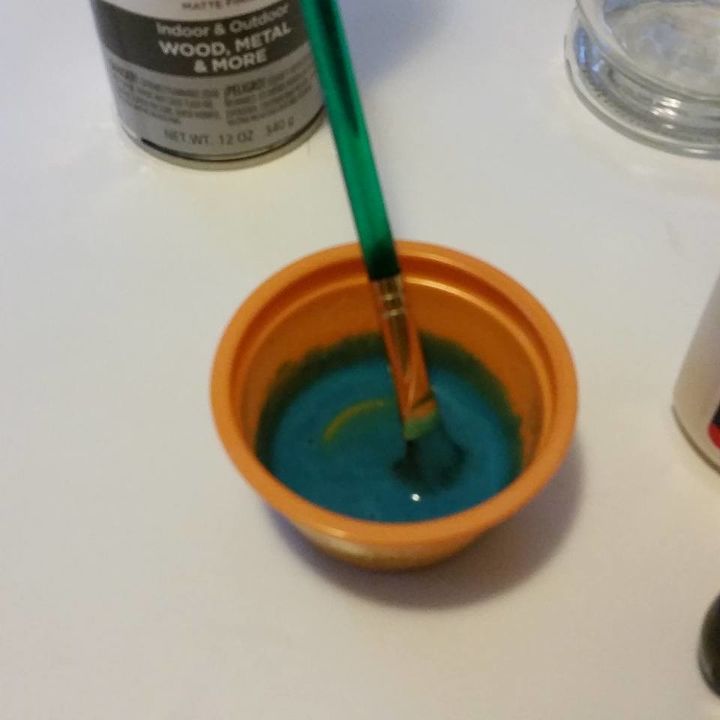
Mix it up!
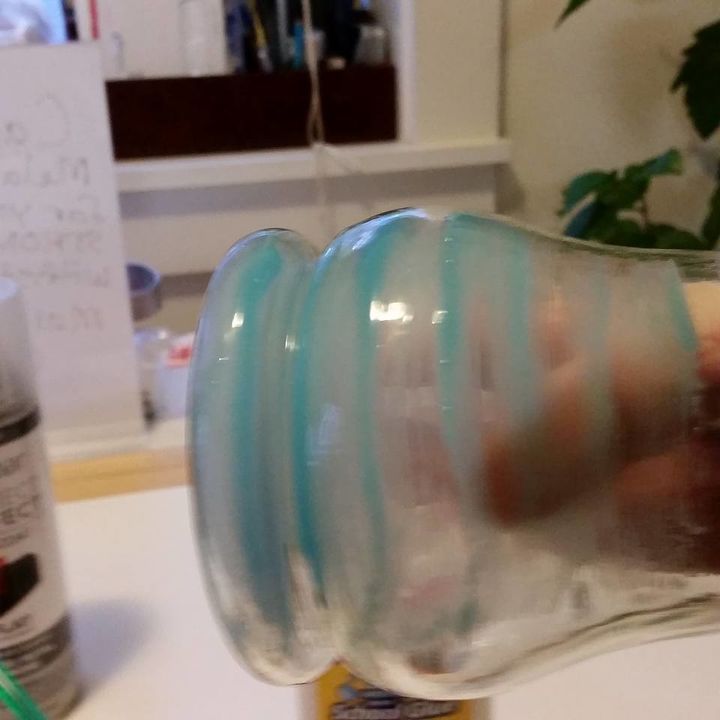
To get the striped effect, I paint the glue on by going "around" the jar. If it is too thick it will drip. The Elmer's may have worked better, that is what I used on the green jar at the end. It will start to dry as you paint, so some spots may start to look "clear" before you finish.
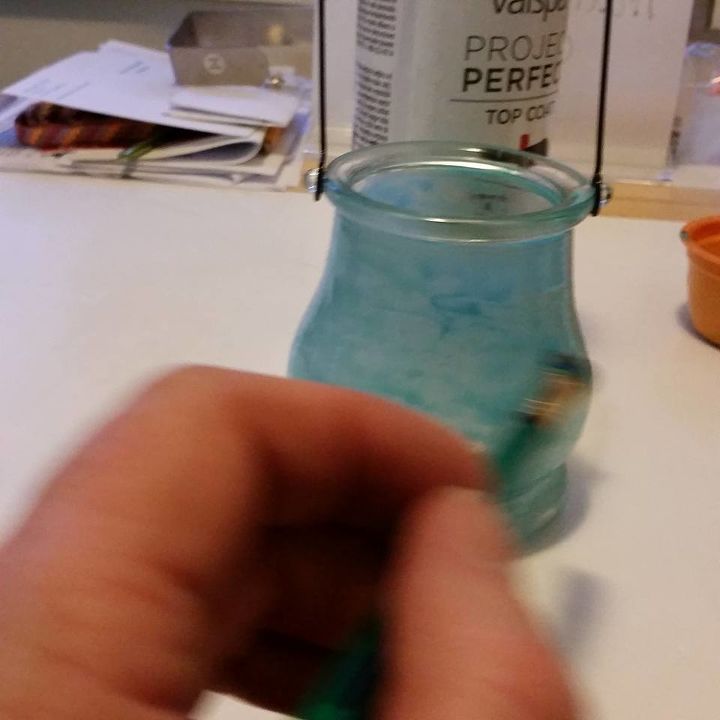
If it starts to drip you can "catch" the drips as it dries.
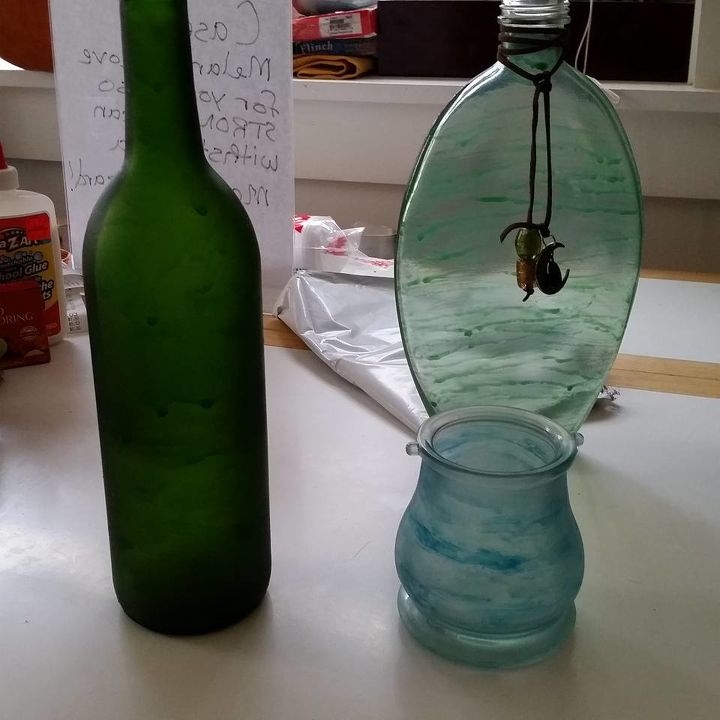
Once it is completely dry you can spray with the clear acrylic spray. I actually added a few extra "stripes" of the glue paint after it was dry so they would be more pronounced. I also tried it on a green wine bottle - not as cool as I had hoped, but interesting. The flattish green bottle in the back was the first one that I "striped."

Here is a better picture of the green bottle. I found it at Goodwill for $3.00. I added a strip of leather, then tied a couple of glass beans on one end, and a charm from a broken necklace on the other. I plan on getting some pussy willow to keep in it.

These are a few more of the glass jars/containers I painted. I didn't pay any more than $3.00 for a jar, and most of these were only 50 cents.
Comments
Join the conversation
4 comments
-
Wow!! These turned out absolutely gorgeous!!
-
So impressive!


Frequently asked questions
Have a question about this project?