


DIY Faux Brick Wall

by
Keri Johnson
5 Materials
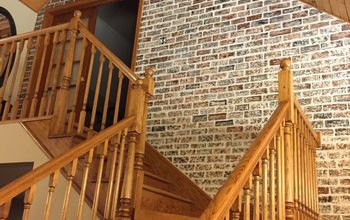
I've been wanting to update the dining room for a while, and now was my chance! We decided to remove the old chair rail and change out the trim, so I wanted to add a little architectural interest to the window wall with faux brick.
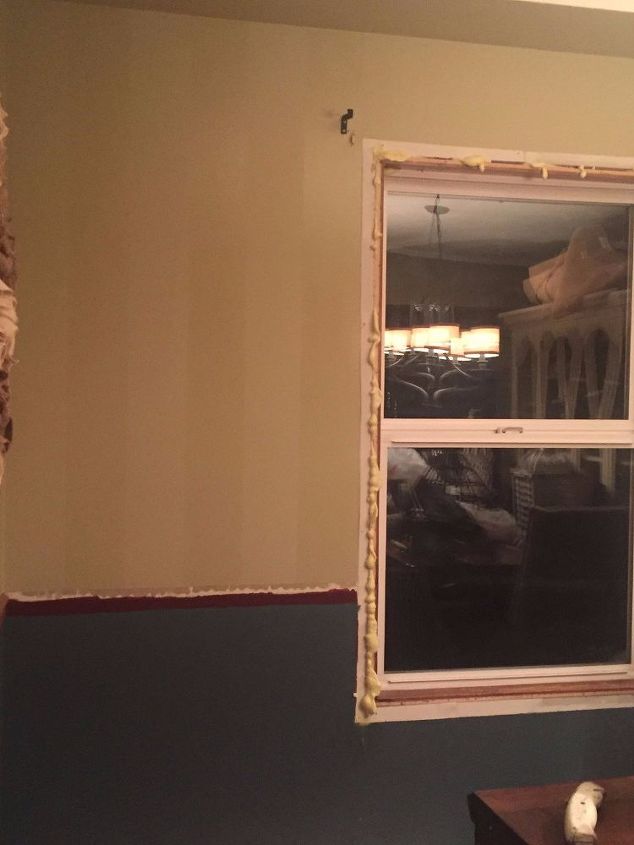
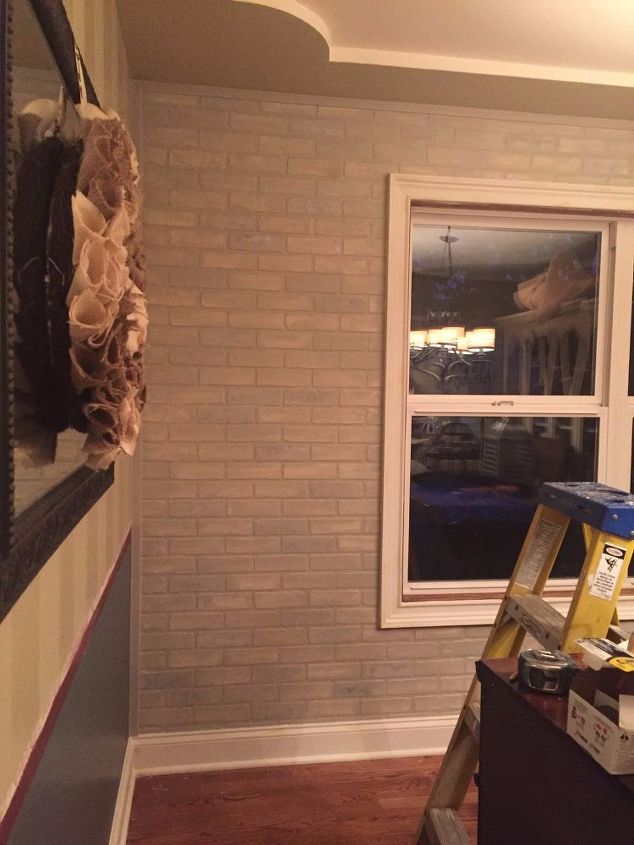
Here's the 'before' with the trim removed.
First, we removed the chair rail and trim pieces from around the window, and added some spray-in insulation.
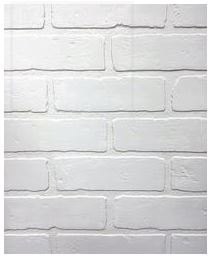
We measured the wall and figured out that we needed 3 sheets of 4'x8' paintable brick paneling, which we got at Menards for $26/sheet.
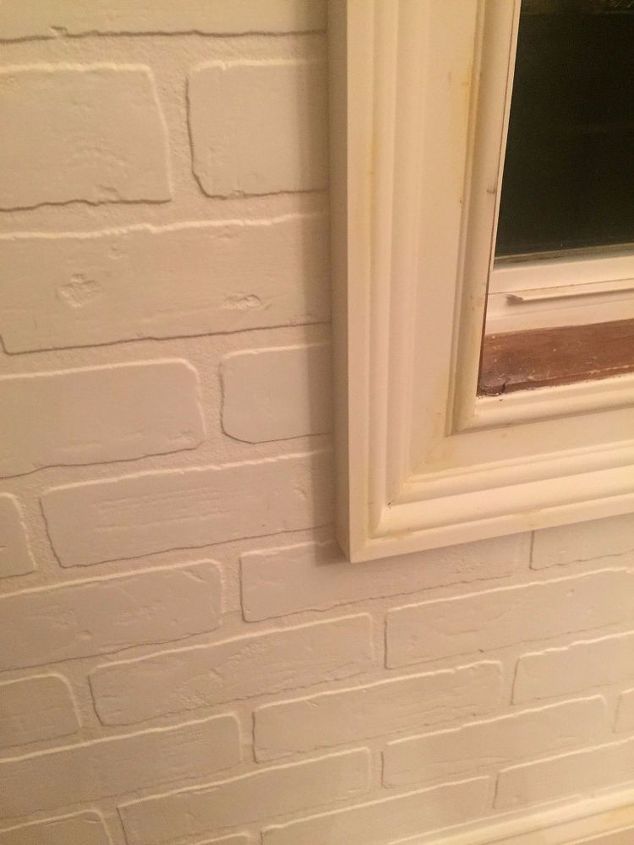
My husband used adhesive to attach it to the wall, adding nails every so often for stability. then he added the new trim and filled all of the gaps and nail holes with filler.
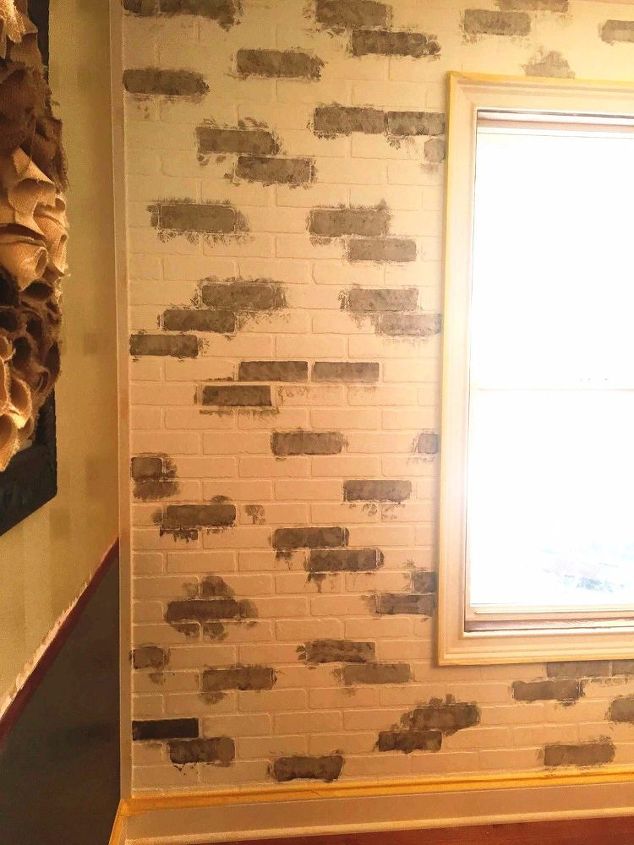
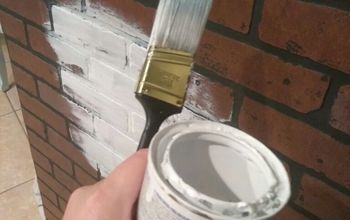
I used 3 colors for the end result- all different shades of grey. The first was a very dark charcoal, seen here. I applied this with a small brush, and I wasn't super careful with it. (This made everyone think I was crazy...LOL! Trust me...)
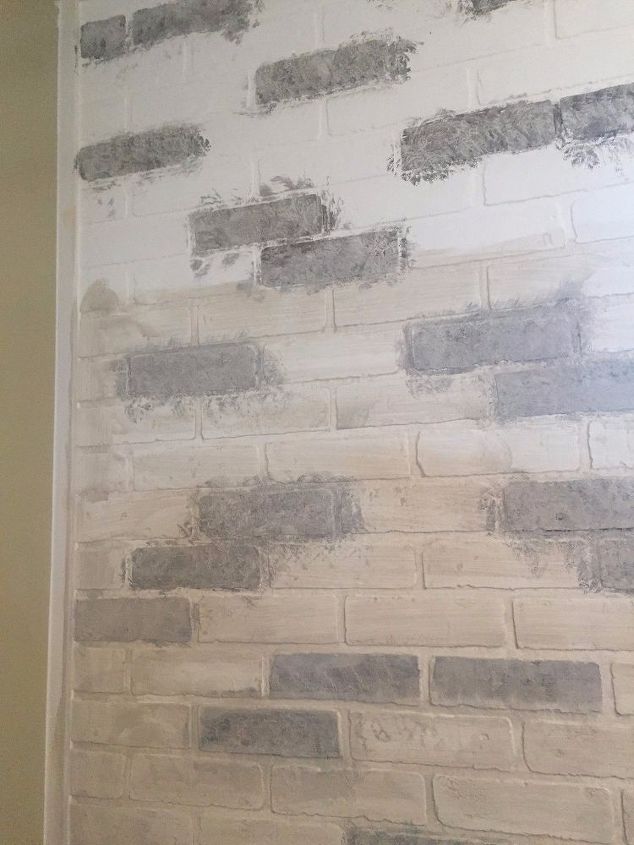
Next, I used a Shabby blue sponge to apply the lightest grey-beige (greige), called Worldly Gray by Sherwin-Williams. I used about 50/50 paint/water, and went over the entire wall, incliding the dark gray. This calmed down the intense dark, while still letting the contrast show. Here, you can see how it looked before the wash (on the top) and after (on the bottom).
Another shot of the first wash!
Definitely getting there, but the grout looks 'lost'.
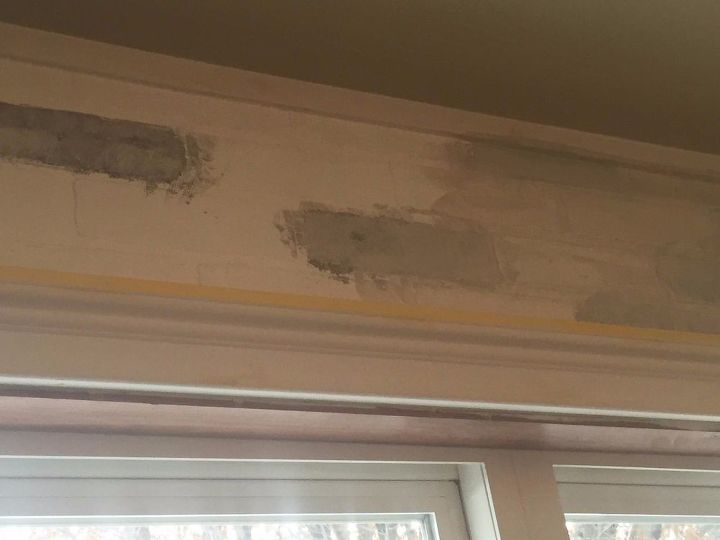
My next step was painful, but super necessary. I used my final greige (Amazing Gray, SW), and went over the grout lines, being sure to cover any dark gray that spilled over while I wasn't being careful. I was also careful to quickly wipe off any paint that got on the bricks so that I didn't have dark spots. This gave the bricks a very distinct look.
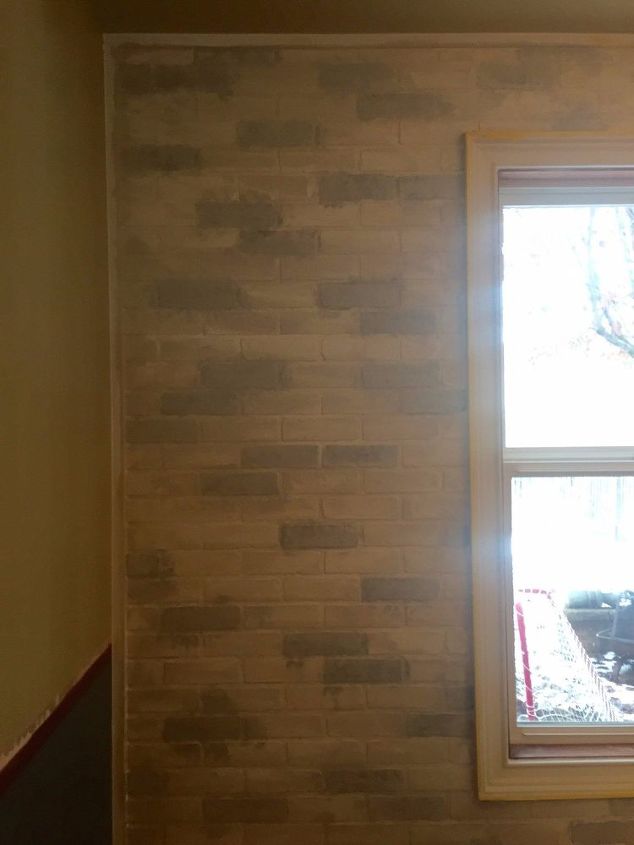
Finally, I took the blue sponge and went over the entire wall again with the Amazing Gray, being sure to wipe down the darker bricks with a wet towel as I worked in sections. I wanted the final result to be muted tones of brick, and it turned out better than I imagined!!
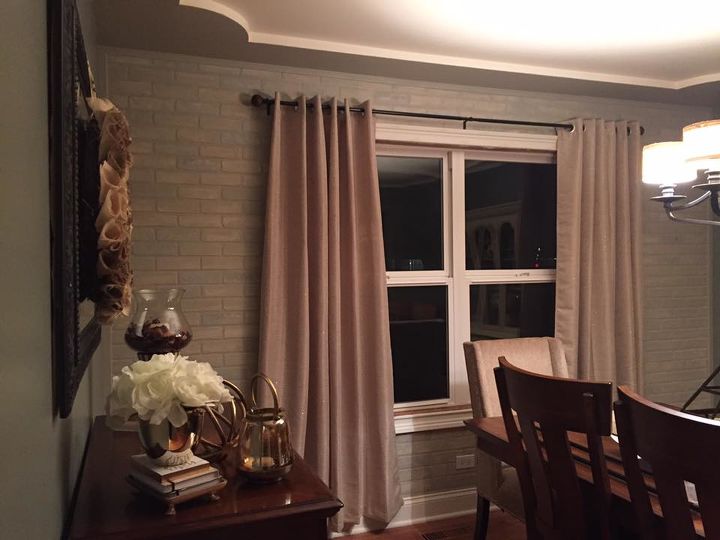
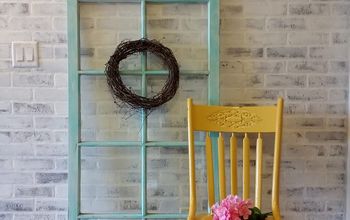
Finished product at night!
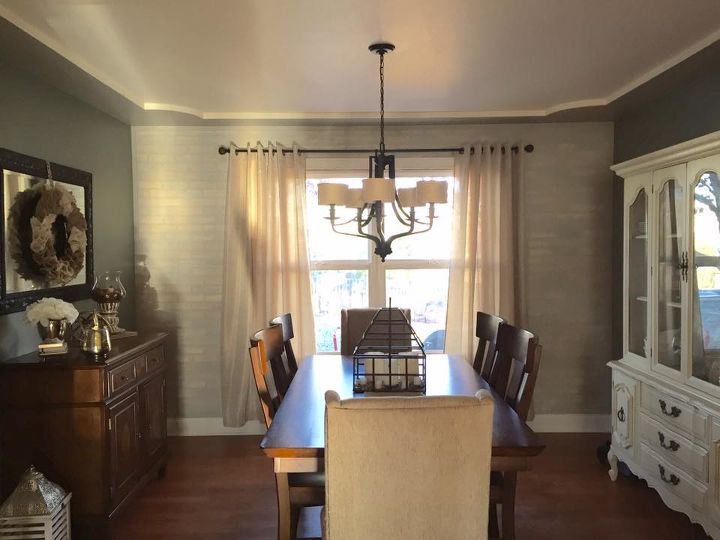
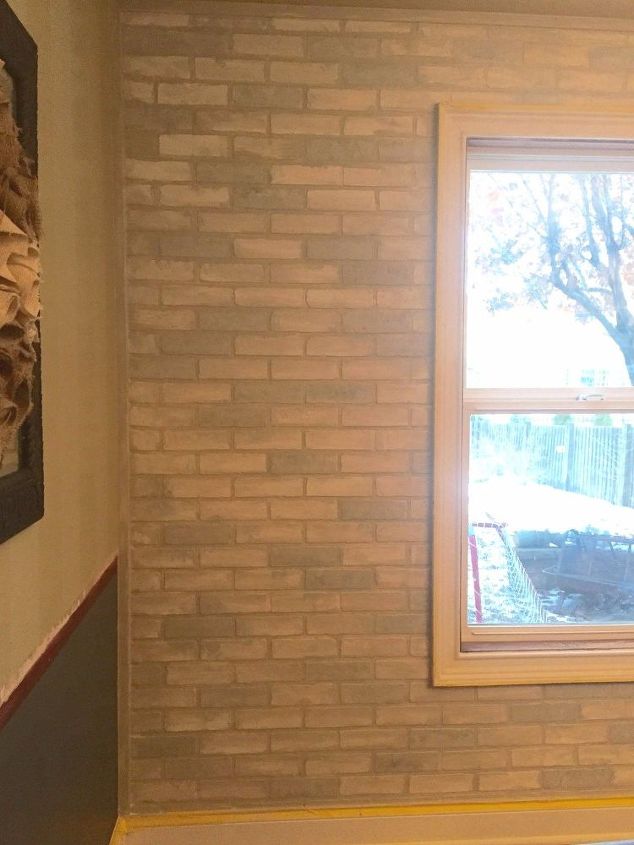
Daytime view - my favorite!!
Resources for this project:
See all materials


Any price and availability information displayed on [relevant Amazon Site(s), as applicable] at the time of purchase will apply to the purchase of this product.
Hometalk may collect a small share of sales from the links on this page.More info
Comments
Join the conversation
4 of 56 comments
-
Adds great texture to your awesome room. Well done.
-
I love the look of brick inside the home and you did a fabulous, though tedious, job of this. It truly looks real and the soft colors were worth the work. You can get the various colored faux brick wall sections in the 3-D like you have or the peel and stick wall paper that also looks good. Can't tell it's not real until you touch it. So those who aren't as gifted or don't have the time to get your results and get a similar effect using different products available on Ebay.com You did a super job, looks gorgeous especaily against that cold snow outside.


Frequently asked questions
Have a question about this project?
Very nice!!! When did you say you were coming to NY? LOL
Can you tell me how you "hid" the line/joint between the panels?
where do u purchase faux brick from