


How to Drill Porcelain

by
Ronja Lotte
Of all my tools my power drill is probably most used, which is a bit ironic, since I am still not able to drill a reasonable hole into a normal wall. My wall holes usually contain half screws and half the ends of matches, with which I always have to fill my awry holes. While I always feel cold sweat on my forehead, when I stand in front of a wall with a drill in my hands, I feel completely safe in drilling other materials like metal or porcelain. How to drill metal I have already shown you at my blog and today it is about how to drill porcelain:
PS: I’ve given up my attempts only to listen to an audio book when I’ve done my work, and while I’m writing this, Harry, Ron, and Hermione are hiding in a tent in the woods and discuss how to destroy the Horcrux which they stole from Umbridge (die, witch, die!).
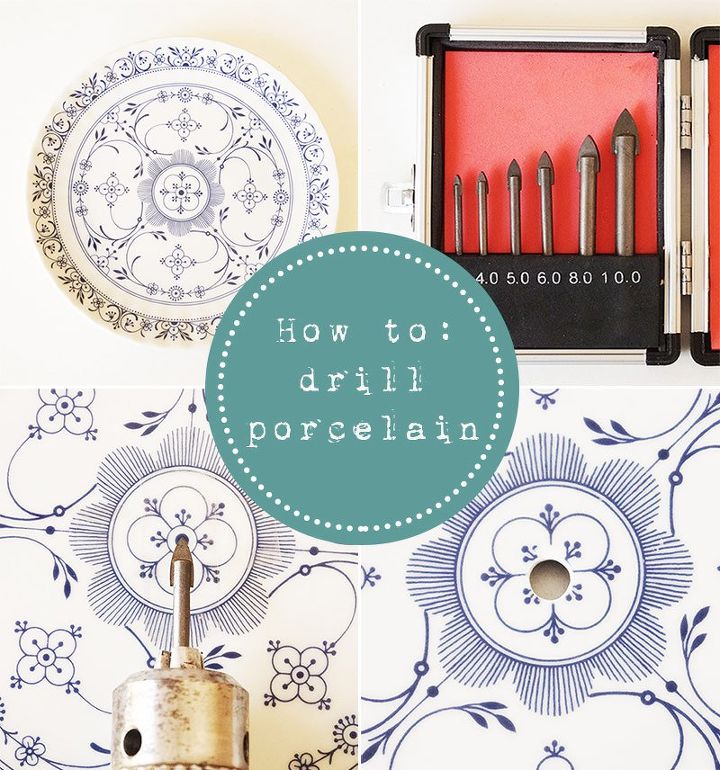

In order to drill porcelain, you need special drill bits that are suitable for drilling ceramics and porcelain. Besides that you will need Sellotape, petroleum (or something similar) and something for support such as a cork plate and, of course, porcelain.
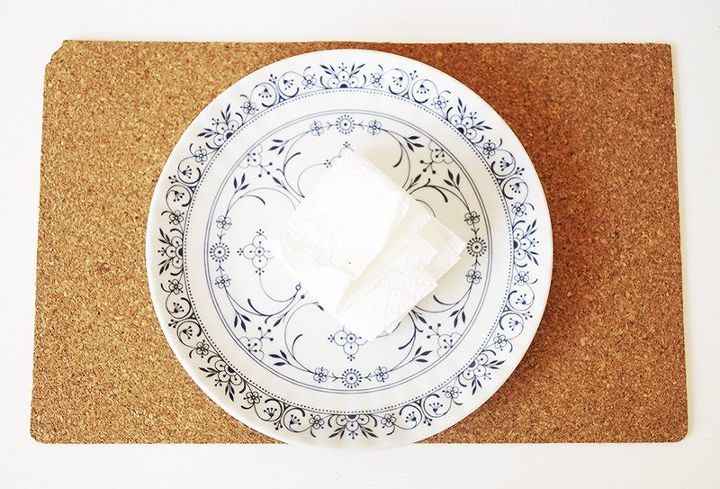
First, you should wipe the porcelain from both sides with the petroleum. As an alternative, I have also used lamp oil and that has worked just fine. If you drill porcelain, there is always the risk of stress cracking and the petroleum helps with a more uniform heat distribution and thus serves to avoid cracks.
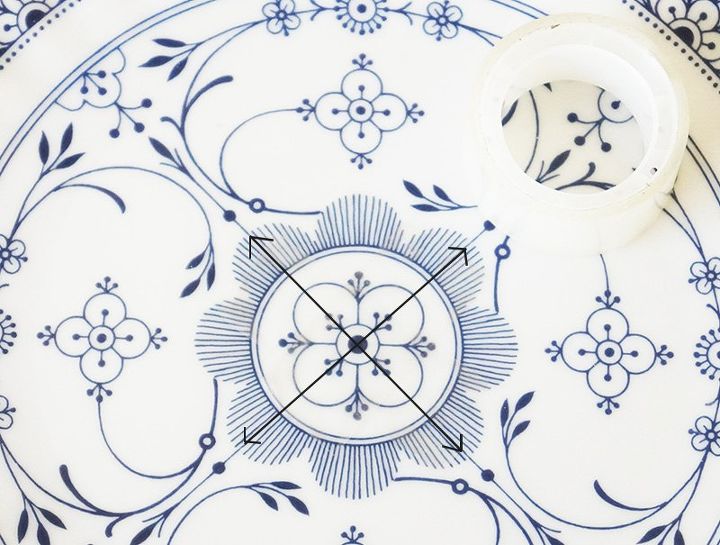
To ensure that the drilling tip does not slide back and forth during drilling, you must now put some Sellotape crosswise over the drill point.
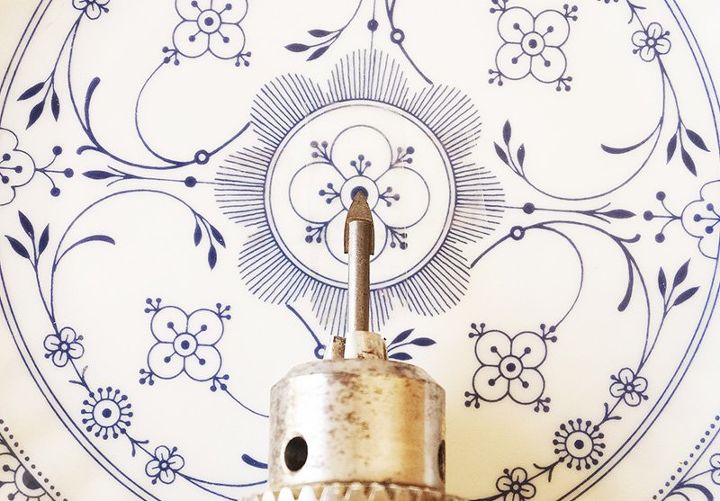
Now the drilling can start. Begin with a smaller drill bit and then change to larger drill tips if you want to expand the hole. If you can adjust the drilling speed at your power drill, choose a slow speed and remain patient. The drilling process can take a long time and you will probably have to take breaks to cool down the drill.

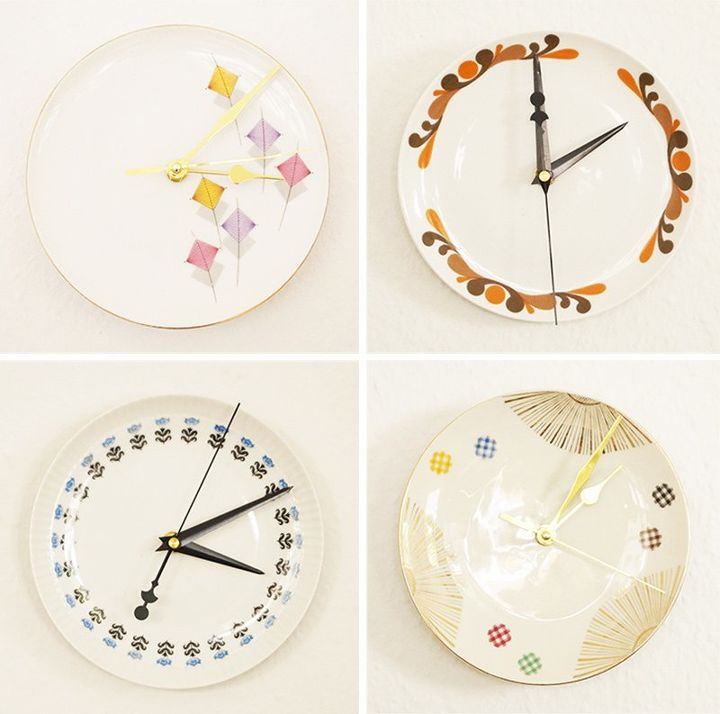
If you are only accustomed to drilling wood, the process of drilling porcelain appears to be slow and laborious but it is worth it. For example, you can make very pretty clocks from plates, as soon as you have drilled a hole for the clockwork in the centre of the plate and that is exactly what I have done.
If you like to see more of my tutorials, just visit my blog (English and German) :-)
Want more details about this and other DIY projects? Check out my blog post!
Comments
Join the conversation
2 comments
-
Your post made me laugh! Thanks for sharing this, I have always been afraid to try it.


Frequently asked questions
Have a question about this project?