


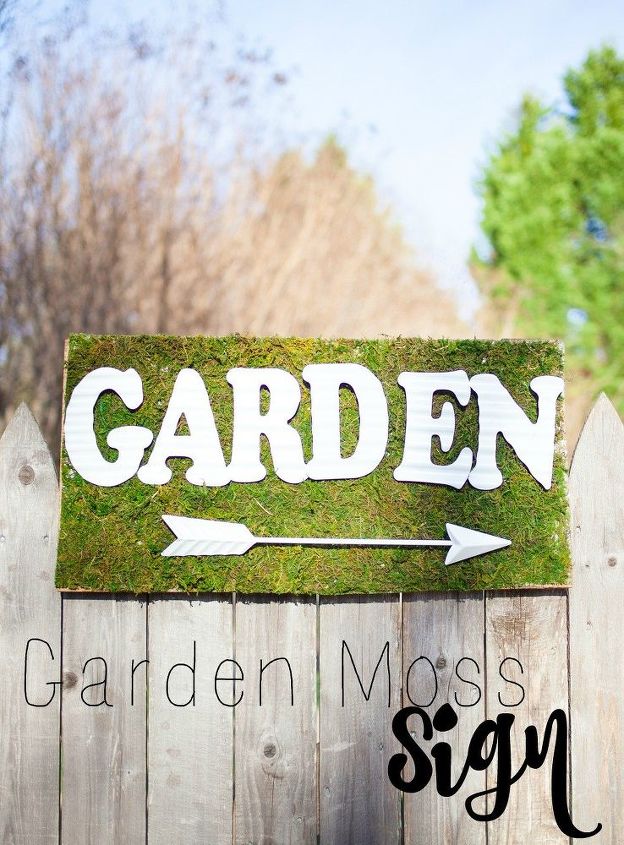
Garden Moss Sign
I love the flexibility of dried moss. The evergreen aspect makes moss one of the best craft supplies for anything fun and whimsical. I've used moss on many DIY projects and the outcomes are always satisfying. With National DIY Day just around the corner this spring, I wanted to add this to our collection of fun spring projects.
I'm using dried moss to create a garden moss sign. I think it adds a fresh look to the garden during the transition from winter to spring. Let's start celebrating!
Supplies:
- metal letters
- arrow
- white spray paint
- a roll of dried moss
- wooden board
- hot glue
- nails
- hammer
- scissors
1. Spray paint the metal letters and arrow.
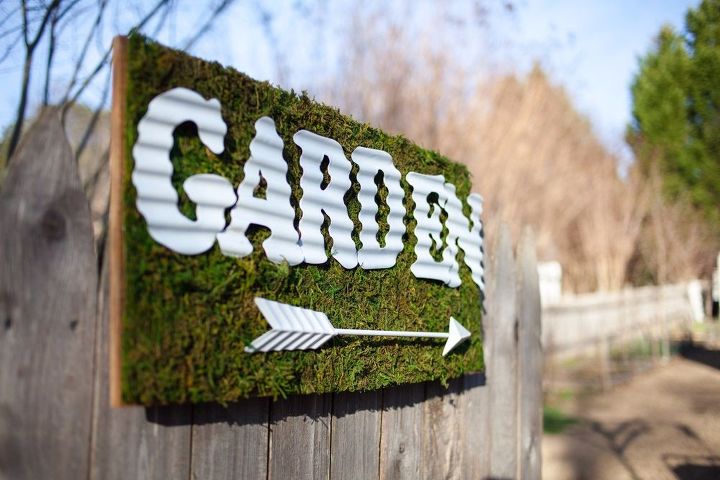
2. Trim the moss to fit the dimensions of the wooden board. Hot glue the moss onto the board. Be sure to glue around the edges and in the middle of the board.
3. Lay out the letters and arrow on the board the way you want to display it. Nail the letters and arrow on the board using a hammer. Hang the board at the entrance of a garden gate. This is just one of the many ways I am preparing for National DIY Day on April 2. Stay tuned for more DIY projects on NationalDIYDay.com and follow us on Instagram @nationaldiyday. You can even win a craft party with your friends! Connect with us and share your creativity!
Chan


Want more details about this and other DIY projects? Check out my blog post!


Frequently asked questions
Have a question about this project?