


Subway Tile Step-By-Step Tutorial: Part Two - Grouting

by
Diana
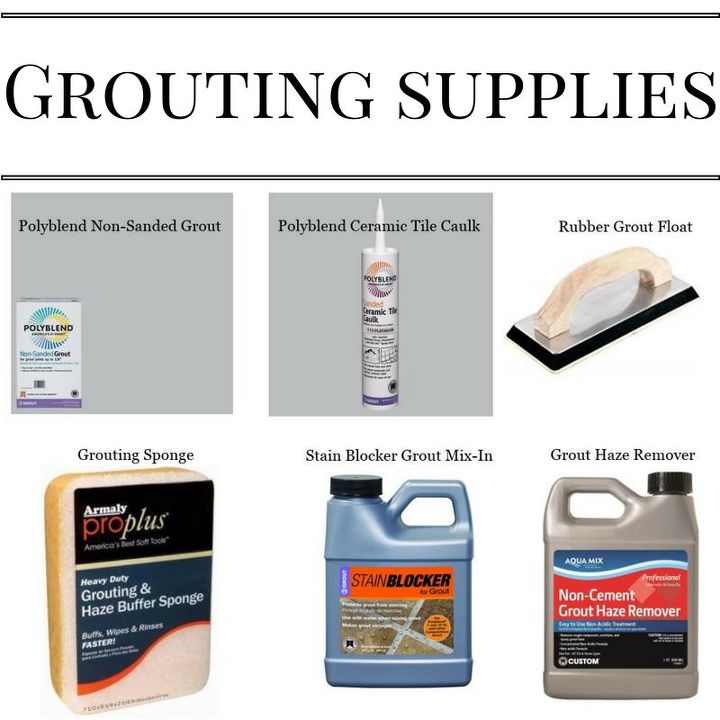
6 Materials
After a long day of cutting and laying tiles and your mortar has set, it's not time for the messiest part of the whole project: Grouting. It's not as scary as it looks as long as you have all the supplies you need on hand. It's certainly the most rewarding part of the project.
Get a list of supply links and access to a free shopping supply printable on the Dahlias and Dimes blog!

Step One: Mix Your Grout
The back of the grout bag should show you how much water to mix with your grout powder. Follow the given directions. You’re looking for a thick, pancake mix-type consistency. This is also where you want to add your sealer stain blocker mix. This saves you a step at the end when a lot of tutorials will advise you to seal your backsplash a few days after completion. The sealer protects your grout from staining and gives your tiles a nice protective coat as well. The sealer bottle also tells you the ratio of grout per bottle of sealer.
We spent $12 on the mixing paddle, and it was absolutely worth it. I just attached it to our cordless drill and mixed in up-and-down motions until I got the texture we wanted.
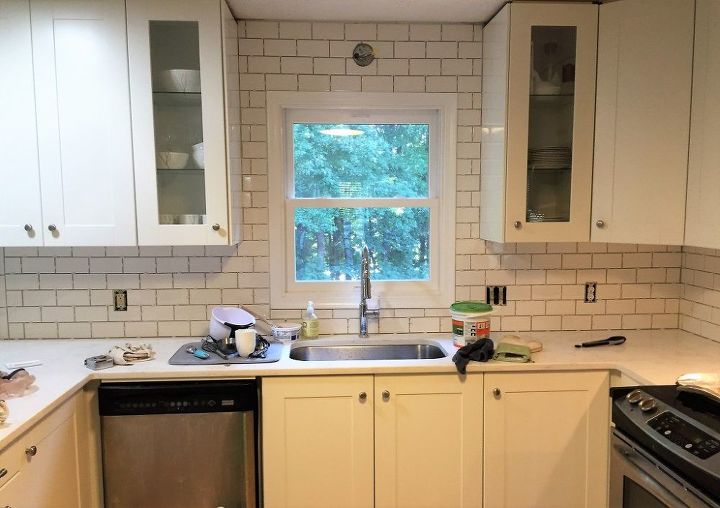
Step Two: Apply Grout
This is the messiest part of the entire project, so prepare yourself! I promise it will clean up nicely.
Scoop your grout onto your rubber grout float and smear it on your tiles at a 45 degree angle. Focus on small areas and work your grout in between each tile. You may even need to use your finger to apply grout into tight places. Do not apply it where the tiles meet the countertop. That is what the caulk is for at the end. Wipe off the excess grout with the float at a 45 degree angle.
Keep working down your wall in 10-20 minute increments. Once the mortar has set for 10-20 minutes, wipe off the grout with your damp grout sponge. Wipe in circular motions to ensure you’re working the grout into the grooves evenly and not removing it. This is where you need to ensure to wipe all of the grout off the tiles. You will still be left with a dirty haze, but you can deal with that later. You just need to make sure to get the mortar off the tiles before it completely sets because it’s nearly impossible to remove dry grout from ceramic tiles.
Step Three: Clean Tile
Once you’ve filled all the spaces with grout and wiped off the excess grout, you need to let it dry for at least an hour. Take a much needed lunch break! Clean your grout sponge and refresh your water during this time.
I highly recommend the grout sponge that also has the buffer side. You will use the buffer side to remove the haze with the haze removing agent mixed with the water. This will take off the film that the grout left on the tiles. Work in circular motions and keep sponge clean throughout the process.
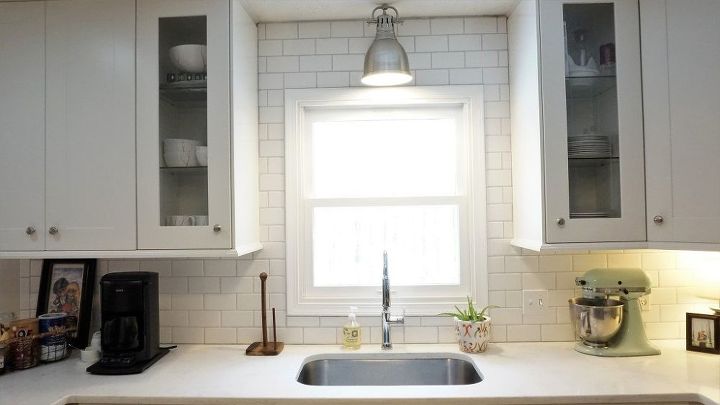
Step Four: Apply Caulk
Most grout brands offer a matching caulk. I used Polyblend Grout. They have 48 colors to choose from and a matching grout option for each one. Choose the matching color and purchase more than you think you’ll need. I went through it fairly quickly. Grout the space between the tile and counter top, along the ends of the tiles, and at the top edge as well.
Caulking Tip: Apply a bead of caulk along the edge, wet your finger in clean water, and rub it along the bead of caulk. Wipe the excess off your finger on a paper towel.
I probably went through a whole roll of paper towels during this project.
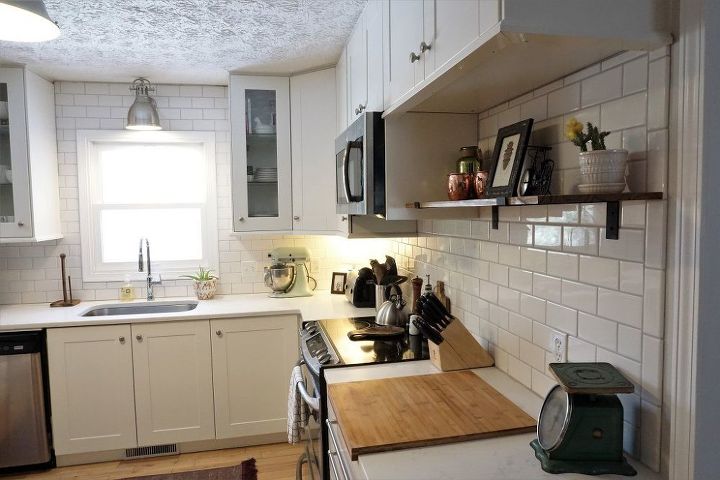
The caulk will set within a few hours and you will be left with a beautiful tiled backsplash that you did yourself!
Want more details about this and other DIY projects? Check out my blog post!
Comments
Join the conversation
1 comment
-
Love it! Looks so refreshing :)


Frequently asked questions
Have a question about this project?