


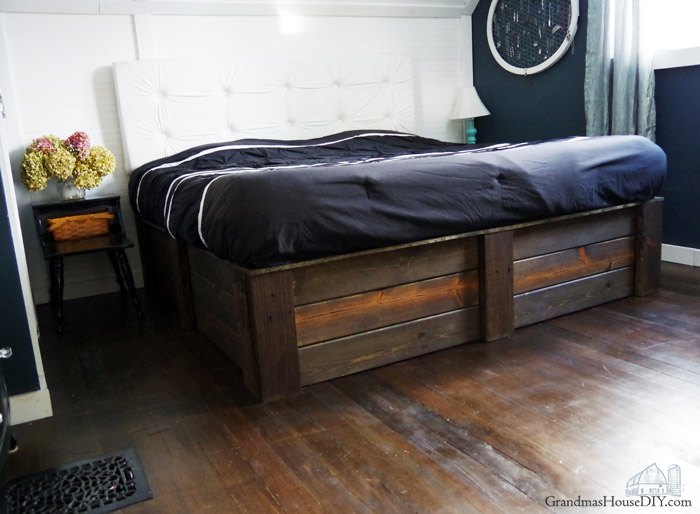
Build Your Own Platform Bed Frame DIY
I knew this one was going to be a big project for one main reason: A very narrow stairwell. Which meant I knew I would have to take every individual piece of the bed frame upstairs and put it together there. Not to mention I had to haul the old bed frame out of there all while trying real hard not to put holes in every wall on the way down.
A couple months ago when I finally had the plan settled in my head I ran out to the barn and grabbed all of the materials I needed.
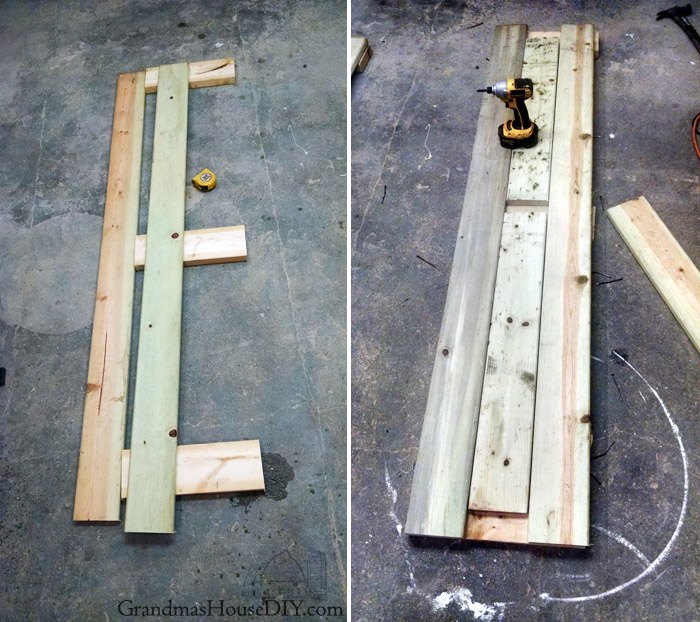
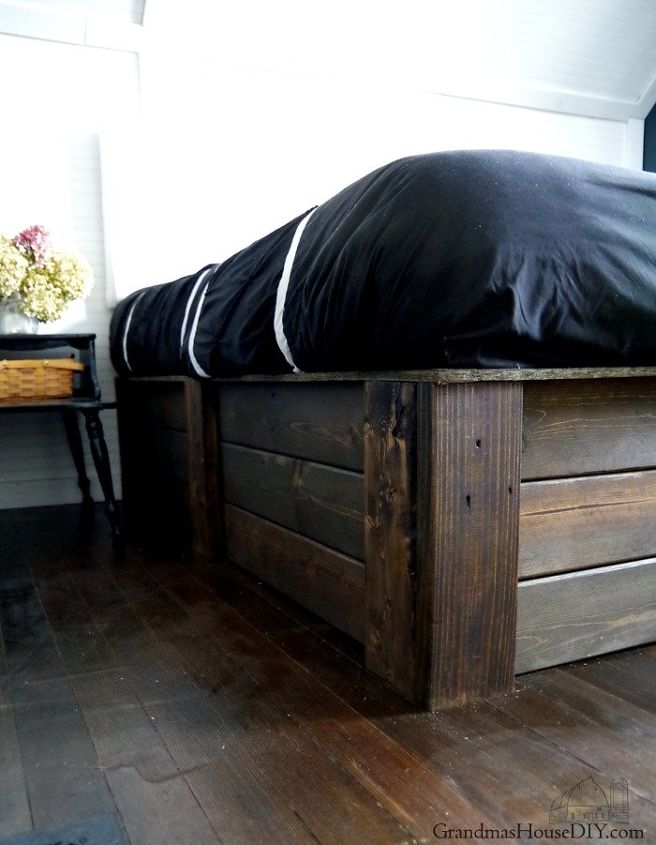
I grabbed the last of the 12 foot decking boards I had leftover from my deck build and hauled everything down to my basement workshop. I barely had enough material so you can see, looking at the backside of all three sides of the bed, that I actually ran several of the decking boards short to save on wood.
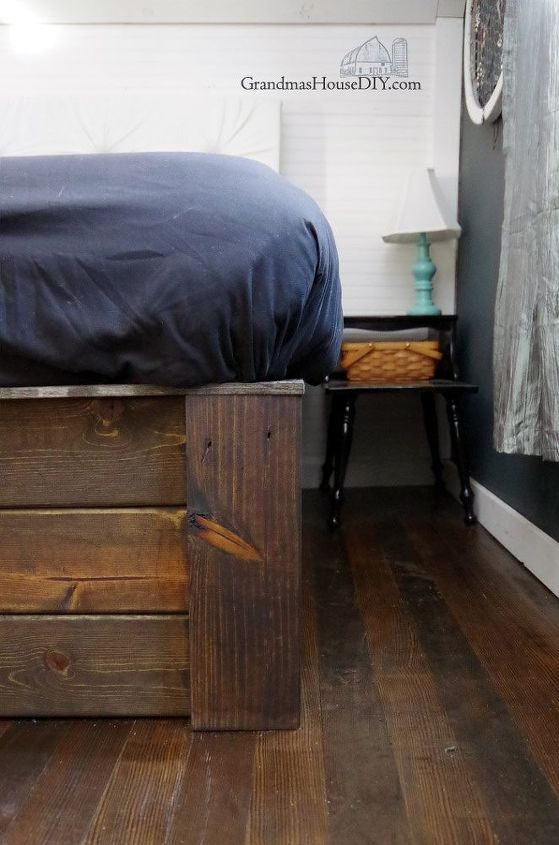
Looking at the “right” side of the bed you can’t tell as everything is hidden behind the 2x6s I used as supports and for screwing it all together. The entire bed frame is 76×80 – the exact dimensions of my king size mattress.
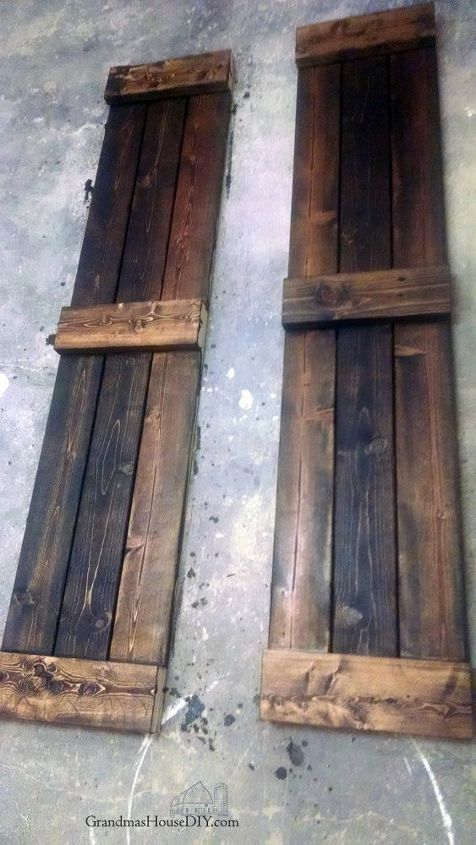
With the foot of the bed and the two sides done I sanded them down first with medium and then fine grit sand paper with my electric palm sander. Then I stained them with Minwax Dark Walnut stain. Are the deck boards green treated? Why yes, they are. But they have also been in the barn for a year and a half and the standard time for letting green treated anything sit before staining or finishing is a year – so I was good to go. And, I figured, you wouldn’t be able to tell the difference between the deck boards and the 2x6s once they were stained and I was right.
The rest of the frame that needed to be cut was four 2x6s and the plywood to go on top of them.
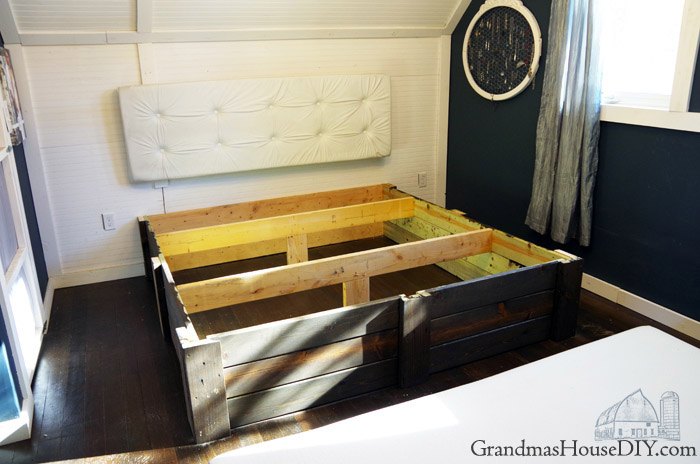
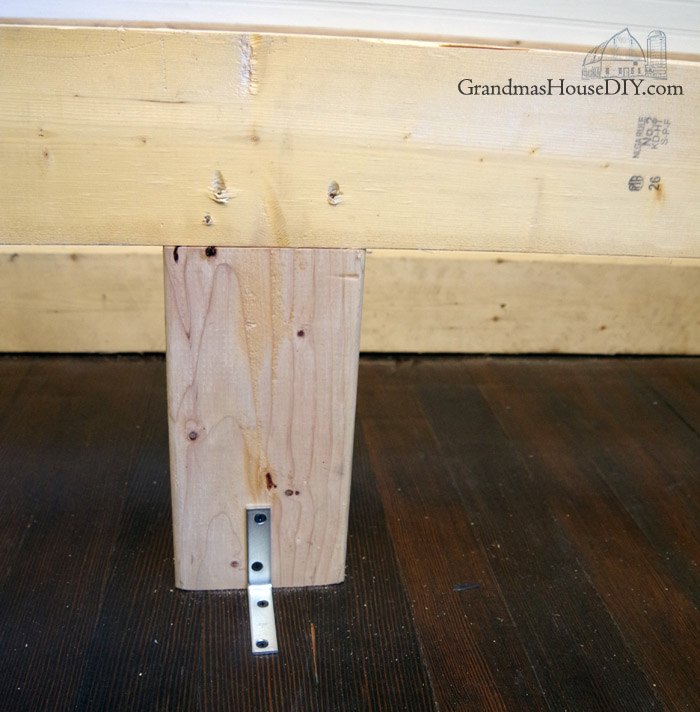
I cut the 2x6s at the interior measurement which was 70 1/2 which gave me a full 76 width when the sides were attached to them. I screwed one to the wall across the floor and the other to the wall flush with the top of the sides making sure to hit every stud on the way using 3″ long screws.
(I wasn’t playing around here, I never wanted this bed to move.)
Then I screwed the sides to them and then attached the foot of the bed to the end of both the right and left sides which squared everything up. From there I ran the two supports from one side of the bed to the other and I cut a support to go under the center of each of them.
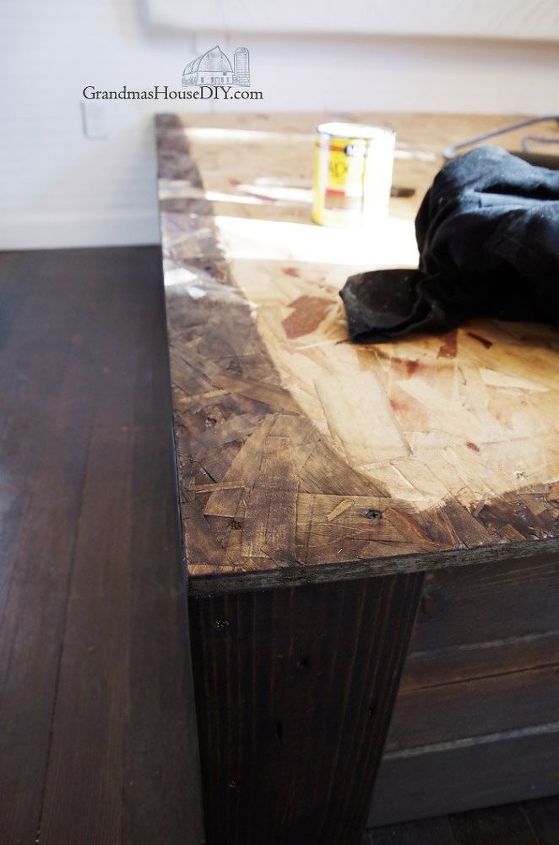
From there I moved on to getting the 5/8th plywood cut and in place. It took two pieces of plywood all together and getting that upstairs without destroying my walls took serious effort. I put lots and lots of 2 1/2" screws in it along all of the edges and across the center supports.
I even stood on it afterward and did a bit of a tap to be sure that this frame would never move. I also put the plywood "shiny side" up, so the bed would have an easier time getting on it without snagging. I hand sanded all of the edges with fine grit sand paper and went around the entire thing with the same Dark walnut stain I used on the rest of the bed frame.
I simply brushed the stain on and then let it sit twenty minutes before wiping it off with an old t-shirt.
From there it was just a waiting game for the stain to dry (about an hour) before I could heft my bed on to it. I absolutely ADORE my new bed!
So, how was the first night? I slept better then I have in months!
So how did I do on budget? Well, every single piece of wood I used was wood left over from other projects so my only cost was the screws lol.
So, there you have it guys! All in, if I had purchased all of the materials new this bed would have still only cost around $160 all together and, goodness knows, you could never buy something like this for so little! Besides a little calculation this was actually a very simple wood project.

Comments
Join the conversation
-
Great idea, I am searching for these ideas because I am giving my canopy, post Cali King bed to my daughter so I can create room and go to just a queen w/o box. Having a water bed in the past, I would finish the top to relate to the headboard for a nicer finished look. Still love the design though.
thank you
sir james
-
Dimensions?


Frequently asked questions
Have a question about this project?
Did u have any issues with creaking? If so,how did you fix?