


How to Clean a Showerhead
Here's a simple way to clean a showerhead.
Please subscribe to the Mother Daughter Projects newsletter! You can join our community by clicking this link: Sign up here.
Have you ever looked up at your shower head and noticed many of the nozzles aren't working? I (Steph) installed a new shower head in 2013 when I moved into my house, and haven't thought about it since.
Over time I have noticed the water seemed to be coming out harder and was spraying in different directions. It also didn't have the 'rain' effect it once did. I decided it was time to try to clean it! Here's what I did.
Refer to the manufacturer of your shower head to be sure using vinegar will not harm the finish.
Watch the video 
Hometalk Recommends!
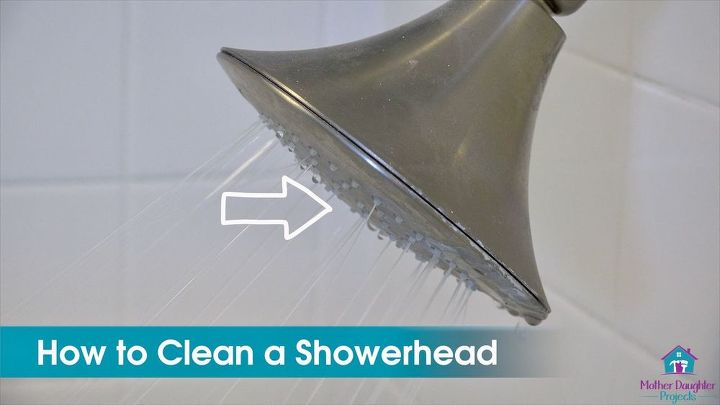
You can see many of the nozzles where not spraying water anymore.
Before you try this formula, be sure the fixtures in your shower can be safely cleaned with vinegar. Check the manufacturer's care instructions for your shower head or faucets.
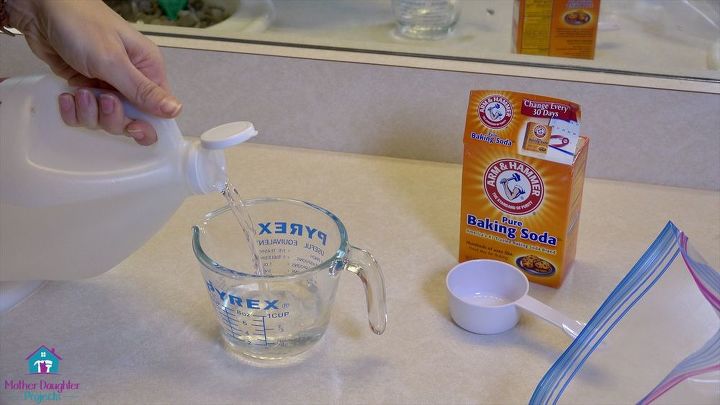
I started by mixing a cup of white vinegar with 1/3 cup baking soda. The acid in the vinegar reacts with the baking soda to form a strong cleaning agent but vinegar works well also.
For your convenience, there are links to the products we use in our projects from Amazon as well as The Home Depot, Wall Control. (Mother Daughter Projects is a participant in the Amazon Services LLC Associates Program, an affiliate advertising program designed to provide a means for sites to earn advertising fees by advertising and links to Amazon.)
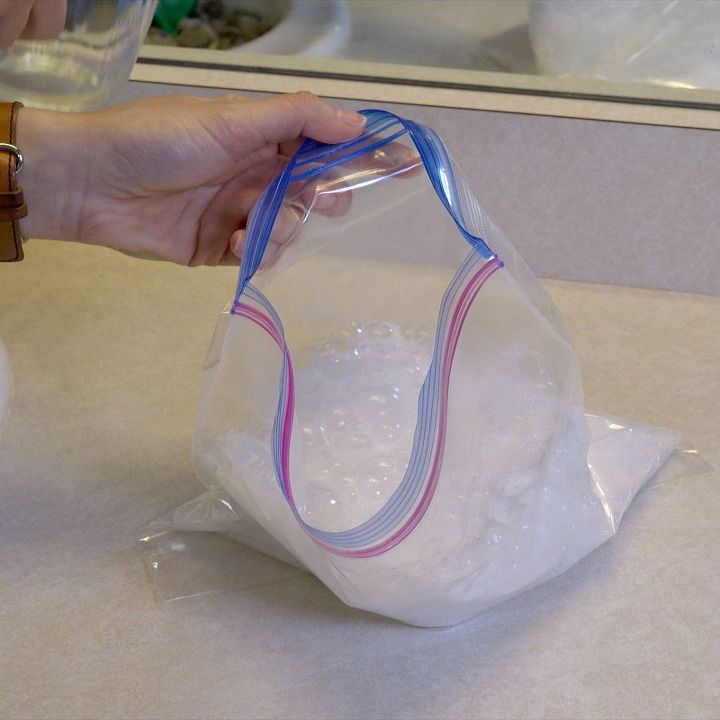
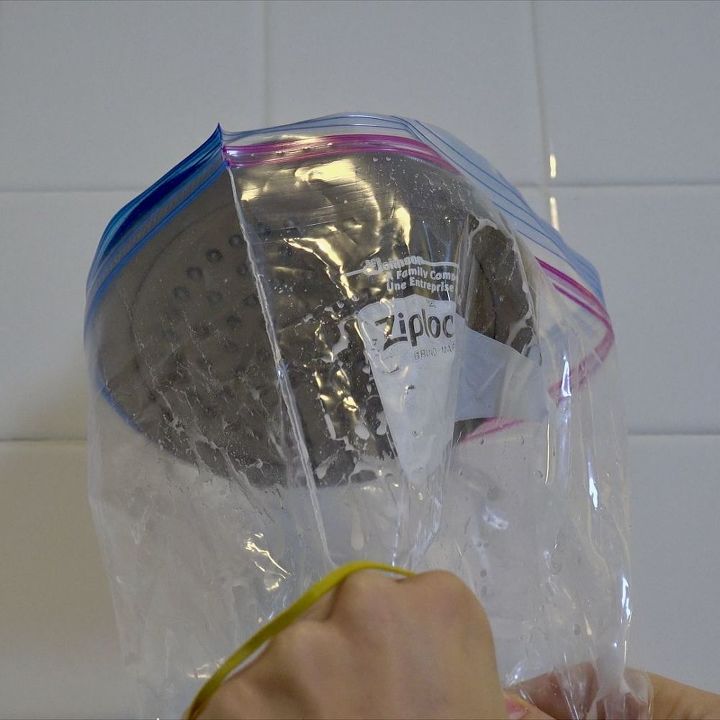
Place the baking soda and white vinegar into a resealable bag. Also, you'll need a few rubber bands as well.
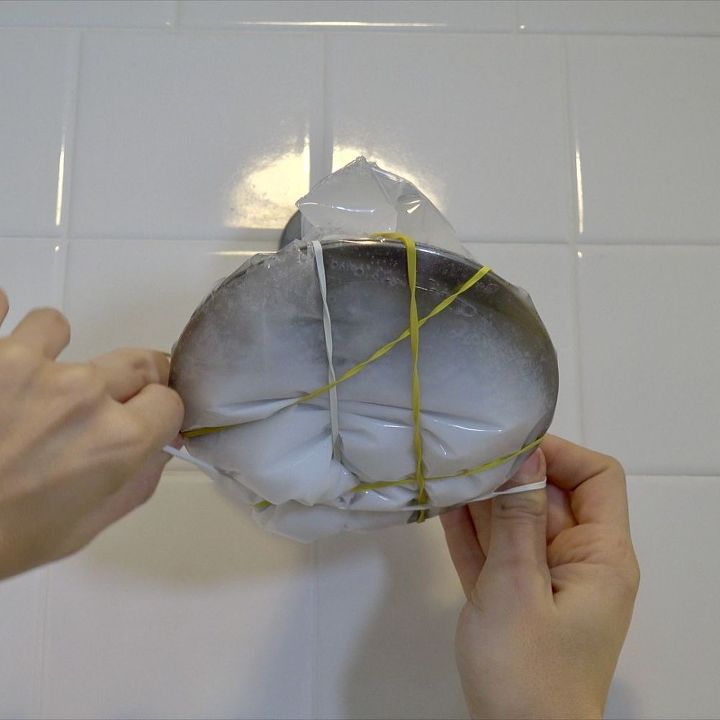
Once they were mixed, I placed the bag over the shower head and attached it with rubber bands. I made sure the mixture came in contact with all the nozzles.
After letting it sit a full day, I removed the bag.
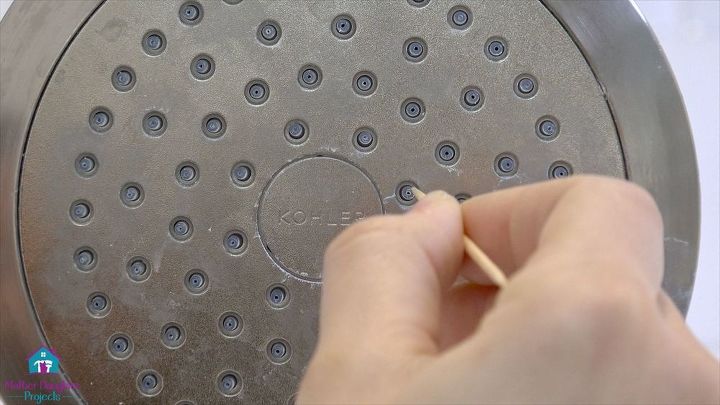
Lastly, I noticed there were still mineral deposits in some of the nozzles so I used a toothpick to clean them out.
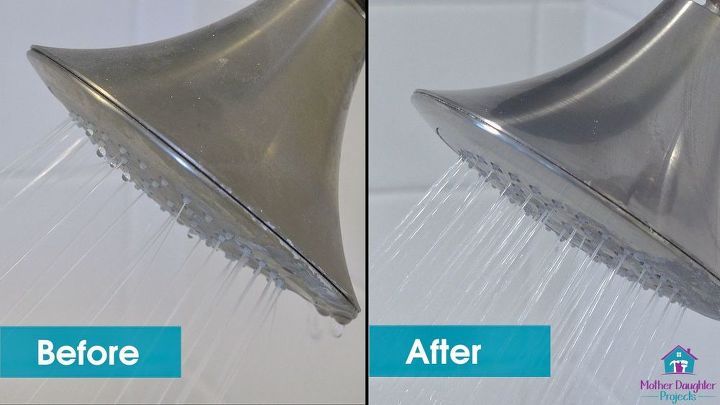
As you can see, before, about half the nozzles were working and now all the nozzles are back to working! I could tell a huge difference when I used the shower after cleaning. The water comes out in a rain pattern like when it was new, and it’s a much better experience than it has been. Pretty cool what a little bit of cleaning can do!
For a few more tips on this project visit MotherDaughterProjects.com!


Comments
Join the conversation
-
The baking soda actually neutralizes the acidity of the vinegar!
-
Been around for years and years but works great.


Frequently asked questions
Have a question about this project?
Couldnt you take the shower head off and soak it that way also
can you just remove the head and soak it in the solution?
Re: the pumice stone...you can actually use a small SMOOTH ROCK and rub in over calcium deposits in toilet and sink. Start at edge of stain to kind of break it away. Have been doing it for years, takes a little time but worth the results! Good Luck!
Re: Coke for toilet stains, my gosh, imagine what it does to OUR insides??