


Printable Wall Art and DIY Wood Frame
6 Materials
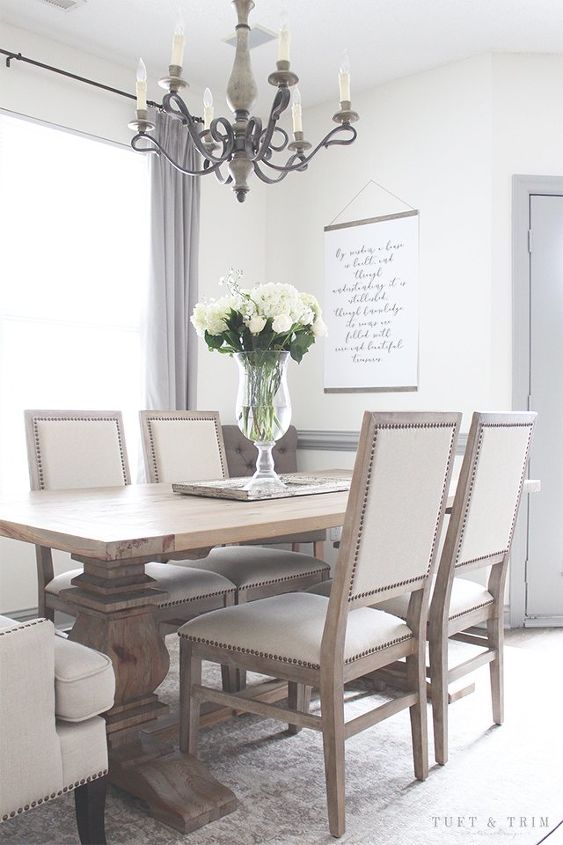
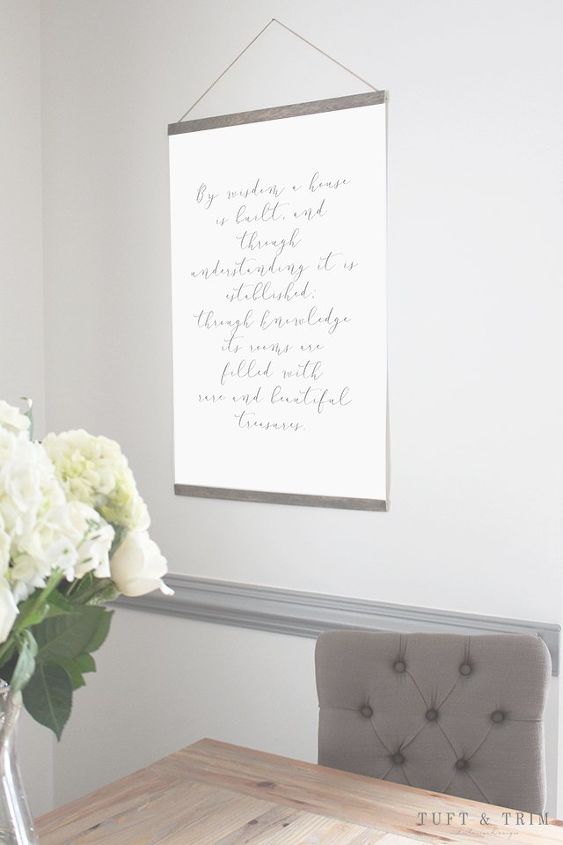
Making your own wall art is a great way to add a personal touch to your space. Recreate this look for your own home with this list of supplies, FREE printable, and 5 easy steps all found at tuftandtrim.com!
Supplies
Step 1: Print
Click here to download the FREE printable.
I made mine 24" x 36", but you can print whatever size works best for you. I found the cheapest place to print a poster this size is Office Max/Depot. My print was 19$. Note: I found the larger you go, the more pixelated the print shows up.
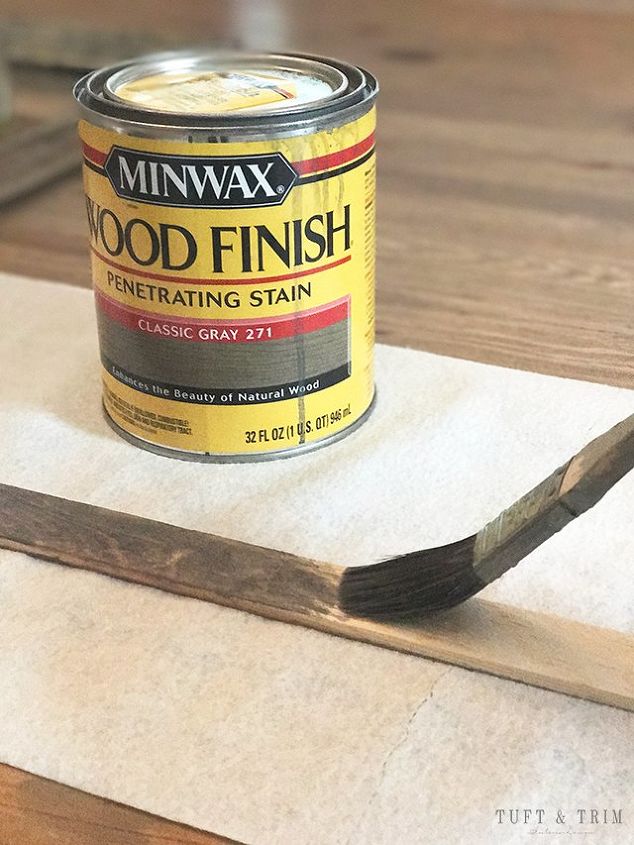
Step 2: Stain
I had the wood cut at Lowe's so it was already ready for me to stain. Start by brushing on a thin layer of stain. If you desire a darker finish, you may want two coats. You'll want to make sure you leave at least an hour between staining and assembling.
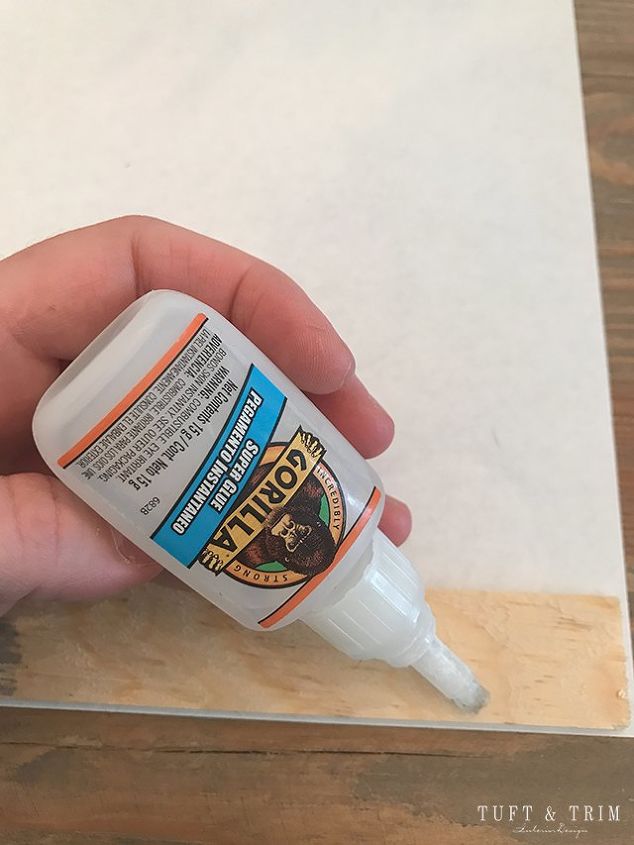
Step 3: Glue
Draw a line of glue across the back of each wood trim and place against the bottom and top of banner with pressure. I put books on top and let it sit for about 20 min to ensure it was attached securely.
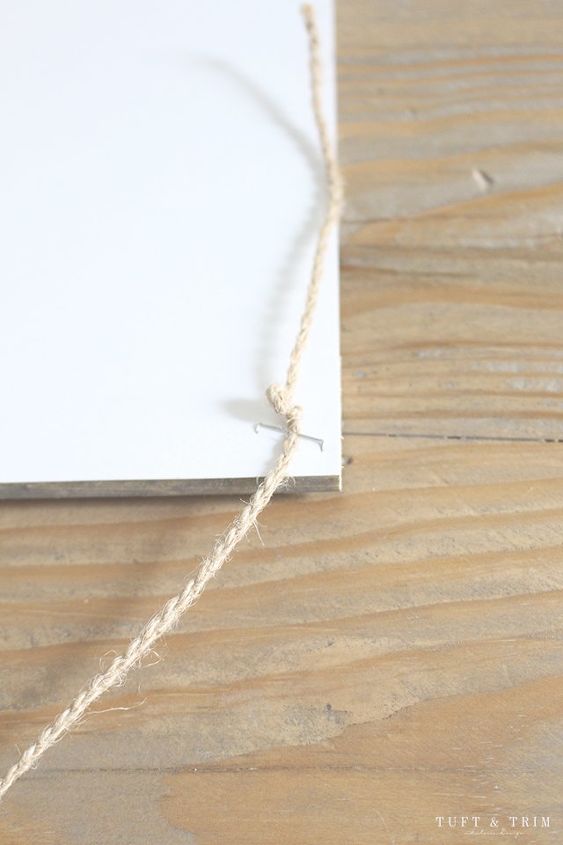
Step 4: Cut & Staple
Measure out the string according to what level you want the banner to hang. I added 5" to the width and then allowed additional length for the knots. Once string is measured and cut, tie knots on each end so it catches on the staple. Next, staple on each corner, as the picture shows.
Step 5: Hang
Now your masterpiece is ready to hang.
I hope you've enjoyed this tutorial and hopefully the verse can light up your own home. Thank you so much for stopping by! Head on over to Tuft & Trim to see full post and subscribe to our weekly newsletter!

Want more details about this and other DIY projects? Check out my blog post!
Comments
Join the conversation
2 of 4 comments
-
Looks good and homey!
-
Going to make one! Thanks for the inspiration!


Frequently asked questions
Have a question about this project?