


Faux Wood Grain Paint Technique

Ok you guys... if you haven't heard of this page has some great painted furntiure ideas and projects to check out!
Love this project? You can buy your own by clicking the link below. Just so you know, Hometalk may collect a small share of sales from the links on this page.
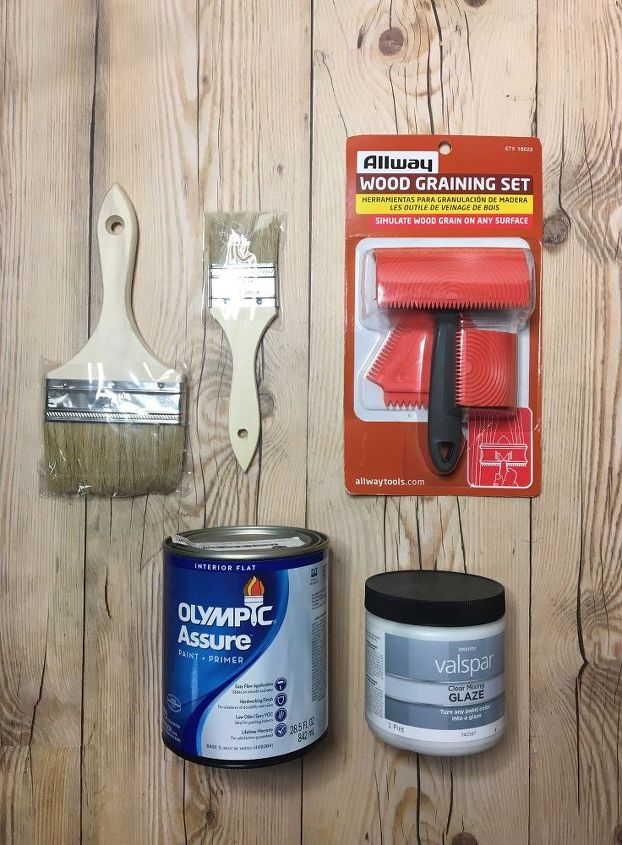
Click on the links to get the materials:
- Wood Graining tool - this is the trick. It doesn't cost much at all, and it super fun to use.
- Top Coat Color Paint (not pictured above)
- Old Rag

STEP 1: Sand down your piece of furniture
Grab whatever piece of furniture you want to paint and start sanding it down. Do this on every piece of furniture you want to paint, even if it's laminate; it preps the surface for painting.
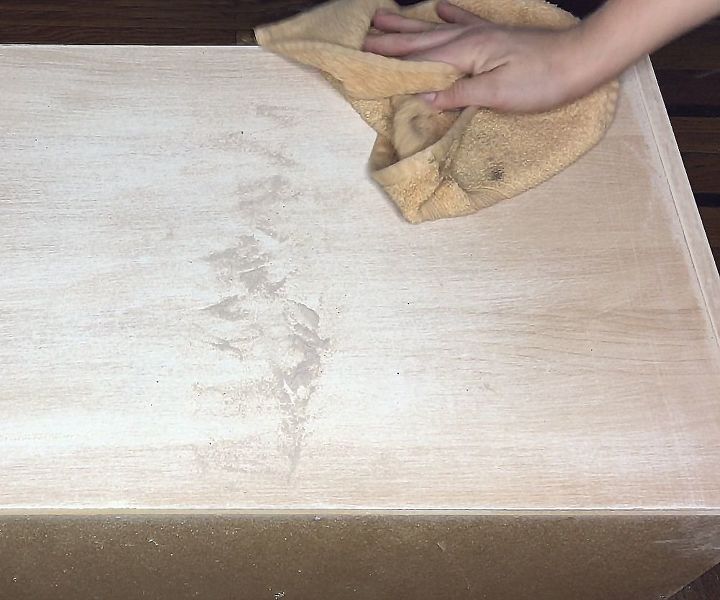
STEP 2: Clean off the area
Wipe down any dust caused by sanding the item.
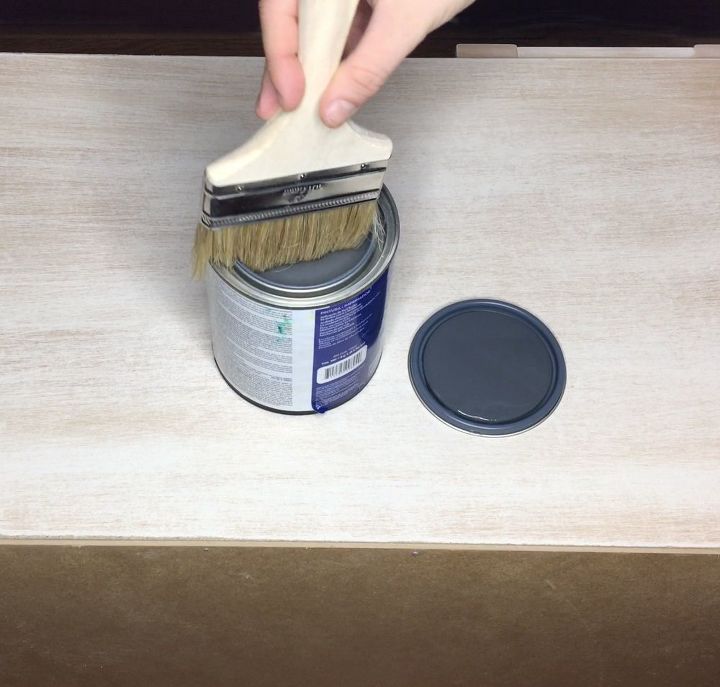
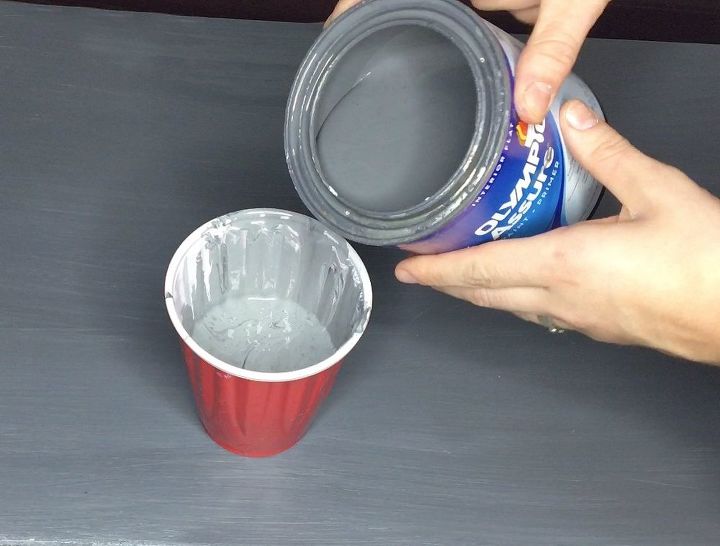
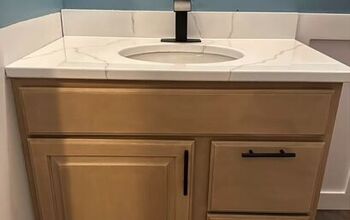
STEP 3: Paint a base coat (the grain color)
Here is where you can begin customizing your piece. First you will be laying down a base coat in the color of your choice. This will be the underlying color of the grain. You can use any color you want! Be sure to use a paint that has primer in it so that it adheres to the surface well.
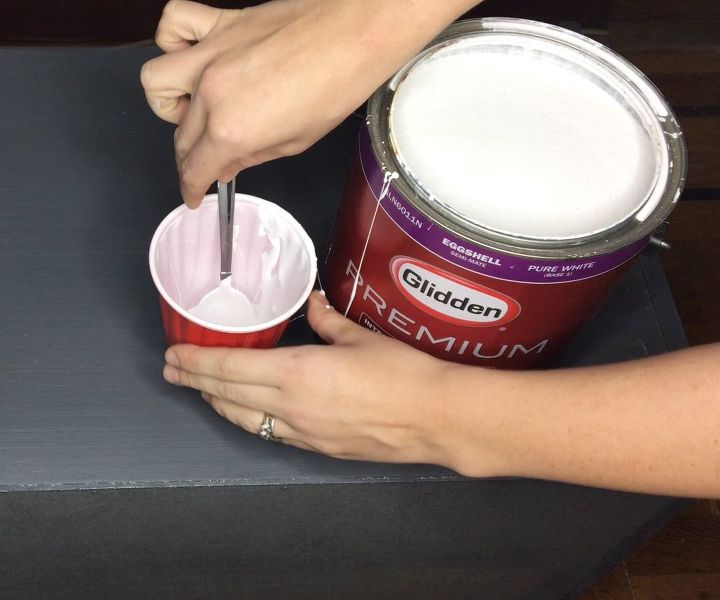
STEP 4: Paint the top coat with glaze
Once the base coat has dried it is time to mix the top paint layer. You can also use whatever color you choose for the top coat. I decided to give a slightly white washed feel so I used white paint. First pour a bit of white paint into a cup or bowl.
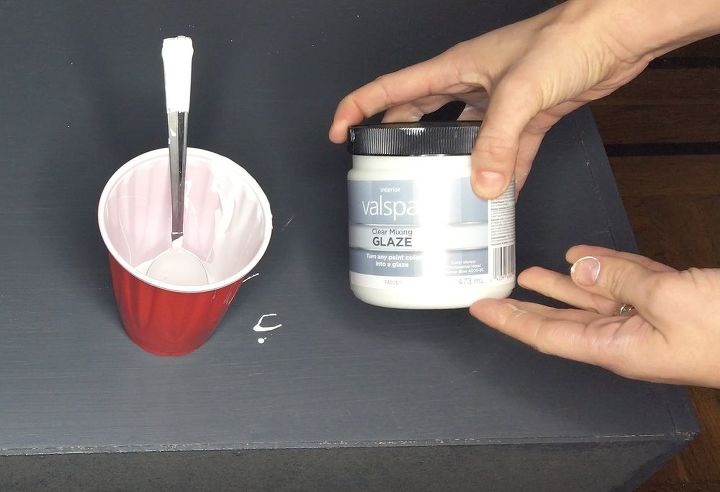
Then mix in a clear glaze. You need a glaze top for the technique to work. Glaze takes longer to dry and gives you time to create the grain texture. Mix the paint and glaze at a ration of 1:4. (One part paint to 4 parts glaze).
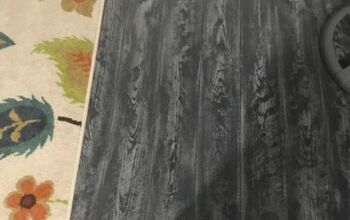
I decided the white was too stark in contrast to the dark gray so I decided to add a bit of the original color to make a lighter gray as the top coat color.
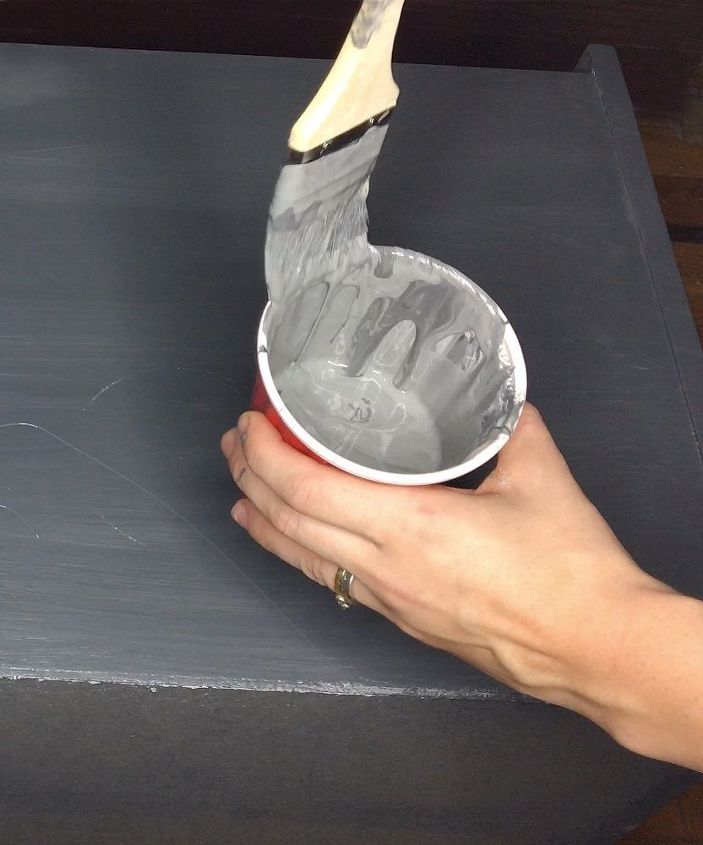
STEP 5: Paint the furniture with the top coat
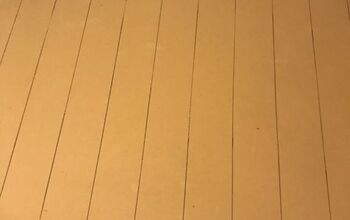
Brush a layer of your paint and glaze mix on top of the base coat. Do this with a dry bristle brush making sure it isn't super thick or saturated.
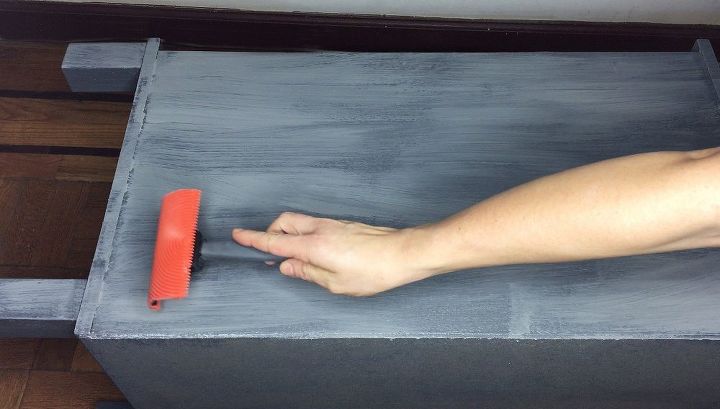
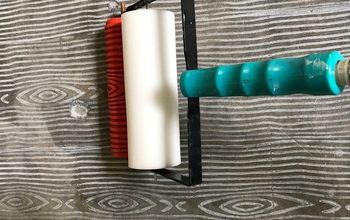
STEP 6: Use the wood graining tool
Grab your handy-dandy and awesome wood graining tool ( I got mine on Amazon, and it worked perfectly) and drag one side through the glaze/paint mix. This will really just create some lines through the paint.
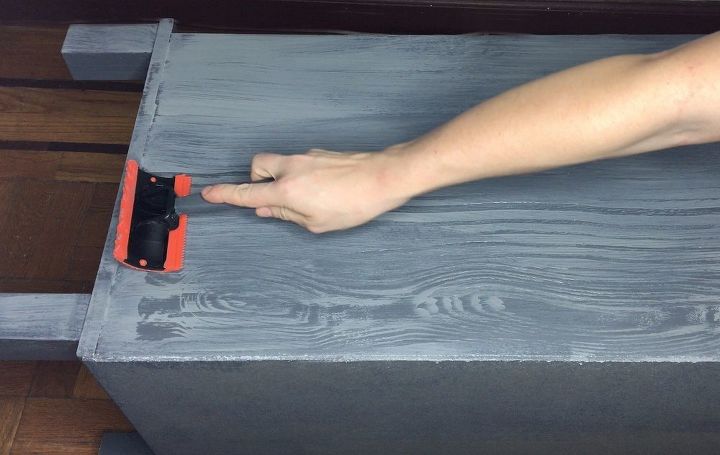
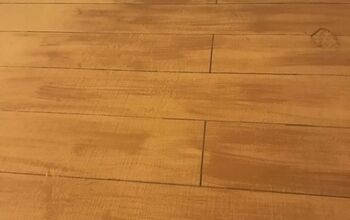
Now is the fun part! Using your wood grain tool drag the curved edge through the glaze/paint mixture wobbling it back and forth as you go to create the grains. Don't wobble it too much or it will look unnatural. Once your done, and happy with how it looks, let it dry.
This wood graining tool also comes with a small piece that helps get in the smaller nooks and crannies of the drawer.
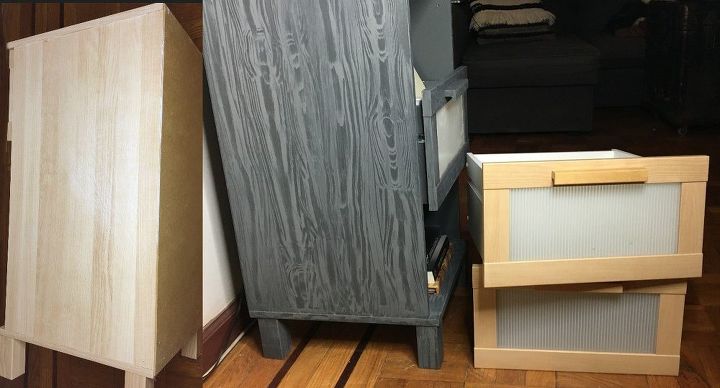
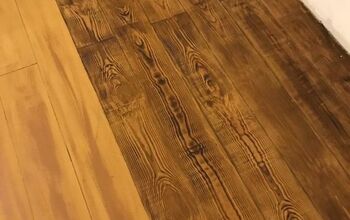
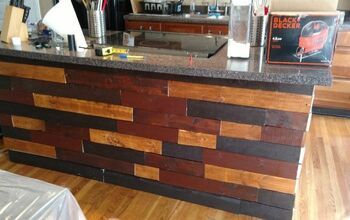
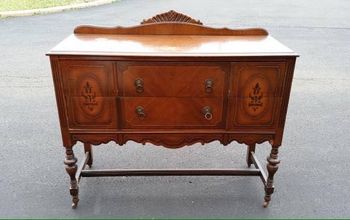
Here is a before and after of the piece I painted. The drawers on the right were not touched because I'm not going to use them.
Look at all that grain! I think I may have gone a bit overboard, but it is so fun to watch the grain come to life!
The wood graining tool I bought came with a small piece as well that helped to get in the smaller nooks and crannies of the drawer. I would highly suggest getting one that has the same.
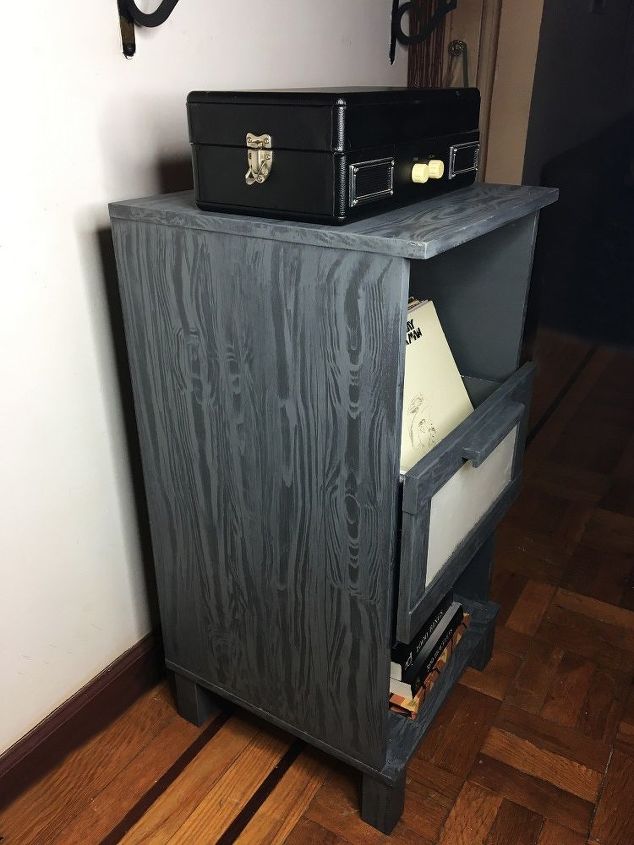
This thing really looks like a stained piece of wood. It is actually a laminate covered particle board piece, so it's pretty impressive!
Resources for this project:
See all materials


Comments
Join the conversation
-
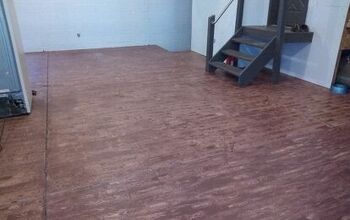
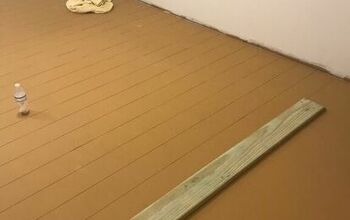
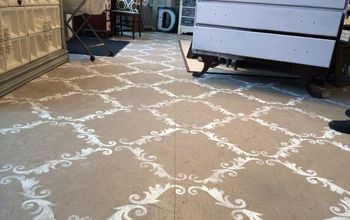
i did this to my garage floor because my daughter was getting married here and i told her husband i was going to make them a wood dance floor to dance on. it turned out beautiful
-
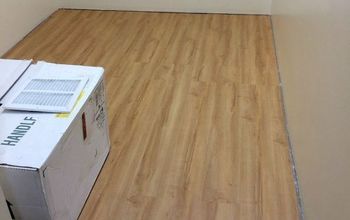
I did this to my storage room. Came out great. I love it. We are doing our porch now. It will resemble gray wood.


Frequently asked questions
Have a question about this project?
I love it! However, I don't see how you did those fancy swirls on the the top?
I wonder if this can be down on drywall
Can this be done on kitchen cabinets ?
could this also be done on the lower 1/2 of a wall to look like wains coating?