


DIY Window Seat Cushion
3 Materials
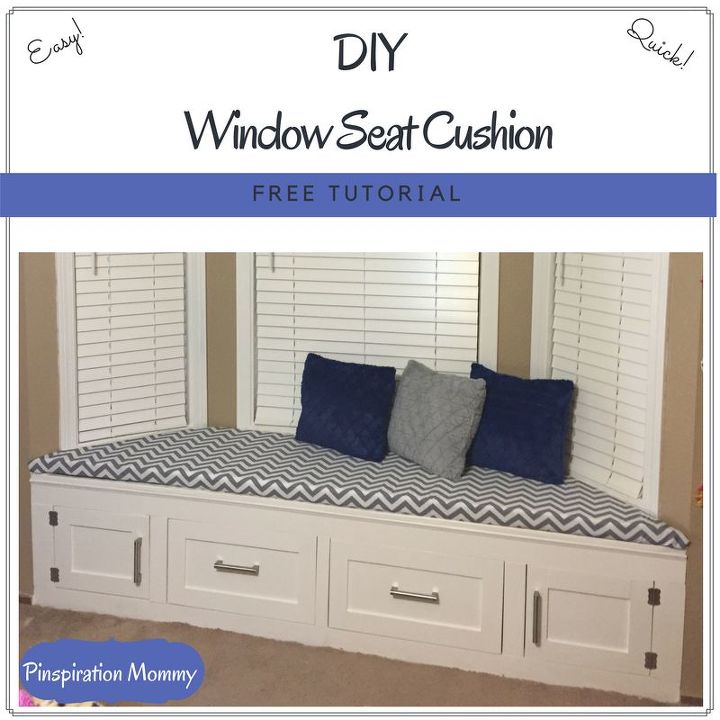
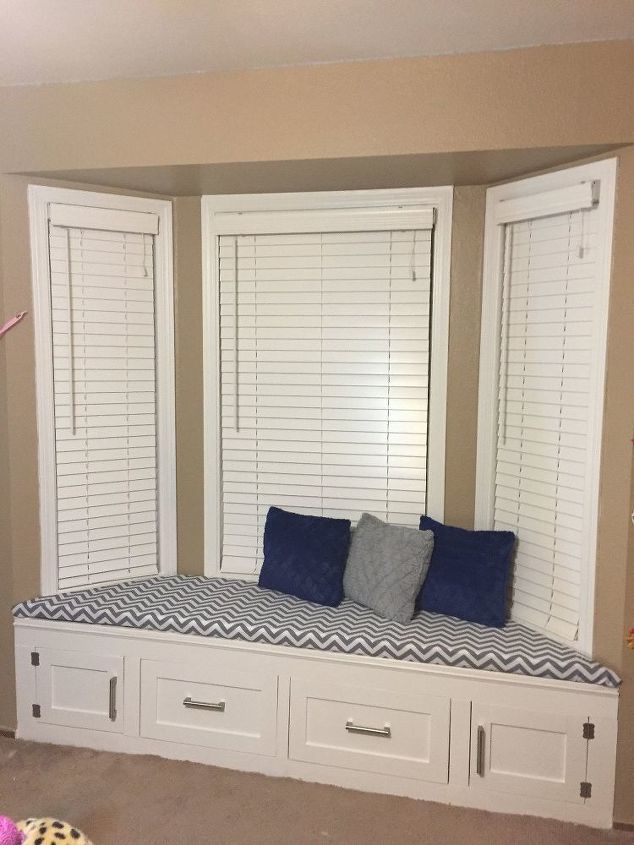
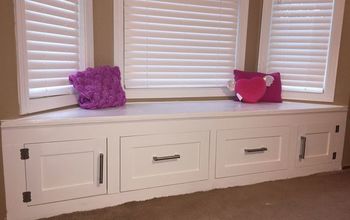
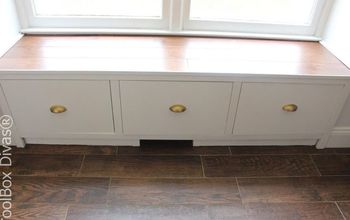
If you saw my last post, you saw the built-in window seat with storage that I built for my daughter's bedroom. I wanted to add a pop of color and a comfortable place to sit, so I decided to make a window seat cushion.
Here are the abbreviated instructions, for a full tutorial, please visit my blog at the link at the bottom of this post.
To create the window seat cushion, you'll need plywood cut to size, upholstery foam, fabric, a staple gun, and scissors.
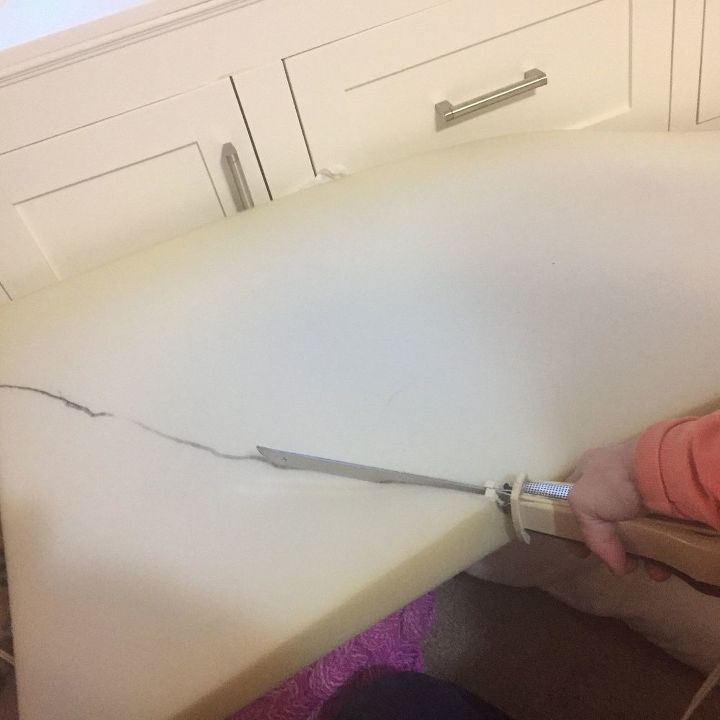
First, I cut my plywood to the correct size using a circular saw. Then, I cut my foam to size using an electric knife (which cuts through thick foam amazingly well!)
I gathered my materials and placed them in a large, flat work area.

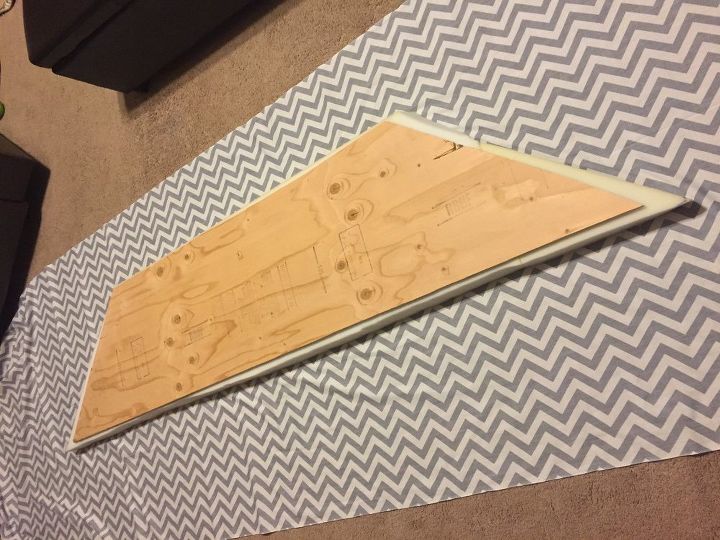
Then, I laid out my fabric, and placed the foam and plywood in the center of the fabric.
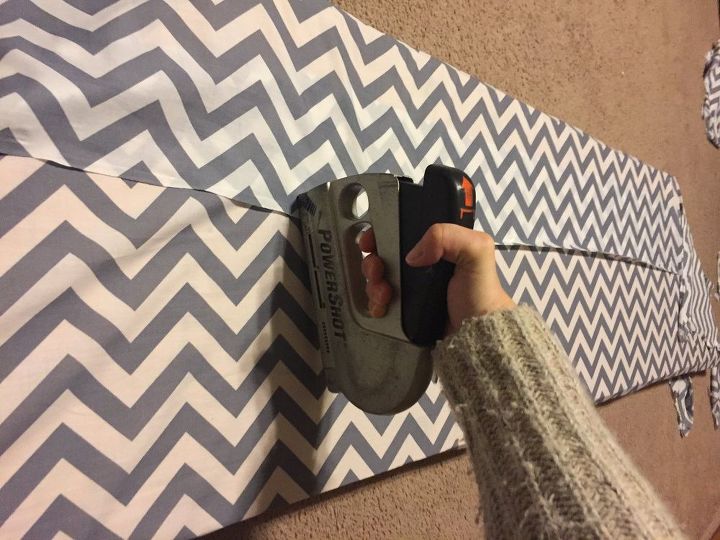
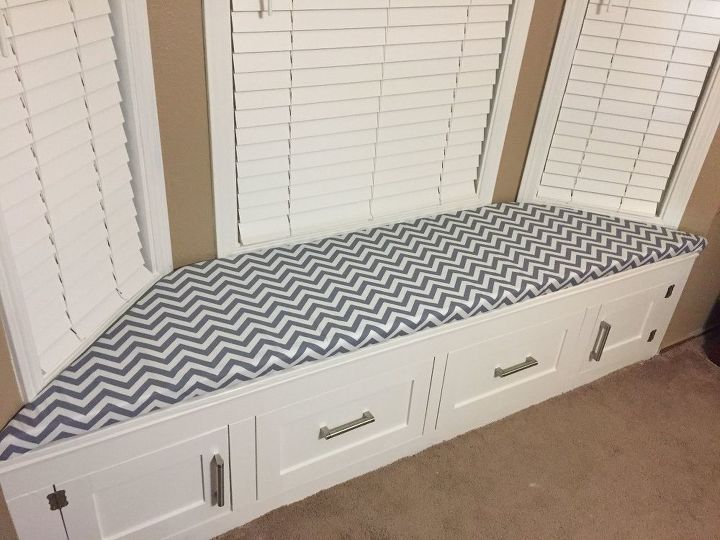
I then pulled the fabric around the foam and plywood and stapled it to the plywood using the staple gun. I had to make slits in sections of the fabric around the corners for the fabric to smoothly cover the corners.
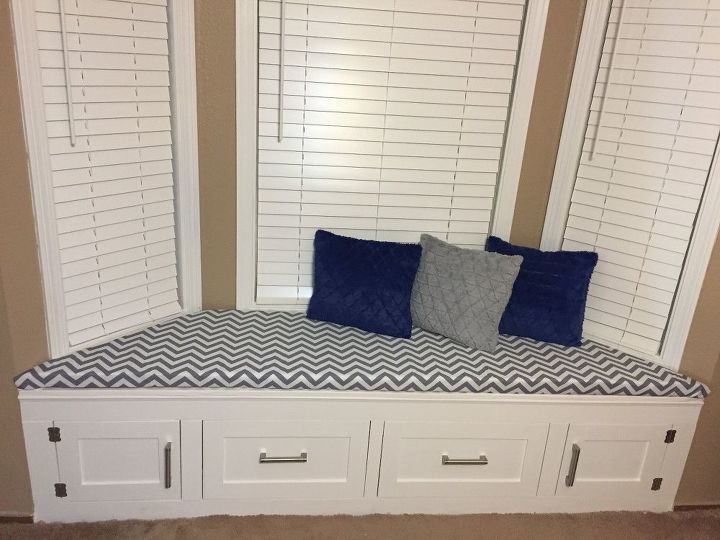
Once all the fabric has been pulled smooth over the cushion and stapled to the plywood, place your new comfy cushion onto your window seat, add some cute pillows for a pop of color, and lay back, relax, and enjoy watching nature out the window while relaxing in your new, favorite comfy spot!

Want more details about this and other DIY projects? Check out my blog post!


Frequently asked questions
Have a question about this project?