


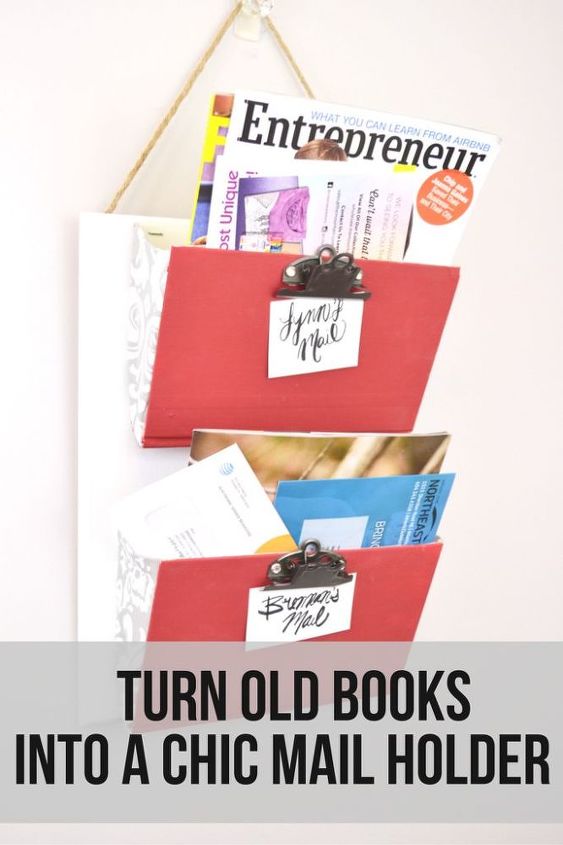
DIY Mail Holder
One my biggest resolutions for 2017 is to be more organized. I am starting with all the mail piling up on my counter tops and the excess amount of the old books in my closet. I am turning my excess books into a stylish hanging mail holder with this simple DIY.

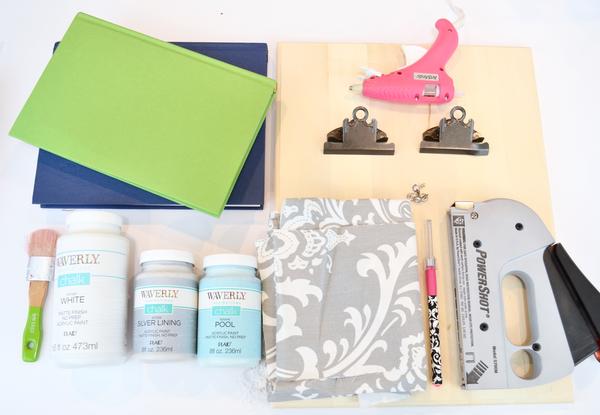
Materials:
- Wooden Board
- Chalk Paint & Brush
- 2 Hardcover books
- Fabric
- Xacto Knife
- Staple Gun
- Hot Glue Gun
- Clipboard Clips, Drill and Brads (optional)
- Fabric
Directions:
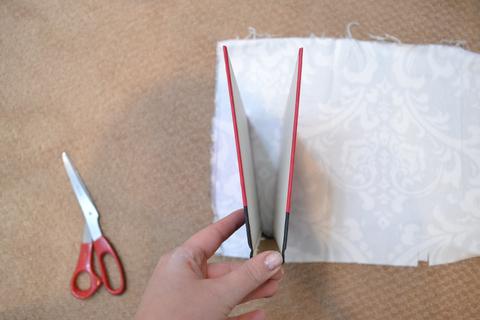
- Use the Xacto knife to separate the spine and book.
- Use the chalk paint and brush to paint the board and the front covers of the books.
- Once the books are dry, trace the side of the book on fabric.
4. Draw tabs out of the corners of the outline. See image.
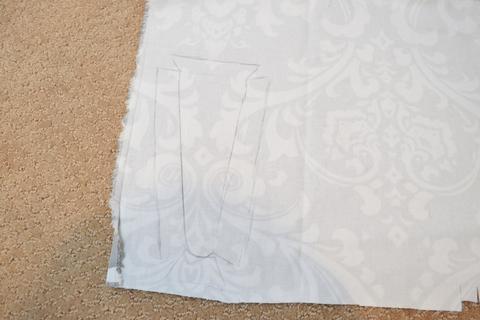
5. Cut out the image only around the outer edges and make slits at the corners. Create 3 more of these cutouts.
6. If you are going to attach clipboard clips to the front of the books, use the drill to drill holes and attach the clip with brads
7. Use the hot glue gun to attach each piece of fabric to the inside edges of the book creating an envelope. The flaps will glued to the inside edges of the book. Do this for both books.
8. Use the staple gun to attach books to the board.
9. Attach string or picture frame hardware to hang.
xoxo- LL

Want more details about this and other DIY projects? Check out my blog post!
Comments
Join the conversation
4 comments
-
Oh, nice!! I could use this
-
Great idea!!


Frequently asked questions
Have a question about this project?