


How to Set up Your Own Tiny Garden in 7 Easy Steps
Container gardening has become increasingly popular in recent years, and with good reason: it is cost-effective, water-wise, space efficient and super easy! Plants, and especially veggies, are happy to grow in pretty much anything, whether it’s a bucket or a bag. You really don’t need a lot of space for it either. As long as you have a sunny spot, you can grow something. Let’s take you through the steps to setting up your own small garden.
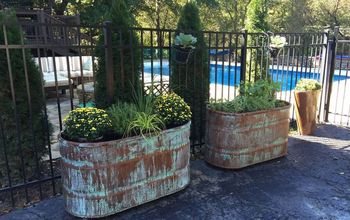
Step 1: Find a suitable container
Veggies are happy to grow in pretty much anything, from a bucket or old wheelbarrow to a compost bag. A container garden is the perfect solution for a small garden because you can move it easily and it hardly requires any maintenance apart from watering.
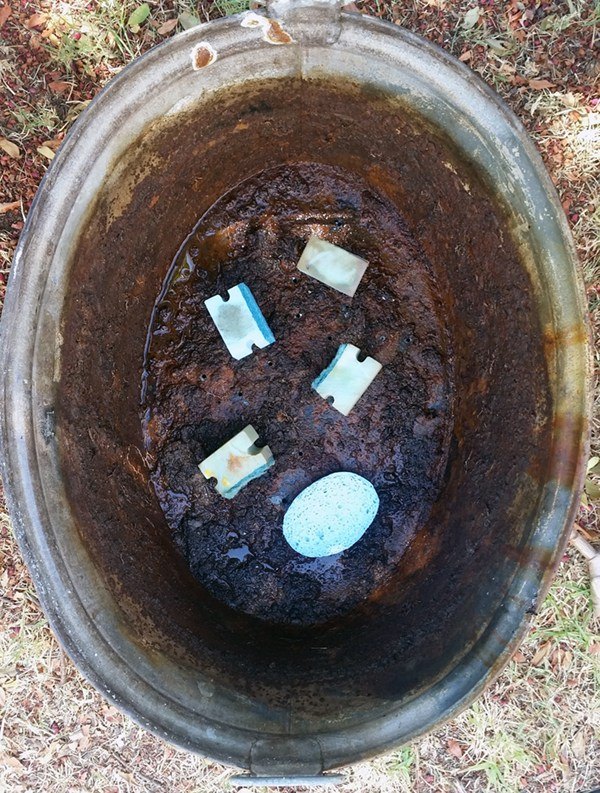
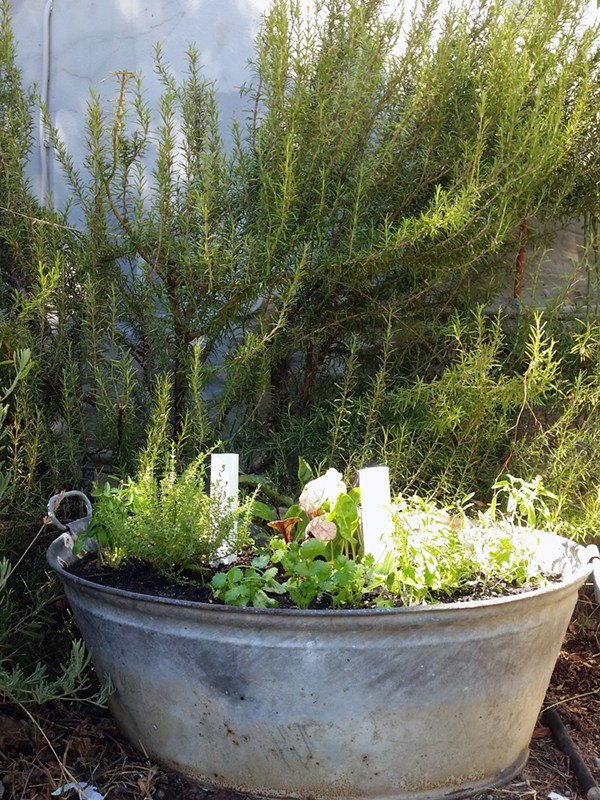
I had an old metal baby bath that seemed the perfect size for a herb garden by the kitchen door.
Step 2: Ensure good drainage
It is a common misconception that you should put gravel or small stones in the bottom of a container to assist with drainage. A few old kitchen sponges in the bottom will help water drain sufficiently as well as keep moisture in the soil for longer. This is also a great way to recycle!
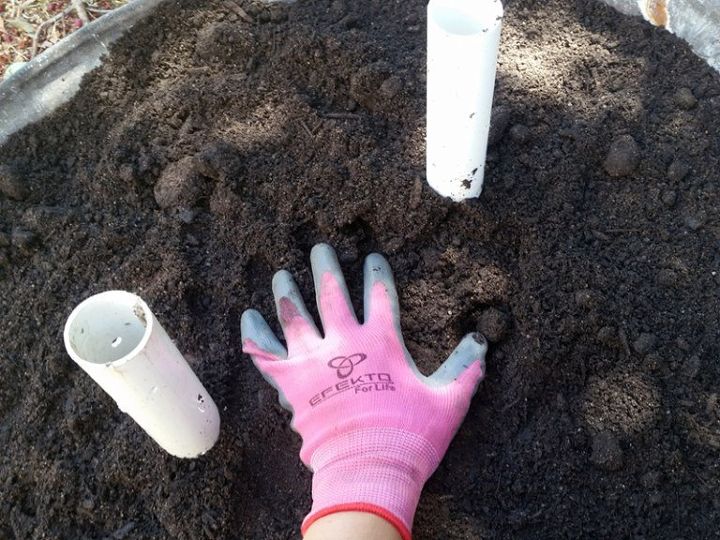
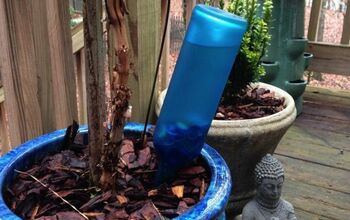
Step 3: Add water funnels
This is such a clever addition to your container garden that you will want to add it to every pot you have! See the full instructions for the PVC water funnels here. 
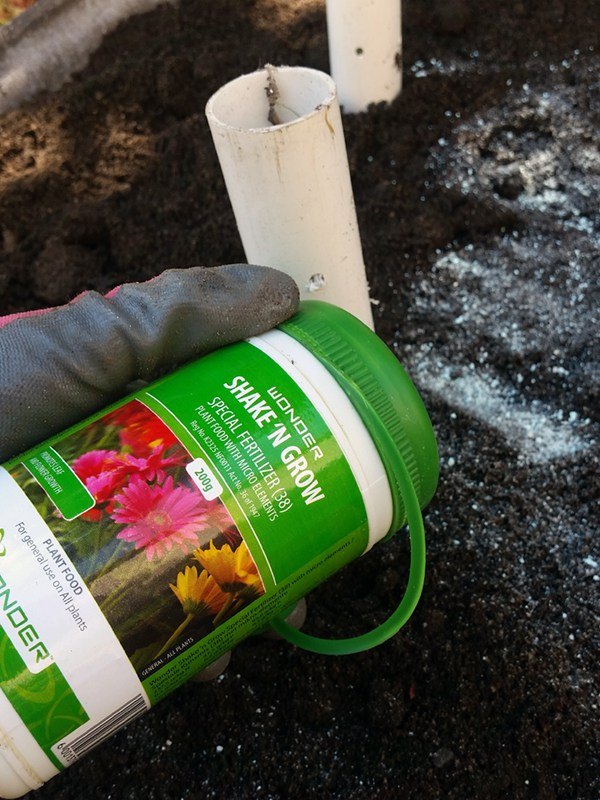
Step 4 : Fill with potting soil
Make sure that you get great quality, certified weed-free potting soil to fill your container with. Throw the potting soil on top of the sponges, and mix with compost to ensure good, healthy soil for your plants and seedlings.
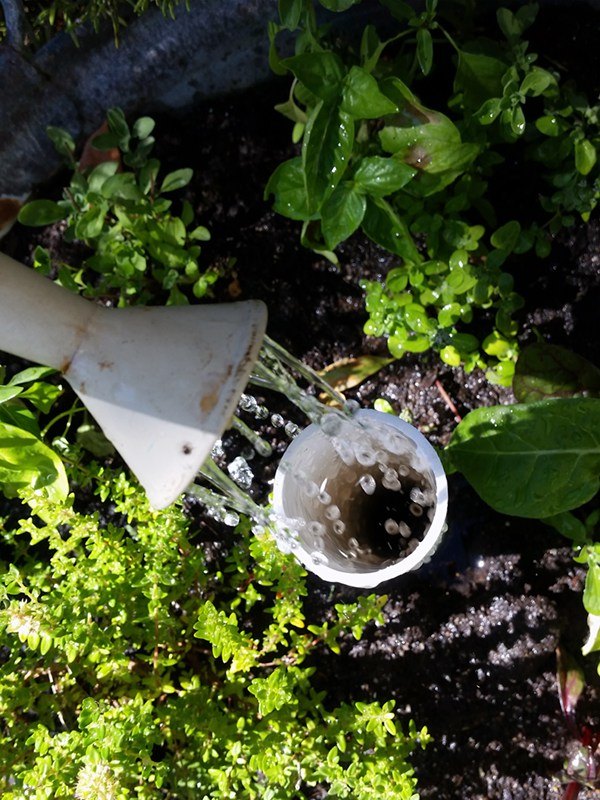
Step 6+7: Plant and Water
Plant your seedlings or established plants. Fill up the funnels and water well all around the container without allowing water to stand on the surface of the soil.
Maintain a healthy watering schedule and watch your tiny garden flourish!
Click on the link below for the full project with pro tips.
Happy tiny gardening!
x Germarie
Resources for this project:
See all materials


Comments
Join the conversation
-
Paint pipe green so blends in…👍🏻
-
unglazed clay pots make great oyas. Lots of you tube videos on process. ❤️


Frequently asked questions
Have a question about this project?
Did you still put holes in the bottom to drain?
Did you leave the PVC open on both ends or did you put holes in it?
Can you line the bottom with disposable diapers to absorb extra water to be released as the soil dries out. You can usually pick up these that have been opened in thrift shops fairly cheap.
What about growing black eyed peas and butter beans in containers?