


Fabric Covered Storage Boxes

I needed some storage containers for my new craft room but I didn't want to buy more plastic bins so I decided to up-cycle some cardboard boxes to make decorative storage containers instead.
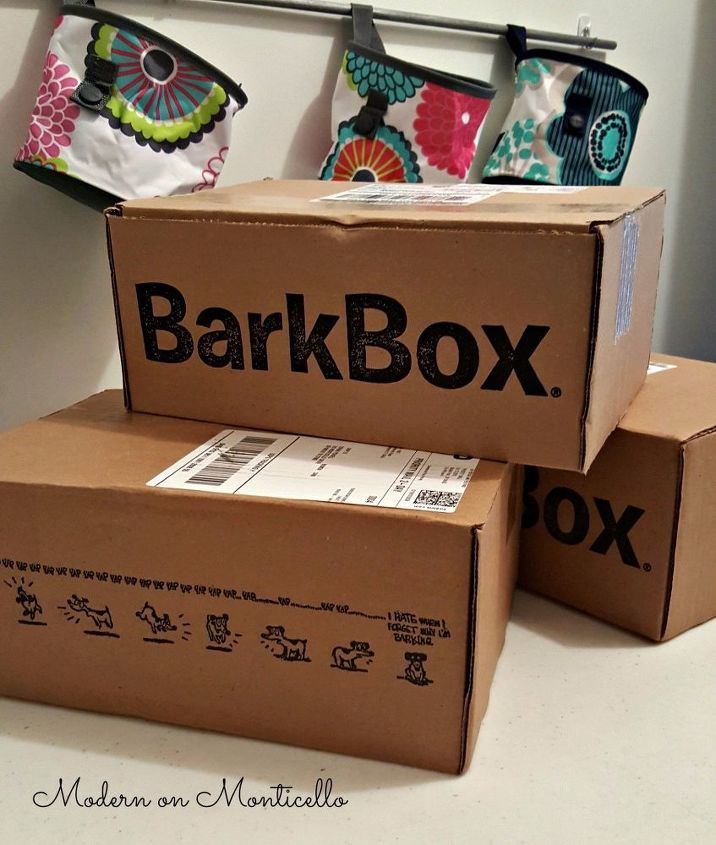
To start I already had a stash of these great boxes that I receive our dog's BarkBox monthly subscription items in. I cut off the tops of each box and used Waverly Fat Quarters Fabric Squares to wrap each box in fabric.
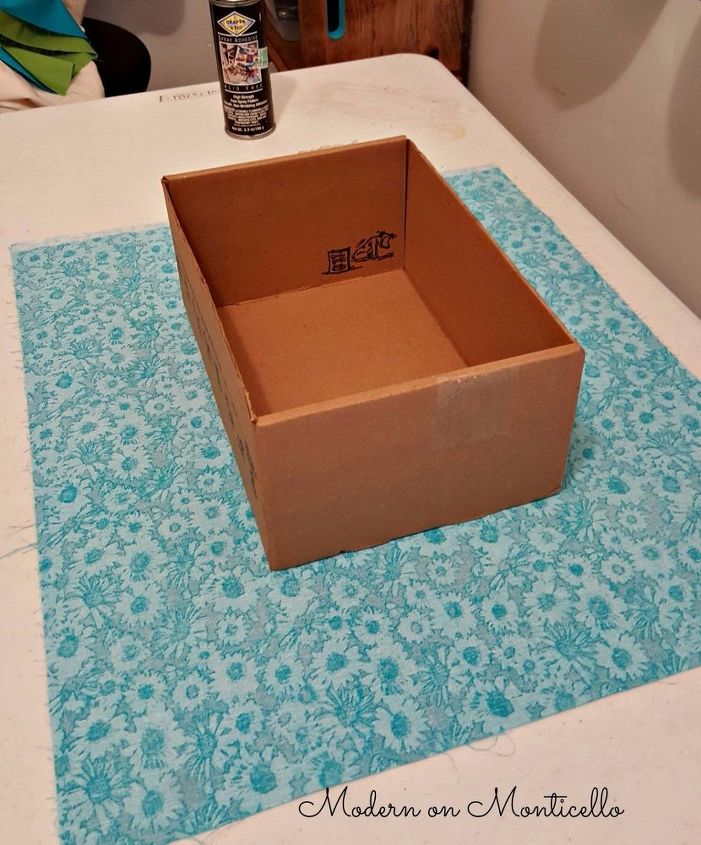
To cut and measure the amount of fabric needed to cover the outside of the box, I placed the box on a cut length of fabric and pulled it up around the sides to see how much I needed. Then I cut the fabric.
Same process as if you were wrapping a present in paper.
I found that a precut quilting square was the perfect size already for the size of box I was covering.
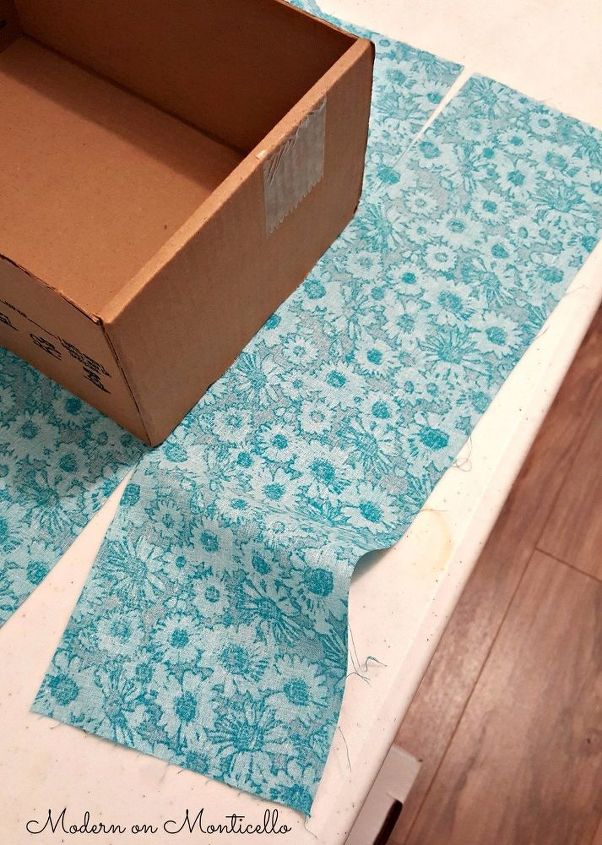
The fat quarters were already the perfect size for the size boxes I had so I just placed the box in the middle of the fabric and cut four slits towards the side of the box to create four sides of fabric.
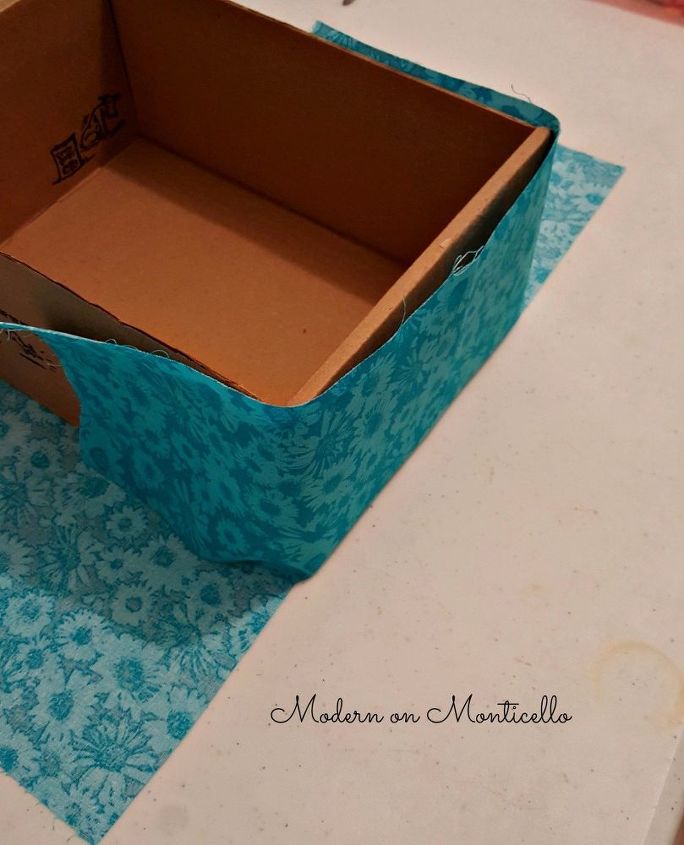
I used spray adhesive on the outside of the box and folded in the cut sections to cover the box as shown. You can either fold over the excess length of fabric to the inside of the box but I trimmed the excess fabric off because I wanted to create an fold on the outside of the box in the different colored fabric I planned to put on the inside of the box.
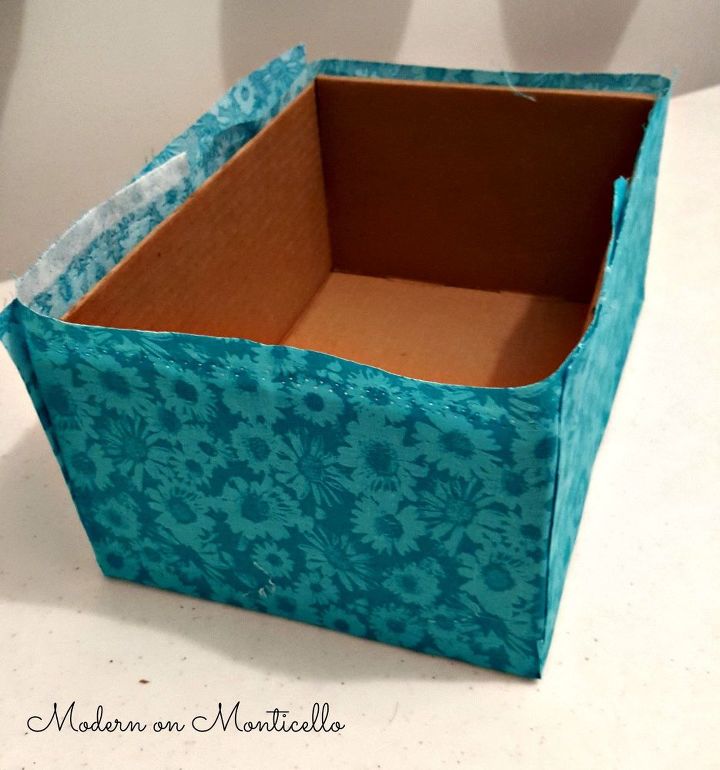
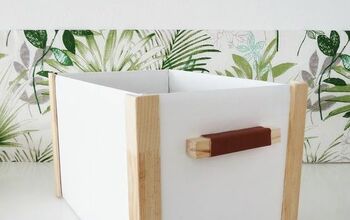
The box should look like this when all of the sides have been folded in and attached with spray adhesive.

To cover the inside of the box I first cut a piece of fabric to the size of the bottom of the box and attached it with the spray adhesive. I measured all four sides of the inside of the box, added those measurements together and cut a long strip of cloth the length of all the sides and a little longer than the height of the sides. It is very easy to attach the fabric in the inside of the box if you roll up the fabric first.
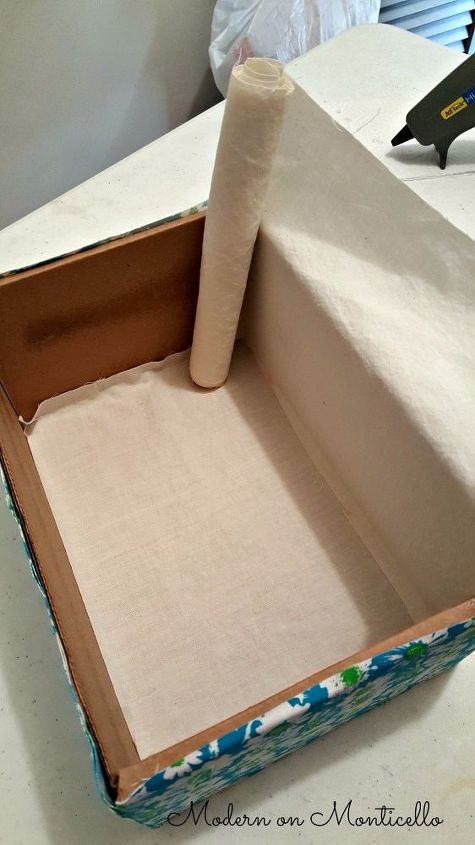
It was very easy to just roll the length of fabric around the inside edges, securing with spray adhesive and folding the excess length over the top of the box to create a cuff around the top edge. I secured the cuff edges with hot glue.
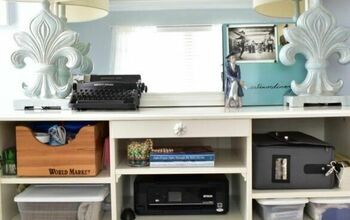
The final steps were to add some decorative trim to hide any seams and then to fill my new pretty storage boxes with craft supplies.
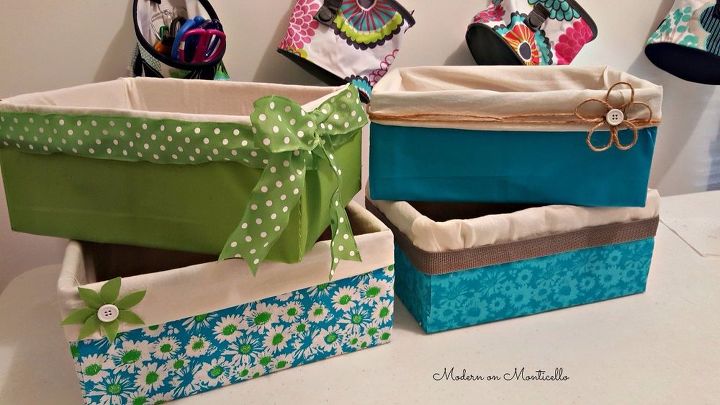
Once you have the entire box, inside and out, covered in fabric, hide the rougher edges of the fabric with pretty decorations. Personalize your new storage box any way you like to match your decor.
Comments
Join the conversation
-
As a mommy, of 9 kitty babies (3 yrs old), I guarantee I’ll have to hide out while making these. It’s a fact, any and all boxes 📦 📦 in our home, DO NOT belong to me. 😼😾😹
-
You sure chose, some absolutely beautiful fabric, to cover the boxes in! I can just imagine how many compliments you get.. 😊


Frequently asked questions
Have a question about this project?
Has anyone done this with larger boxes; say, 2' x 3' x 2' ?