


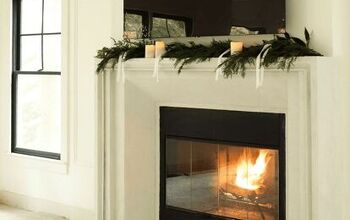
How I Tiled My Fireplace Surround
3 Materials
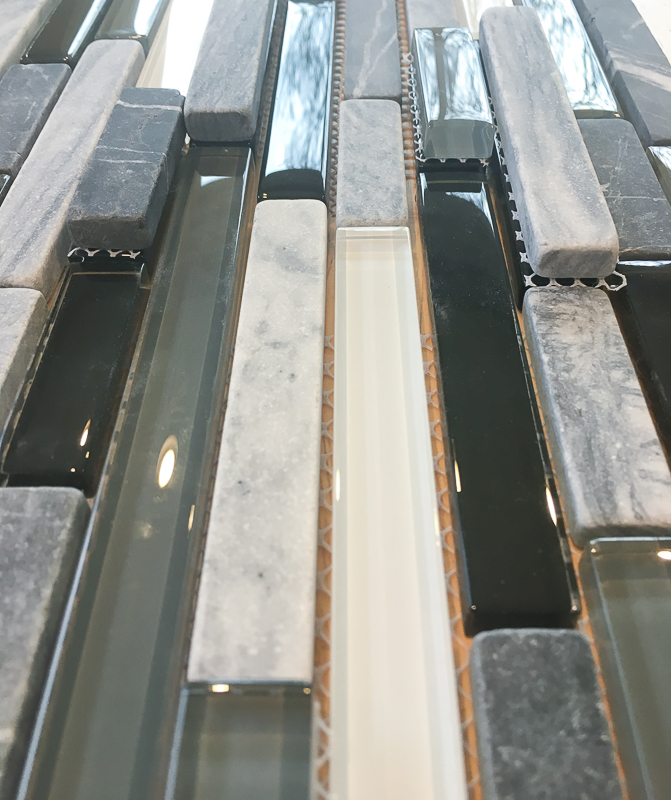
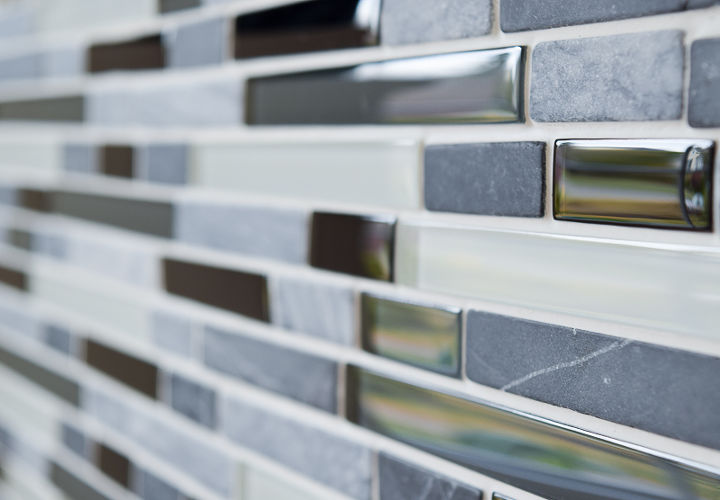
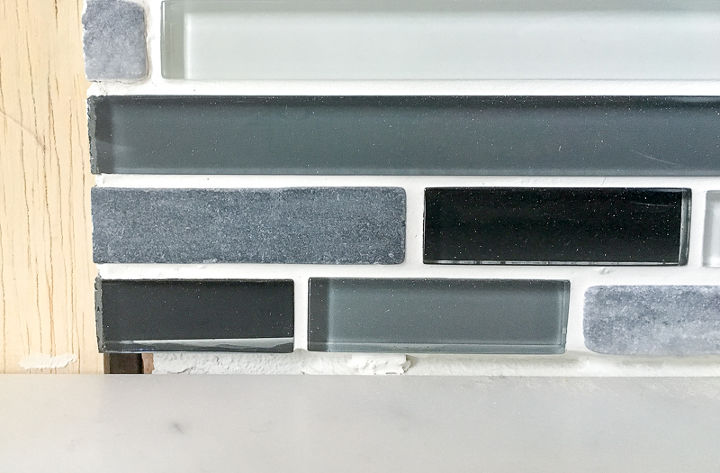
After preparing my brick fireplace surround for tile (which you can read about here), it was time to install the gorgeous stone and glass mosaic tile I picked out! Before mixing the mortar, I dry-fit the mosaic tiles together and switched out a few of the black glass tiles for more neutral stone ones. The fireplace insert is solid black, so I wanted to lighten it up.
To keep the tile above the firebox from sagging, I attached a 1x2 board across the top. I used a long level and nailed it to the fireplace surround.
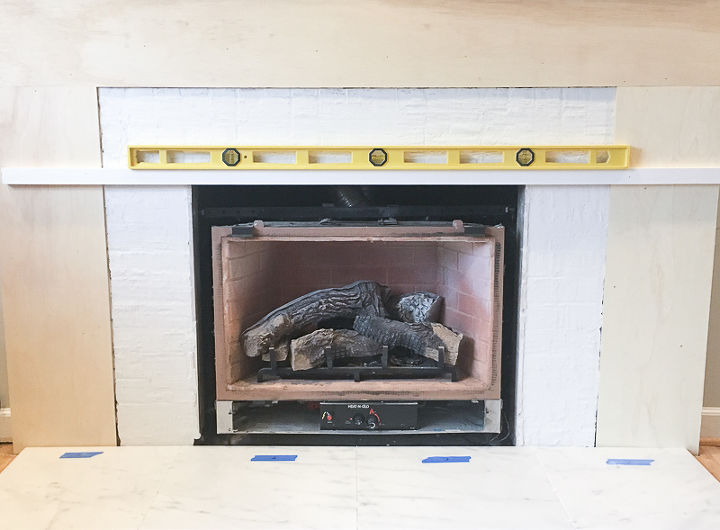
The bottom row of tile rested on top of this board, and I worked my way up. The gap at the top will be covered up with trim later. Once the top row was set, I removed the supporting board and tiled the sides.
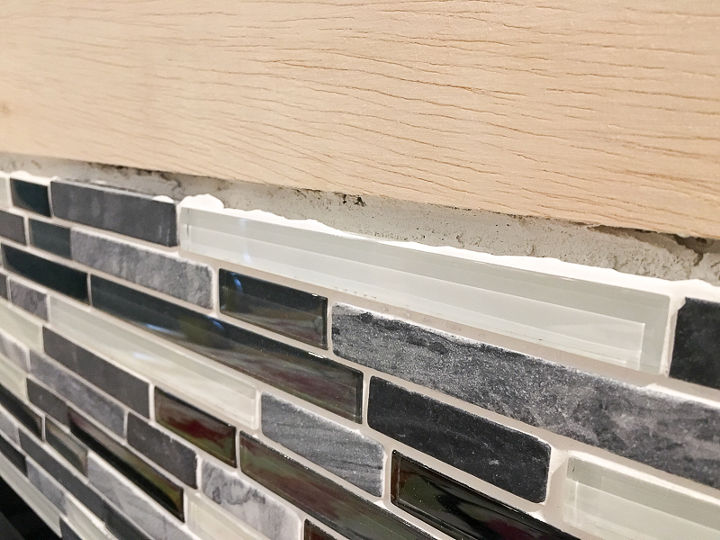
Once all the tile was in place, I used non-sanded grout to fill in all the gaps. Non-sanded grout won't scratch the glass tile and is better to use on smaller grout lines.
The gap where the surround meets the hearth will be filled with matching tile caulk.
Next, it's on to the trim! If you would like to see my entire fireplace remodel series, you can check it out here.

Want more details about this and other DIY projects? Check out my blog post!


Frequently asked questions
Have a question about this project?