


Tips on Painting a Two Tone Color Scheme

3 Materials
I've painted lots of two tone color schemes over the years. I've done antique china cabinets, French Provincial dressers, Bombay chests. I've painted thrift store lamp bases that have intricate details. But today I'm sharing a thrift store vintage picture frame makeover. I love the picture but not the frame so I decided to paint it. This is the same technique I use on furniture and this tutorial is more about learning how to pick out the details to paint and the ones to be left alone along with a couple of tips on tools to use.
We'll start with picking out the correct undertones for your paint colors...In order to make a two tone color scheme work, it's important to have two colors that complement one another. As you know, every color has an undertone, but most of the undertones aren't visible until you put it next to a second color. For example, a paint color might look like a neutral grey until you put it next to another shade of grey and then you find out it looks more blue than grey. If you're unsure if the undertones of your two paint colors will work together, I suggest painting a scrap piece of wood or even a paint stir stick with both colors of paint so you can see if they work well together.
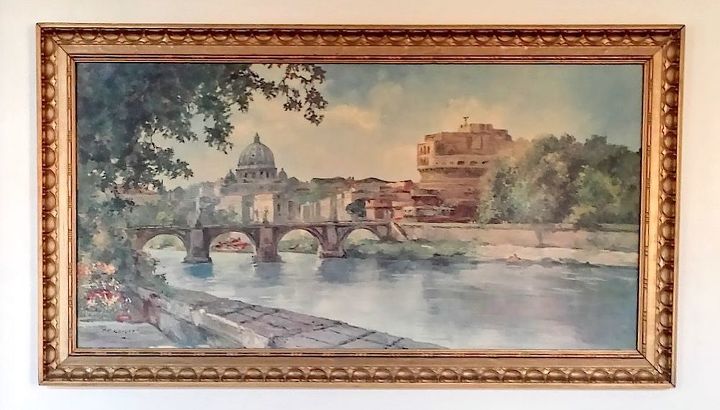
Here's my original picture frame. It was solid gold, but not as goldy as it looks in some of my pictures. It was more of soft gold.
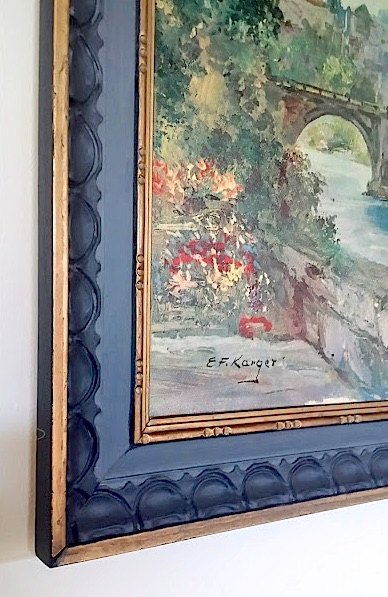
In this close up picture you will get a better idea of the details I had to work with. The first thing I suggest doing is looking at each separate detail of the frame. Does the frame have an inside and outside border that would like nice left as it is? Should you paint the edges around the frame a different color or leave them as they are? Don't worry if you can't visualize the individual details painted out. It takes practice to get there, but the good news is that it's just paint. If you don't like it then start over!
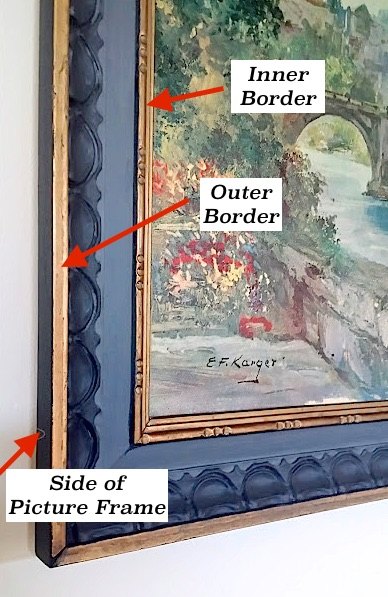
This picture gives you a better idea about what I'm talking about. I left the inside gold border and the outside gold border to help "frame out the frame", add interest, and contrast. I painted the outside edge of the frame a dark grey because I needed as much contrast as possible against my light walls plus I wanted to break the gold up from the outer border so that it would make a bigger visual impact.
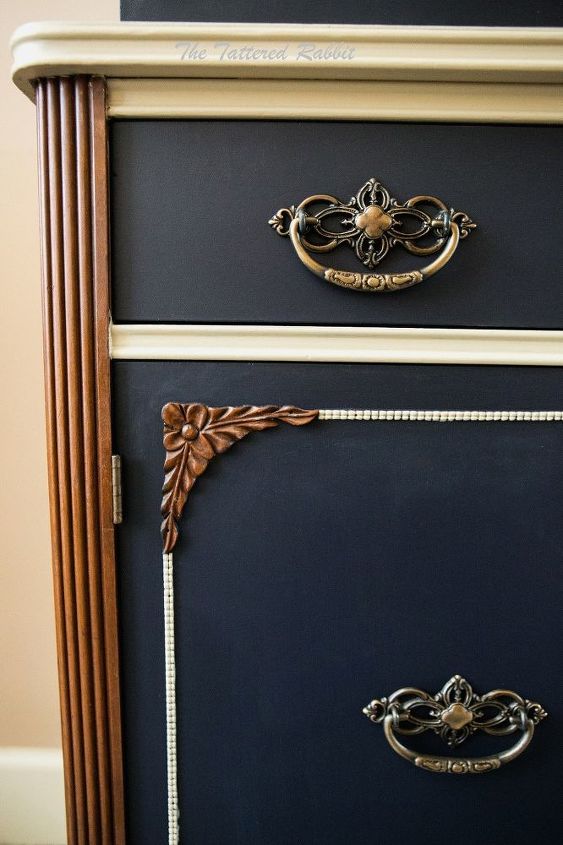
On this china cabinet you can see how I left some of the original stained wood while also using two colors of paint. The point is even if you don't "see" details on a piece of furniture or picture frame, you should still start by applying paint in a methodical manner while keeping an eye out for details to start popping out at you. If I had painted over this intricate bead trim with the navy paint to begin with, then I would have missed out on making this into a true statement piece. Art can't be rushed. Take your time and enjoy the process. http://www.athomewiththeellingtons.com/general-finishes-china-cabinet/

Next, I painted everything between the two gold borders a light grey. I did 2-3 coats until it had adequate coverage. After allowing for proper dry time, I painted the raised detail with a dark grey, again doing 2-3 coats of paint. When I do detail work I always use a 1.5-2.0 inch angled paint brush. I keep a variety of craft brushes on hand to to get into the tight places and for touch ups.
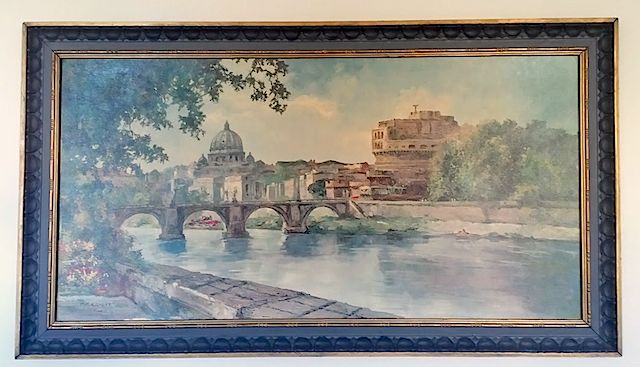
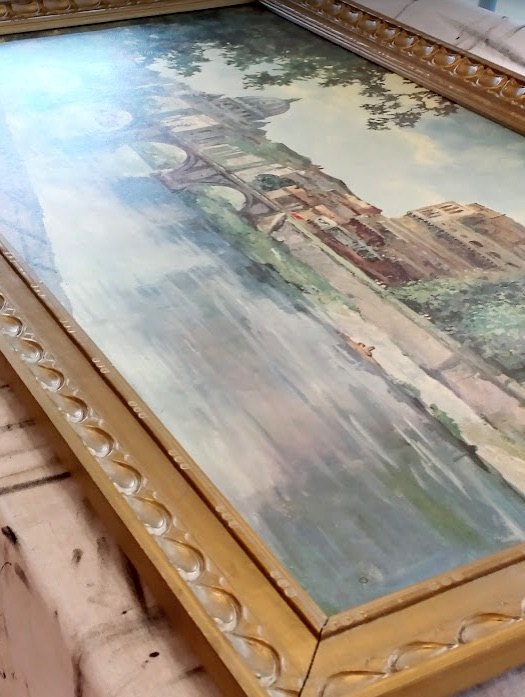
Poor lighting on this picture, but you can still see the frame in its entirety. For more tips and products used see: http://www.athomewiththeellingtons.com/tips-on-painting-a-detailed-two-tone-color-scheme/
Comments
Join the conversation
4 comments
-
Great advice! The coloring definitely made the picture more of a statement piece. Loved the bit I saw of that china cabinet.
-
Great tips! :)


Frequently asked questions
Have a question about this project?