


How to Make an Adorable Peeps Wreath For Easter & Spring

To say that Bo (my 2.5-year-old son) is excited about this Peeps wreath is an understatement!
When he woke up from his nap earlier this week and saw this hanging on the door, he exclaimed, "Ooooh what's that?! What's that?!"
He was disappointed when he quickly realized he couldn't eat the wreath but he still liked looking at it. This little Peeps wreath Easter project was so easy and would be really fun to do with your kids or grandkids.
We want to help you DIY, so some of the materials in this post are linked to sellers. Just so you know, Hometalk may collect a small share of sales from the links on this page.
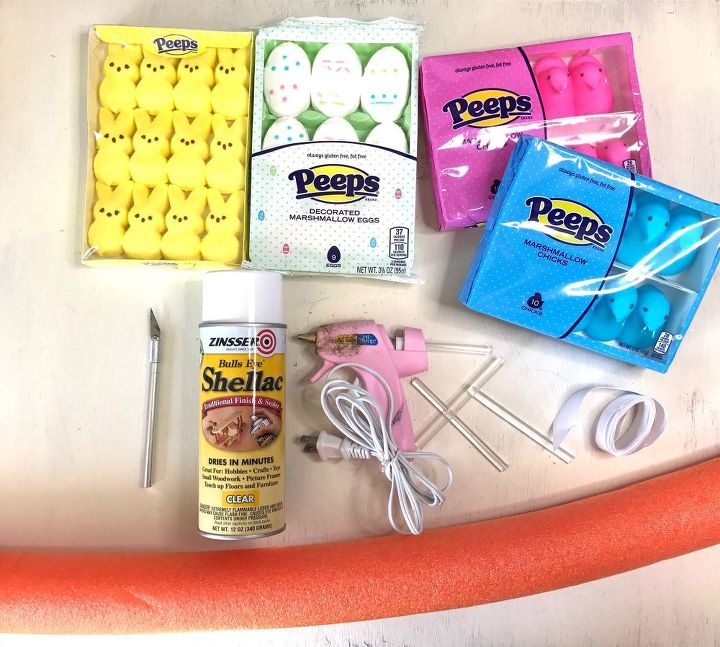
Tools and materials:
- Peeps (I used 4 packs and didn't use all of the bunnies or eggs.)
- Zinsser Bulls Eye Shellac (This is very important because you need to cover the marshmallows to preserve them.)
- Hi-Temp mini glue gun (I started out with my Ad-tech I've had for years but unfortunately it went to crafting heaven as soon as I tried to use it for this project so I had to go buy a new gun-- Elmer's Hi-Temp mini glue gun.)
- Mini glue sticks
- Ribbon (I started out thinking I was going to use some leftover white ribbon I had on hand but once the wreath was almost finished, I decided to use a wider ribbon I had on hand for another project.)
- Pool noodle
- X-Acto knife
*Not pictured:
- Easter basket filler (shredded paper)
More DIY Pool Noodle Ideas
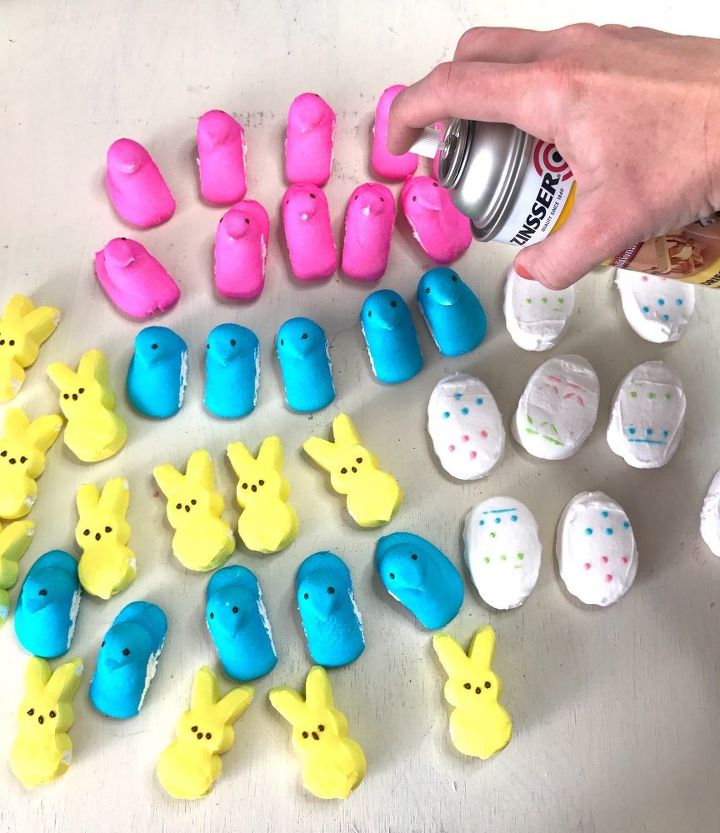
STEP 1: Spray Peeps with shellac
I did a little research before starting this project to see what other people were using to preserve food items in craft projects so they didn't have any uninvited guests coming along to admire their work (aka: bugs and other critters).
The majority of sites I came across used some sort of shellac, so I bought this shellac spray. I gave the Peeps three light coats of shellac on all sides.
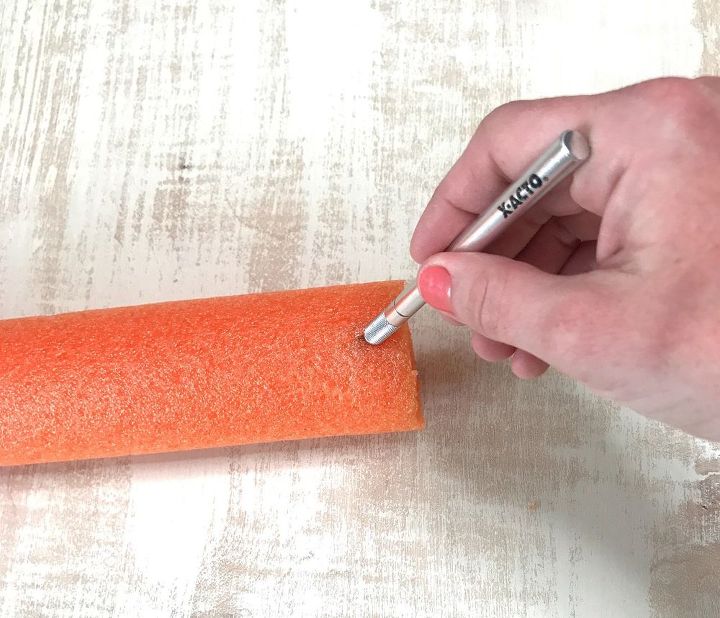
STEP 2: Cut pool noodle in half (optional)
While the Peeps were drying, I used my X-Acto knife to cut the pool noodle in half (long ways).
You don't have to do this step but I didn't want to get started on gluing my Peeps and the wreath end up being too bulky, and to be quite honest, I did this thinking that the flat part of the noodle would sit flat against the door. WRONG!
The noodle wanted to bend it's normal way so the flat part was still "inside" when I joined the ends (you'll see how I improvised in STEP 4).
I know I could have made slits in the noodle for the flat part to sit against the door but I thought of a different idea.
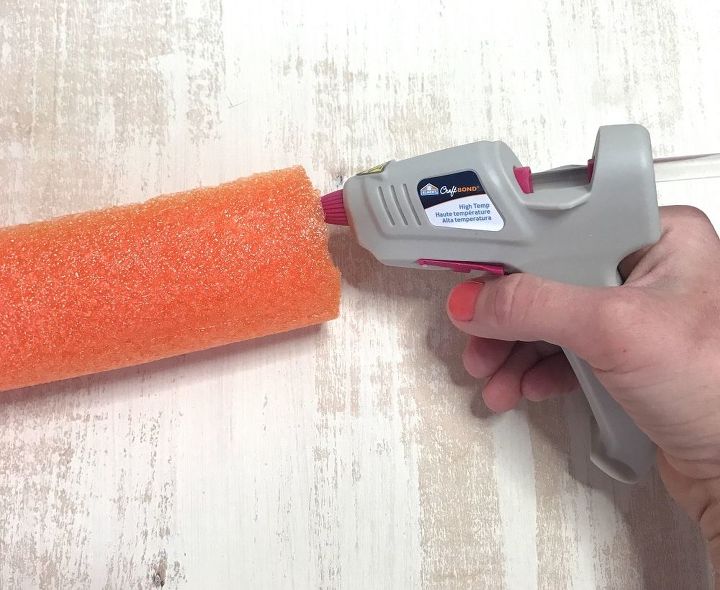
STEP 3: Hot glue ends of pool noodle
Next, I applied hot glue to one end of the pool noodle...
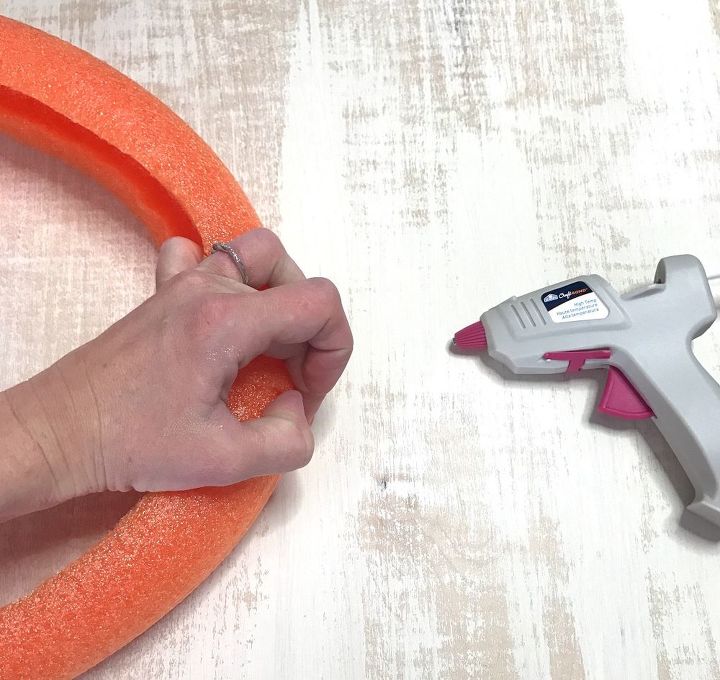
...then, I joined the ends of the pool noodle together and them together until the glue was dry.
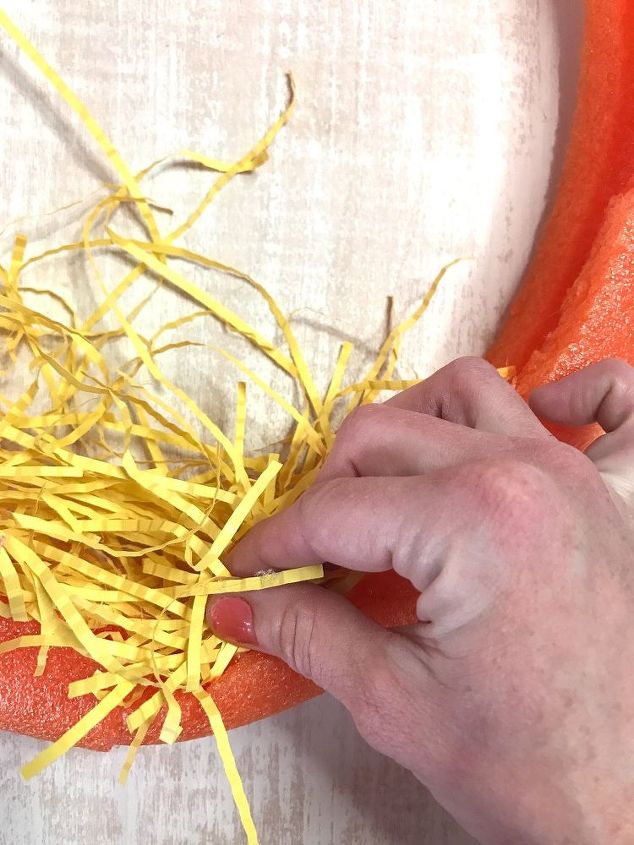
STEP 4: Add Easter basket filler to inside of wreath (optional)
After the base of my wreath was made, I took some Easter basket filler I had on hand for another project and started hot gluing it to the inside (flat part) of the pool noodle.
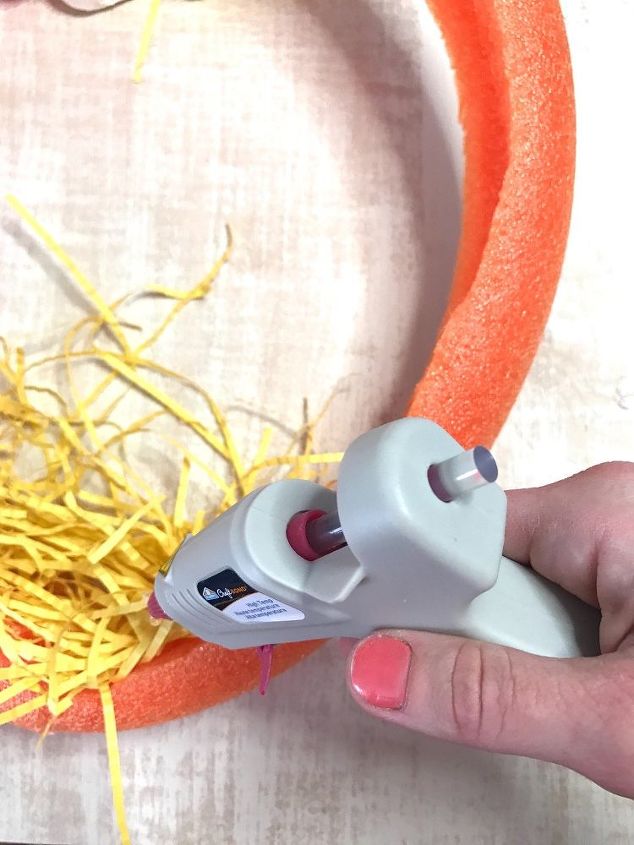
I hot glued the filler all the way around the inside of the pool noodle, going back and gluing down any fly-away pieces that didn't want to lay nicely.
See how important my hot glue gun is? I hardly do any craft without it!
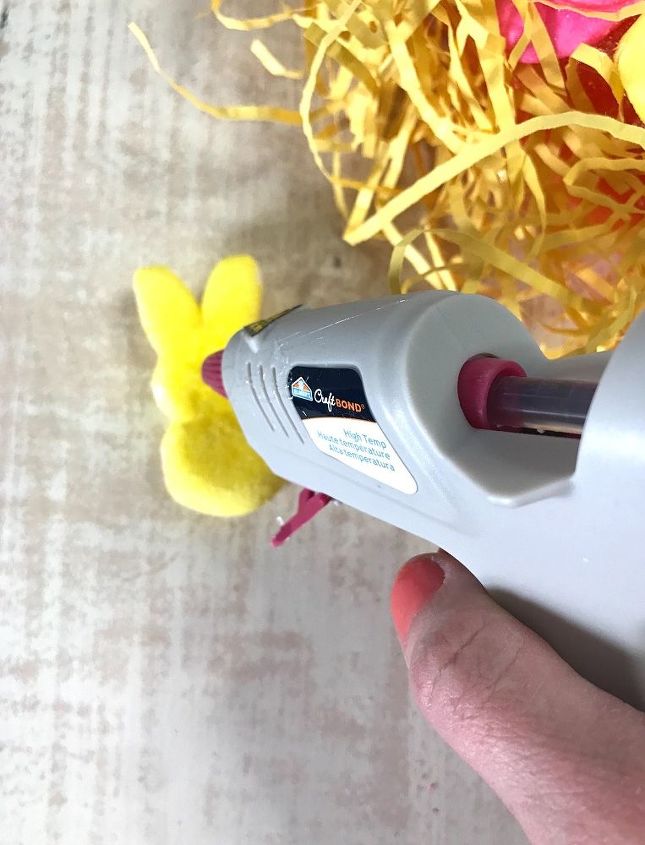
STEP 5: Hot glue Peeps
After the inside of my wreath had it's "nest", I applied hot glue to the back of the Peeps and created a pattern with them around the edge of my wreath.
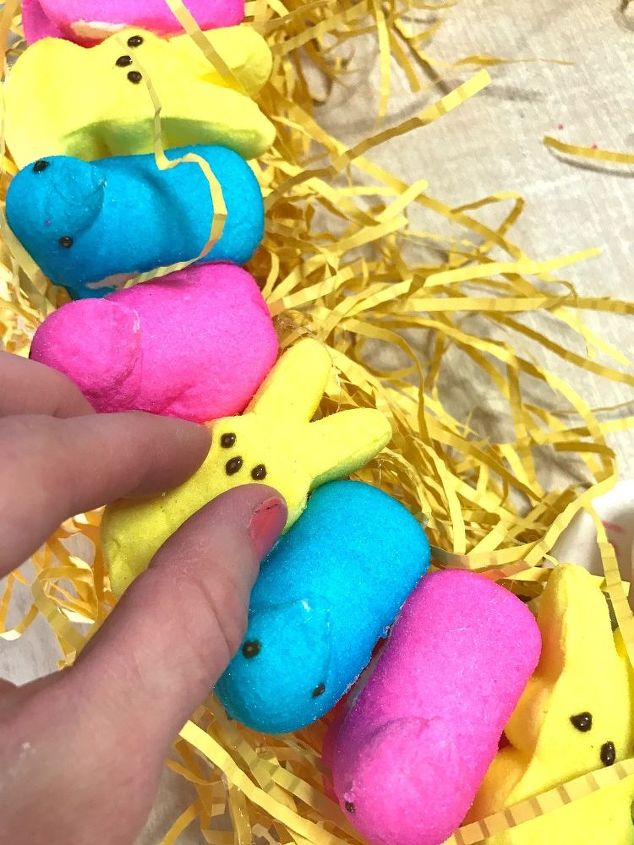
The pattern I chose to do was a yellow bunny, a pink Peep, and a blue Peep. I used 5 eggs for the bottom of the inside of the wreath.

STEP 6: Add Easter basket filler to outside of wreath (optional)
Once all of the Peeps were around my wreath, I felt it still looked like it needed something so I decided to use the remaining filler I had around the outside of the wreath.
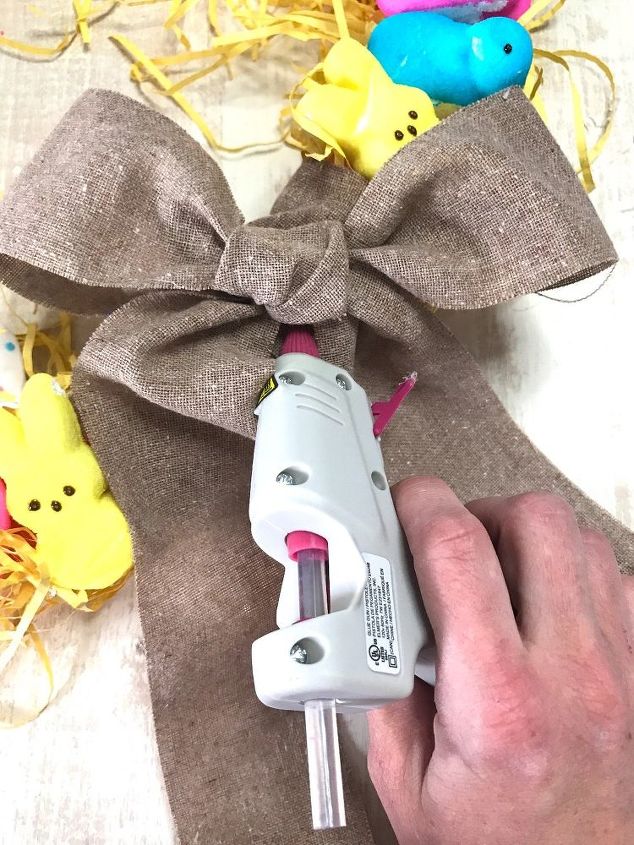
STEP 7: Add ribbon
Finally, I took a strip (about 6") of wide ribbon and wrapped around the last part of my wreath (I wanted my wreath a little off to the side rather than right in the middle). Then, I cut another piece of ribbon and created a bow, hot gluing it to my wreath.
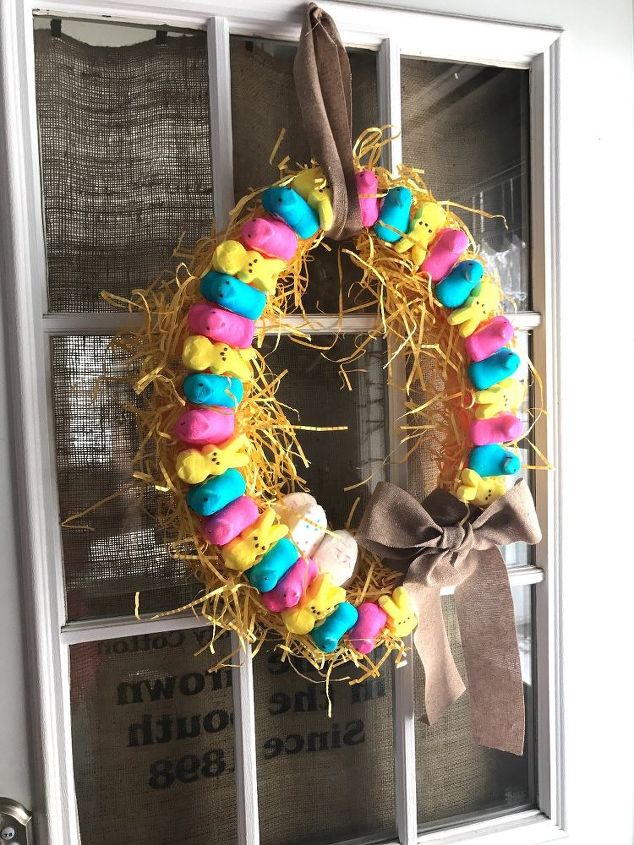
DIY Peeps wreath
I'm so happy with how this spring-y wreath came out! I had an initial vision of the wreath and it didn't turn out anything as I had imagined but even though things didn't exactly go the way I had planned (starting from my old, trusty glue gun dying), I think it turned out pretty cute. I don't eat Peeps but now I have a reason to grab them when they're on sale! 
Resources for this project:
See all materials


Comments
Join the conversation
-
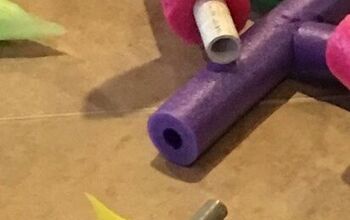
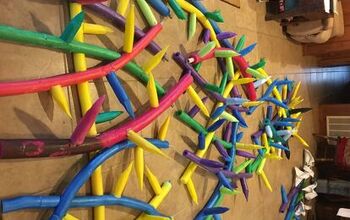
If you use a heat gun on the noodles, it will secure the shape. Use a piece 3”-4” PVC to insert into the noodles to hold them together.
-
These are the pics of the noodle project


Frequently asked questions
Have a question about this project?
Does it draw bugs? Ants? Lotta sugar in those peeps
Are those burlap curtains/drapes in background? Did you make them yourself? Love them!
My porch is in in the sun all day, will the peeps melt, even though they’ve been sprayed?