


DIY Storage Box/Cardboard Recycling
4 Materials
Hey guys! For those of you who are new to my blog, welcome and enjoy! My name is Vesna and I`m a full time blogger, blogging about everything home and lifestyle related. I hope you enjoyed your weekend and you're ready for a new week and new ideas!
Today’s project is all about organization. As I mentioned in this post, best way to have a beautiful space is to organize it. In this post you will see how to up-cycle cardboard boxes into beautiful storage boxes. They will help you declutter your space and organize your pantry, craft materials, linens, tablecloths, napkins or anything else. And they are super easy to make!
You will need:
- cardboard box of any sizes you need,
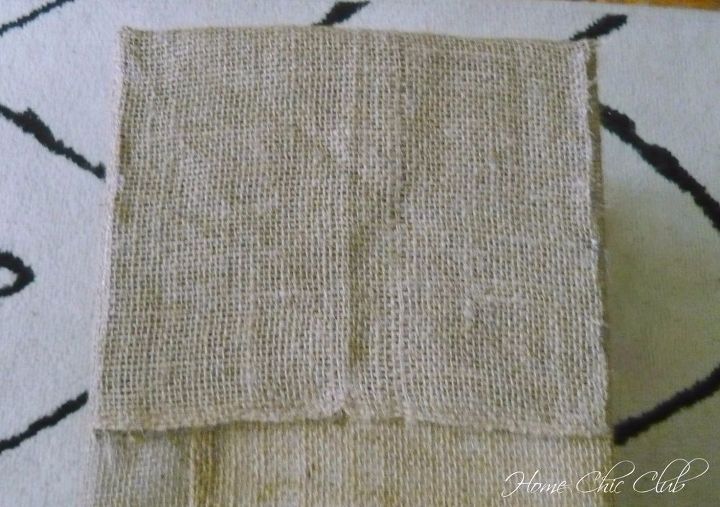
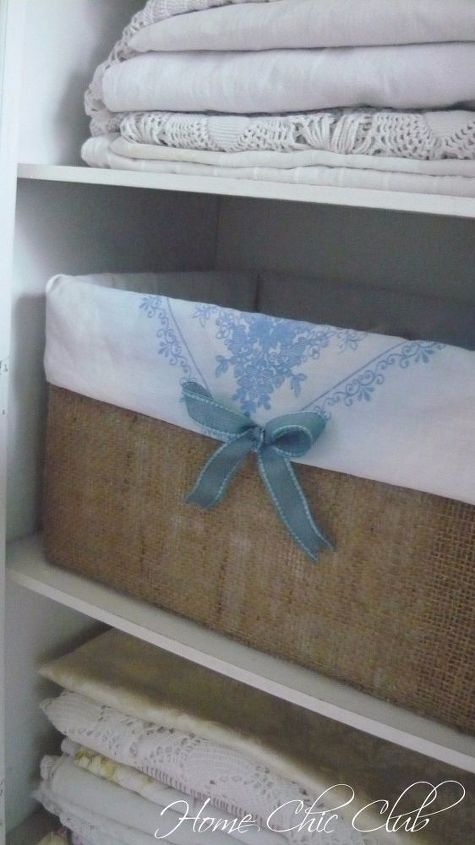
- fabric, such as burlap in my case,
- hot glue gun and glue sticks,
- ribbon
Tutorial:
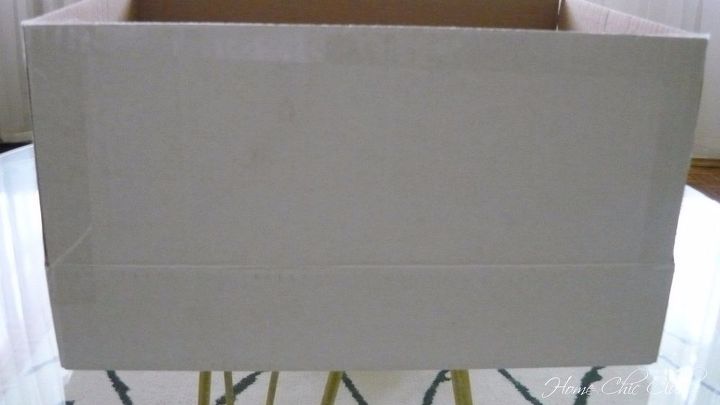
First cut the lids off your box, or if you need a deeper box, just tape them together, like I do.
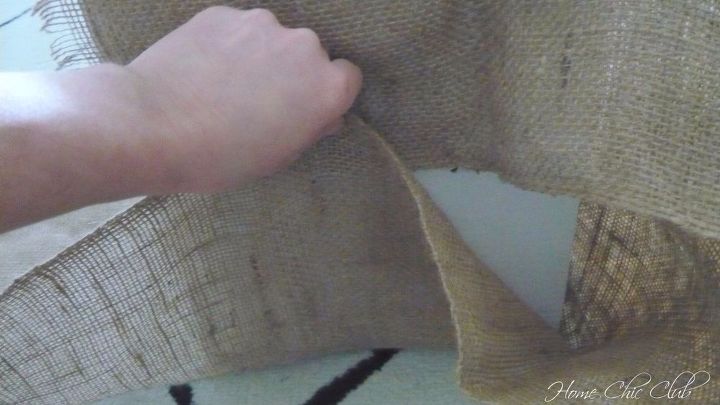
Cut a piece of burlap slightly longer than the total length of all 4 sides of the box (Tip: the easiest way is to wrap the fabric around the box to measure it).
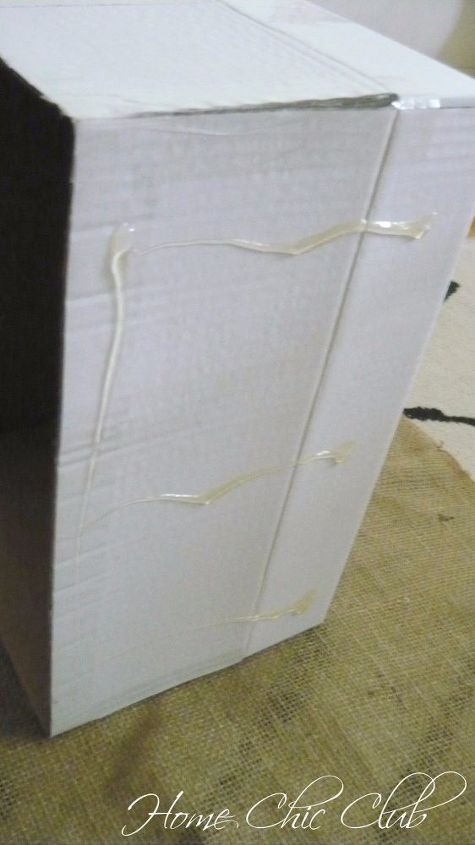
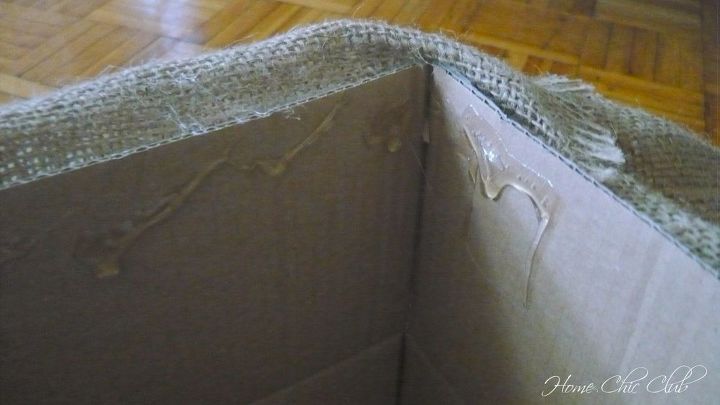
Start by gluing one side of the box. Press and smooth out the fabric before starting on the next side. Rotate the box as you apply glue to each side and glue the fabric.
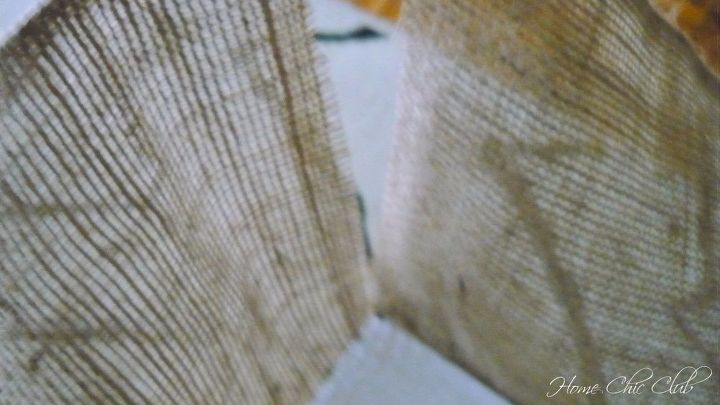
After the 4 side are glued in place, finish by snipping the burlap where the corner turns...
Fold and glue the side pieces to the bottom.
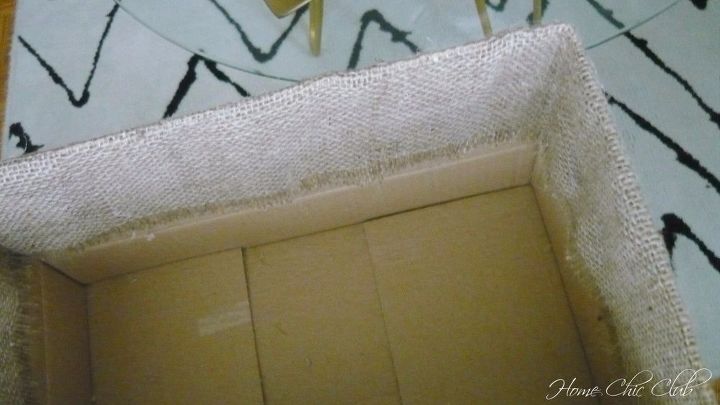
Turn the box, and glue the edges of the burlap inside, making sure that everything is tight and smooth. Box is now covered in burlap and you can decorate it with a cute ribbon, or fabric flower and leave it like this. But, I wanted my box to have an inside cover, but I was not really in a mood to sew... So, I got this, a little bit unusual idea, but it actually worked!
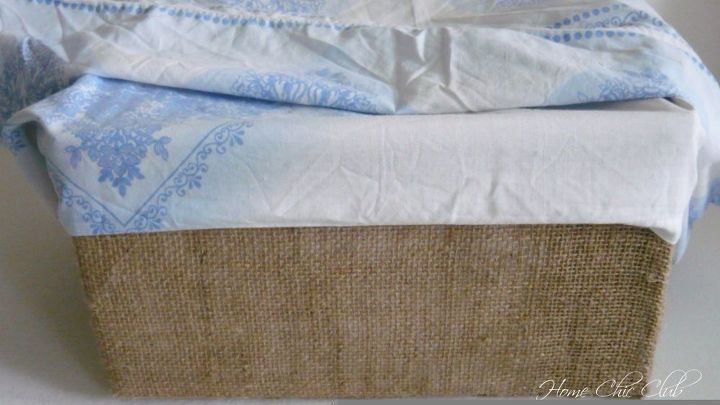
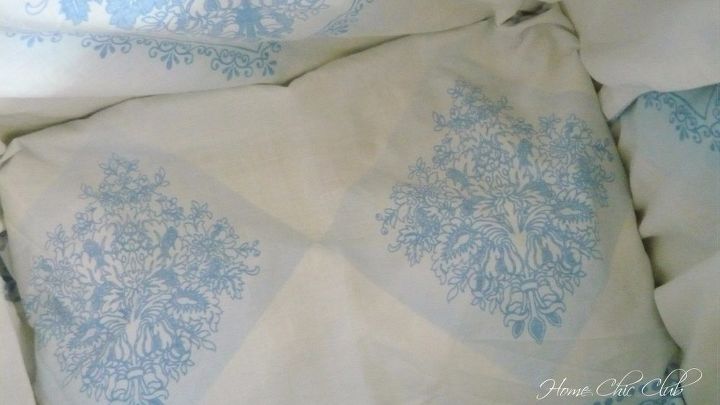
I found a large pillow case and put it with a good side over the box. Then, I fold the edges of the pillow case to make it neater from outside.
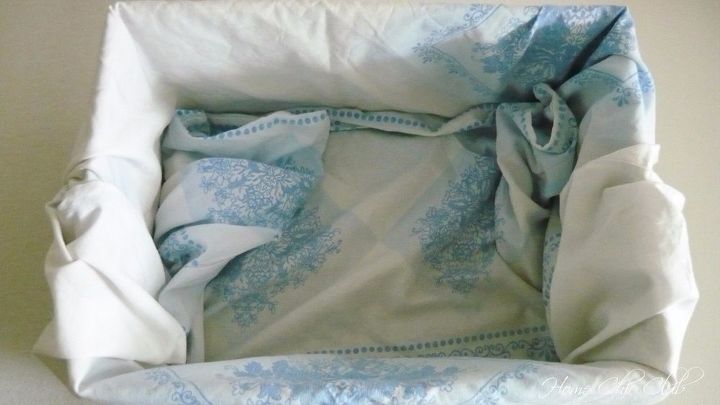
Put the rest of the pillow case inside...
Fold the fabric on the bottom to look nice, tighten all sides, and there it was!
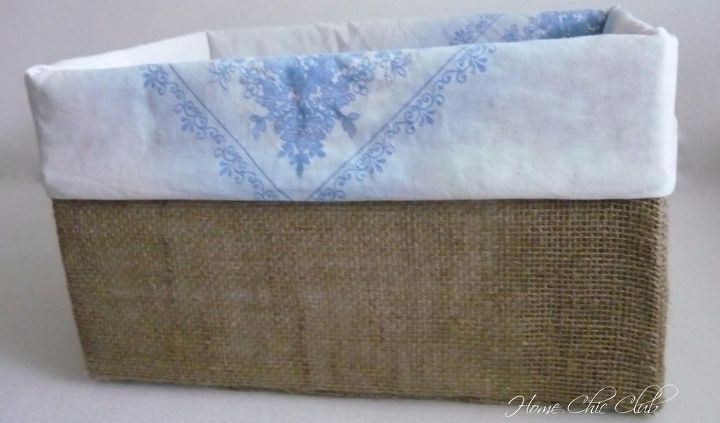
My simple and perfect idea for no sew inside cover!
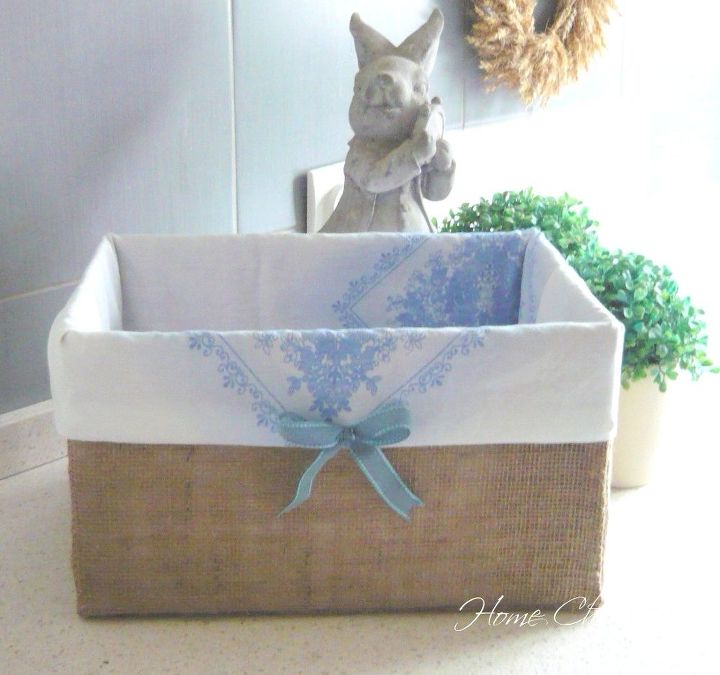
All I need to do after was to sew a little bow to make it pretty and my DIY storage box was done! I really had fun realizing this project. What do you think? Do you like to recycle?

Want more details about this and other DIY projects? Check out my blog post!
Comments
Join the conversation
2 of 48 comments
-
Such a great idea so pretty. Thank you Julie
Judy
-
I love repurposing things for a functional use that I’d otherwise throw out. I was literally just thinking I want to get a tall narrow container to put my redeemables in, thinking a trash can was my only option. I have an open living rm, dining rm and kitchen space and I don’t want another trash can in my kitchen area ( no pantry). I live at the beach and my decor is coastal so I think this project is the perfect solution. Thanks for the idea 💡.
Kismet at work.


Frequently asked questions
Have a question about this project?
This is just so pretty. Recently bought a glue gun. My question is how do you smooth out the glue and fabric. Can you just do it with your hand? Does the glue smooth out easily? Thanks in advance for your answer.
Just an "older lady" with her first glue gun. Kathy
Kathy
My husband doesn’t like to have cardboard boxes because of bugs’ attraction to them... does the burlap prevent bugs from getting to the cardboard?
Where do you get burlap from? Seems like it would work better then regular frabiv. I tried this and failed horribly.