


Easter Craft: How to Paint Babuska Eggs

by
Amaryllis
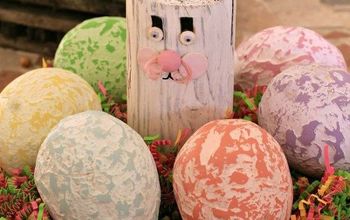
Easter is just around the corner, it's time to have fun decorating eggs! It was one of my favorite craft when I was a kid, so each year I try to make something special, hoping my children will enjoy it! This time I painted babuska dolls on eggs. No worries you don't need any artistic skill to make this craft. I will explain you with a few simple steps how to paint these cute dolls on eggs!
If you look for some extra Easter decoration, you will like those fun ninja eggs and these cute chicks eggs!
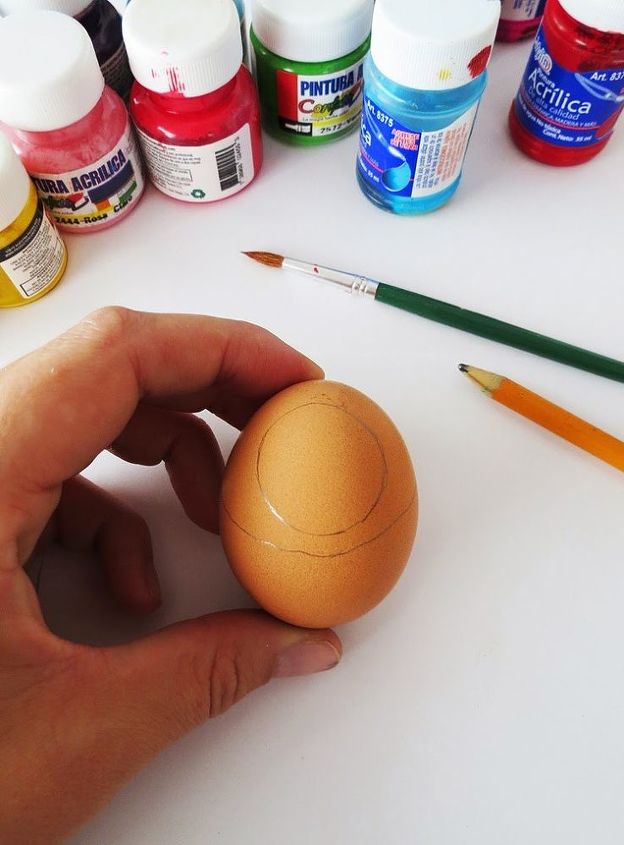
You will need hard boiled eggs, a pencil, acrylic paints and a paintbrush. Start by drawing a circle on the top part of the egg. I used a glue stick cap to make the circle shape.. Trace a line all around the egg, below the circle.
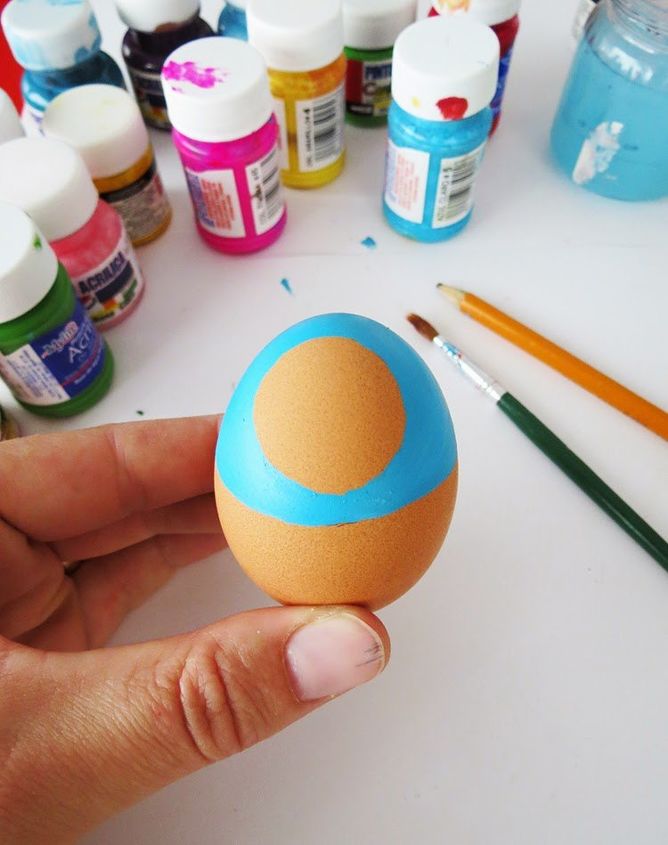
The different area are well delimited, so you can start painting. Choose one color for the head scarf, an other one for the bottom dress. Wait for the first one to dry before painting the second.
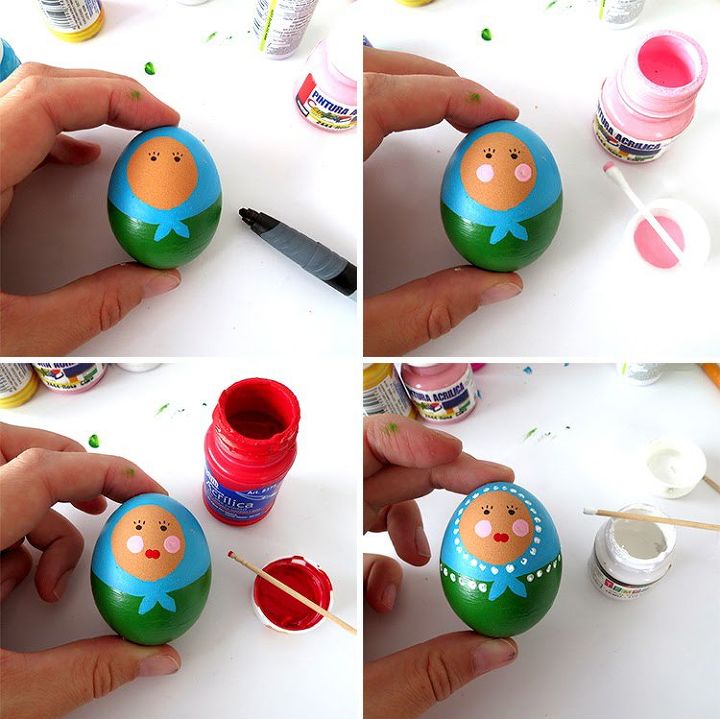
Once the egg is painted and dry, you can start adding details. With a black sharpie, make two dots for the eyes and three small lines for the eyelashes. Dip a cotton swab into pink paint to make the cheeks.
Cut a toothpick to have a flat end, dip it into red paint and make two small dots next to each other to make the mouth.
Use another toothpick to make white small dots around the head and the dress.
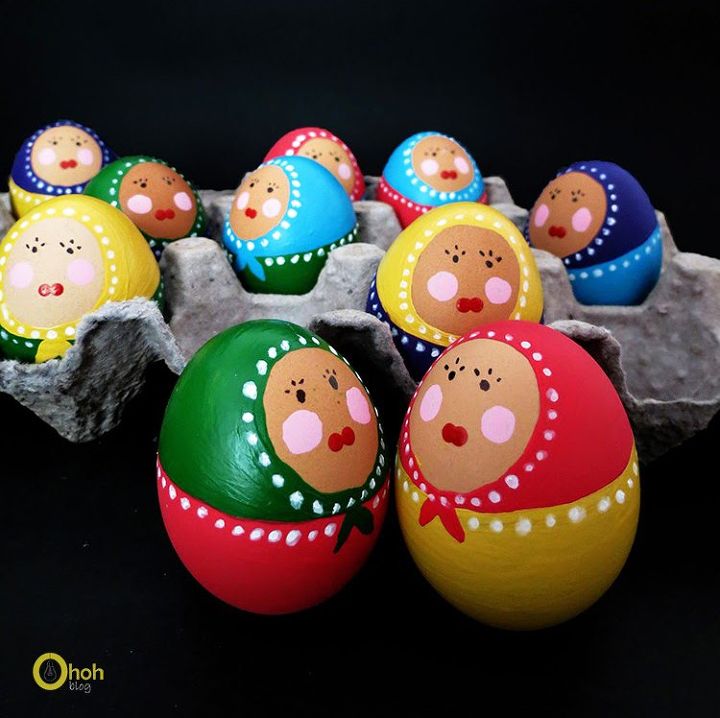
You can make as many dolls as you like and use different color combination. You can also add as many details as you want, as flowers on the dress for example. Have fun painting babushka dolls!
Don't hesitate to have a look at my blog to see more pictures!
Want more details about this and other DIY projects? Check out my blog post!
Comments
Join the conversation
2 of 4 comments
-
I'm obsessed! These are ADORABLE!
-
Loving them!😍


Frequently asked questions
Have a question about this project?