


LuminArt: Fluorescent Flair!

by
Adele Kurtz
7 Materials
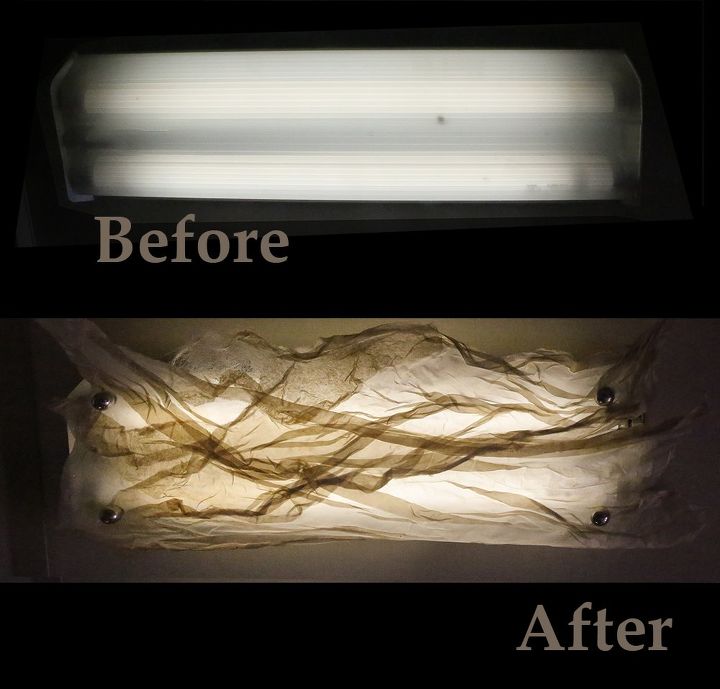
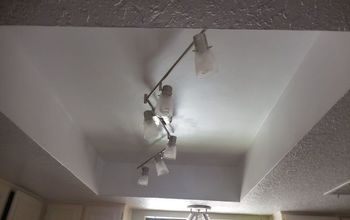
Hate the industrial look of fluorescent lighting?
Me too.
But I have lots of them: need the light, but want to update the look.
So here's my latest concept.
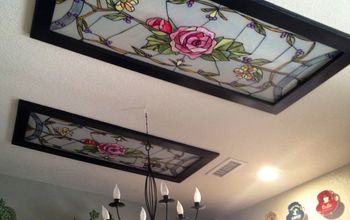
Background: I'm one of these romantics who swirls scarves over my bedroom lamps. I'm also a handmade paper fanatic... Could I blend the two concepts & work it over a ceiling fixture?
Which look do YOU Prefer?
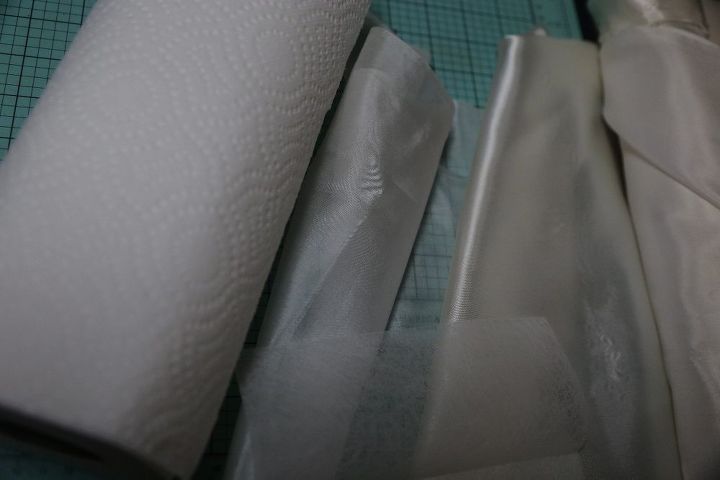
What to work with? How to begin. Make translucent Material.
Obviously you can buy handmade paper at the art store, reuse a scarf or silk fabric...
But here are two concepts you can try that I worked on simultaneously that both worked.
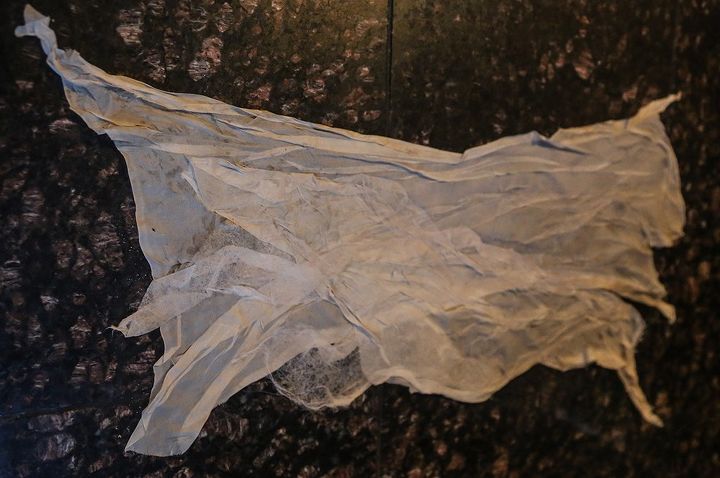
One involved layering silk... my original concept...
The other involved layering Bounty paper towels & ...
... dryer sheets.
Yep, I was working in the laundry room where I have my craftsy set-up & was inspired to add the pretty texture inside.
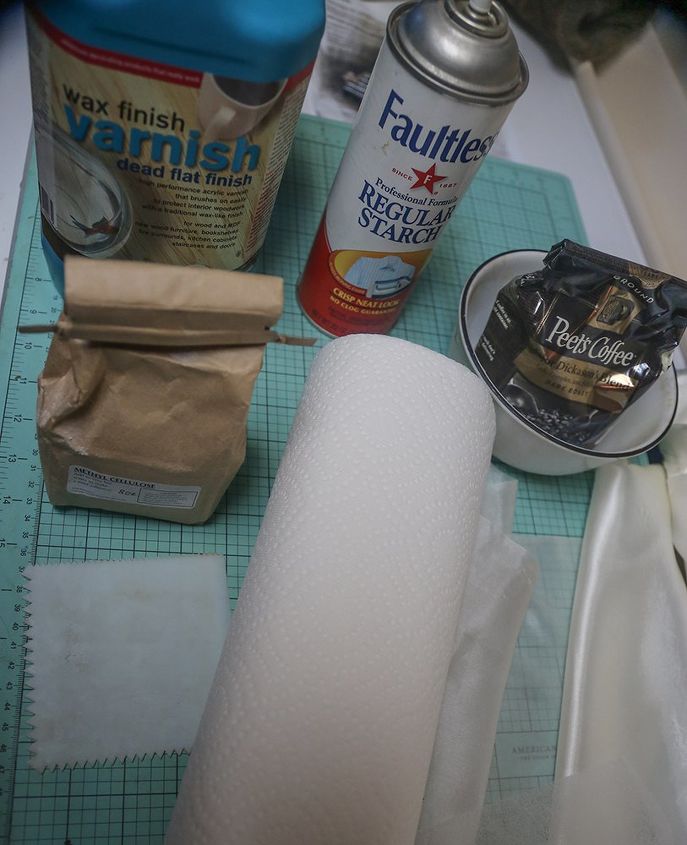
For color? My ceiling is creamy, the materials are white.
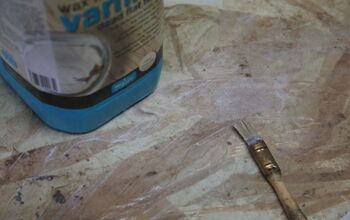
I had coffee at hand. I also needed hot water to add to the methyl cellulose...
I took a bowl and mixed the methyl cellulose with a few tablespoons of fresh brewed coffee -- perfect color!
Don't want to special order methyl cellulose (online)? No problem.
You can go straight to the varnish and mod-podge the two layers together.
I think the coffee dip-trick will still work ... without the methyl cellulose
or go with more conventional paint tints if you prefer.
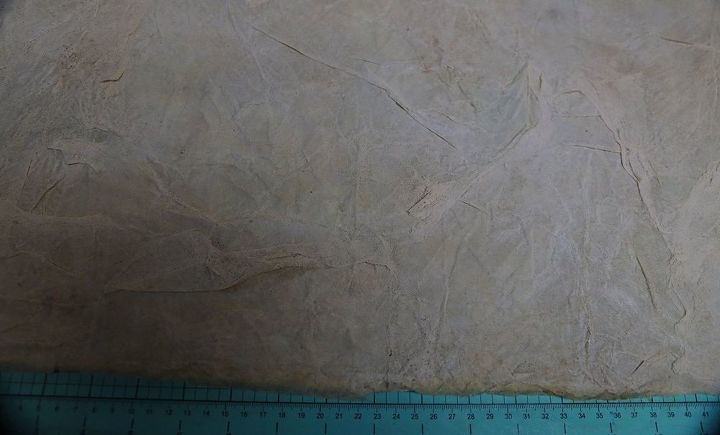
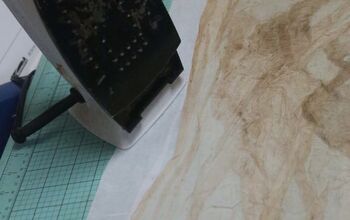
Lay down a base layer -- wrinkly is good.... This image shows Bounty towel, because I didn't know which concept I would select. I dipped second layer into coffee/methyl cellulose mix. Squeezed out the excess dampness. Ripped and layered pieces over the base layer.
Use a coat of poly, mod-podge or wax varnish over layers... Use between layers if you are not using methyl cellulose as the binding agent... Saturate to thicken material. When one side is dry, flip over and do other side.
While poly coat is still a bit damp, you can shape material creatively or straighten & flatten.
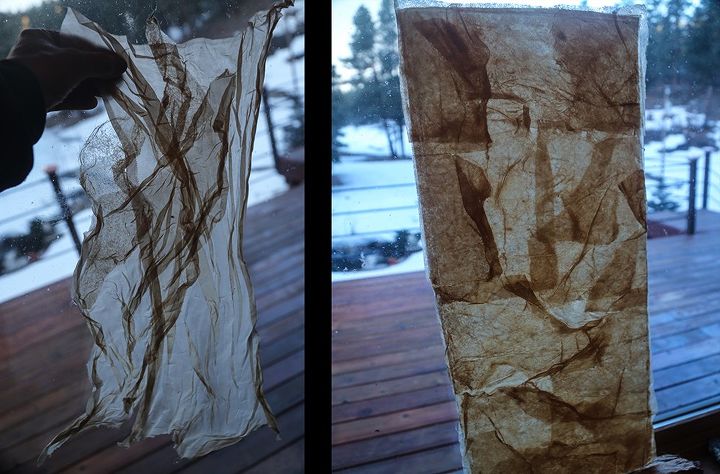
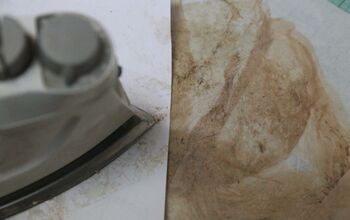
Here's the difference when hung out to dry:
Left is silk layers... whimsical
Right are paper layers... flattened
(I work on plate glass so I can see both sides & how light looks behind....)
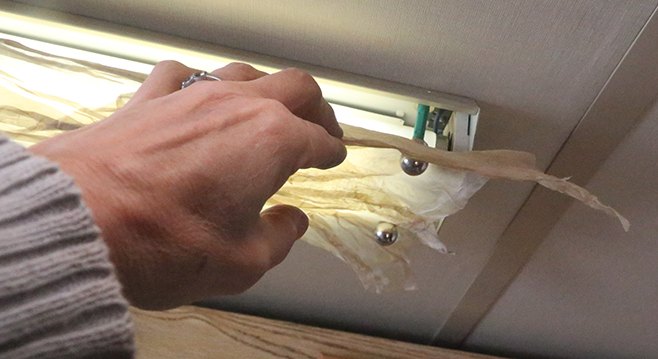
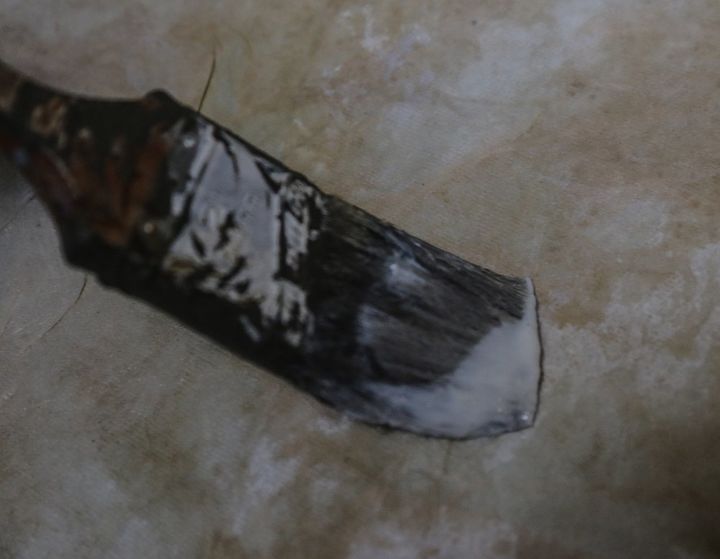
I secure material over lighting using MAGNETS!
If your fixture is not real metal, you can secure to a metal screw.
Or sandwich between neodynium magnets -- available online.
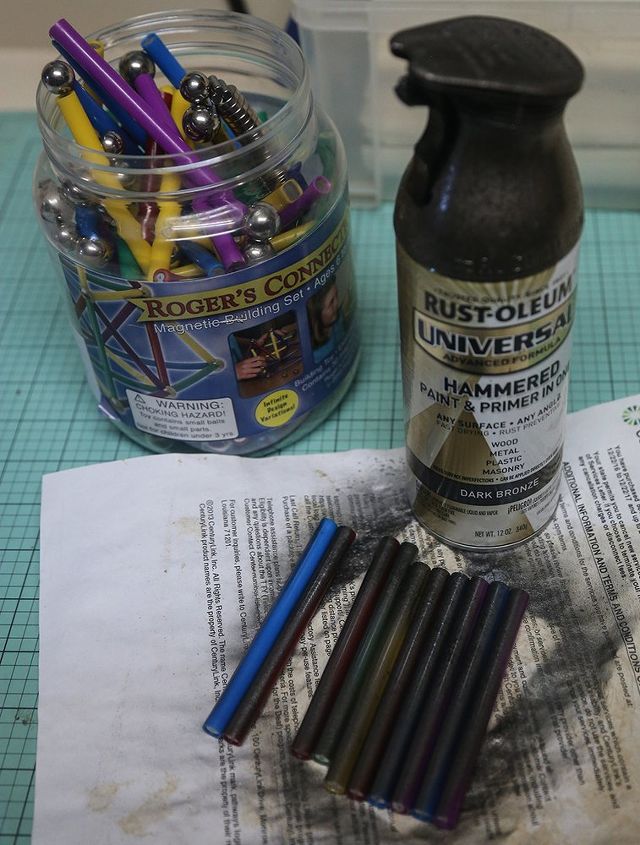
Confession: I hoard magnets. Balls & toys & rods & neos... You can spray paint the plastic covered ones easily if you want a more finished look.
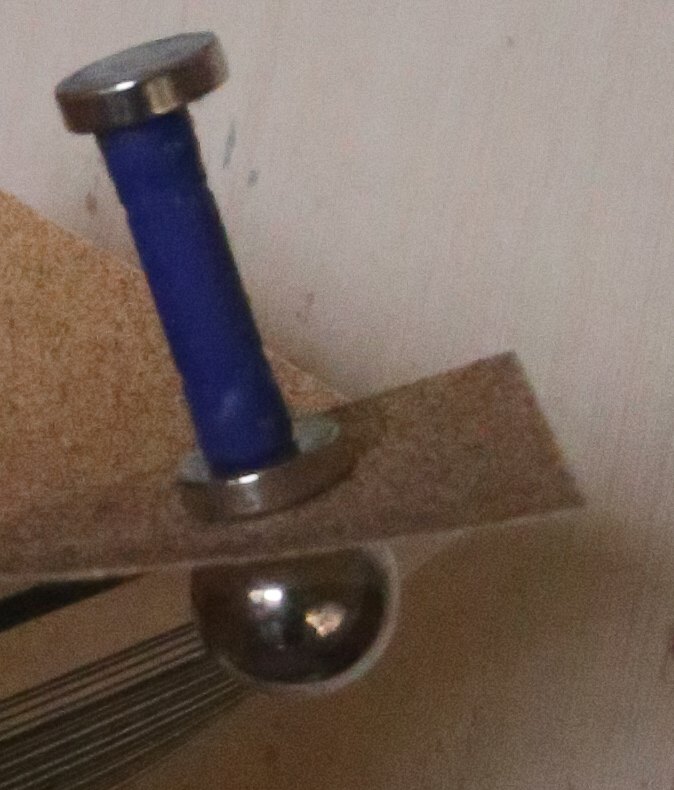
Here's my final setup:
1. flat round neodynium 1 against metal screw;
2. rod magnet
3. flat round neodynium 2
4. material
5. round ball magnet
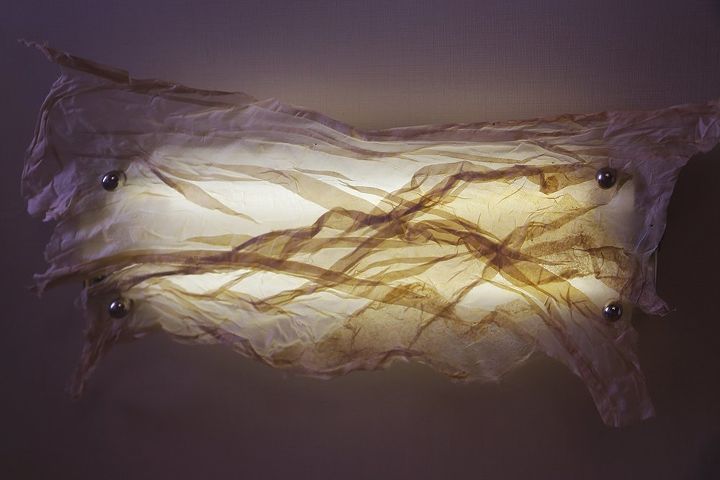
TaDa! Here's the freeform look.
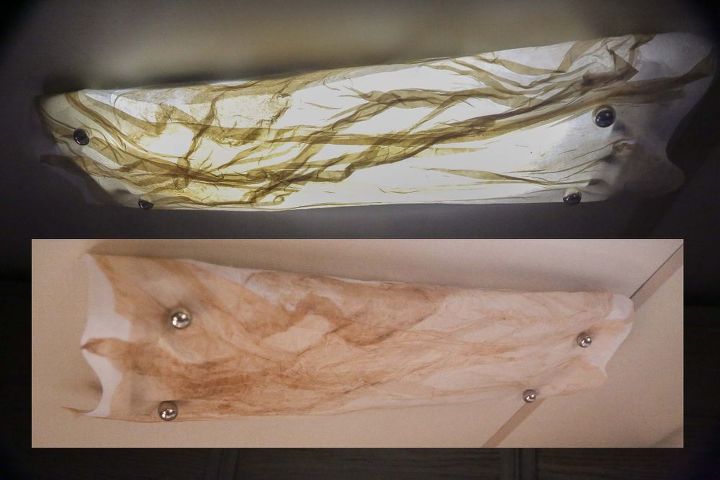
Light turned on or off. Here's showing another technique where I ironed on the fabric using INTERFACE FABRIC as my stiff base layer. I then rolled the edge under the lamp instead of the free form look.
Comments
Join the conversation
2 of 4 comments
-
This is a wonderful idea!!
-
I revised this post to show another cool concept for stiffening the fabric by ironing onto INTERFACE fabric. For the next fixture I did it that way.


Frequently asked questions
Have a question about this project?