


I've Been Framed! (frame Goes From Plain Jane to Fab Centerpiece)

1 Material
Inspiration struck during the re-do of my entry way. I had taken down my 'framed mirror turned chalk board', in order to repaint the wall. I just set it on my table, and then decided to use it for a temporary centerpiece and really liked it. But.. I needed my chalk board back.. it was my 'honey do' list : ) So I went on the search in my stash to find something else that might work.
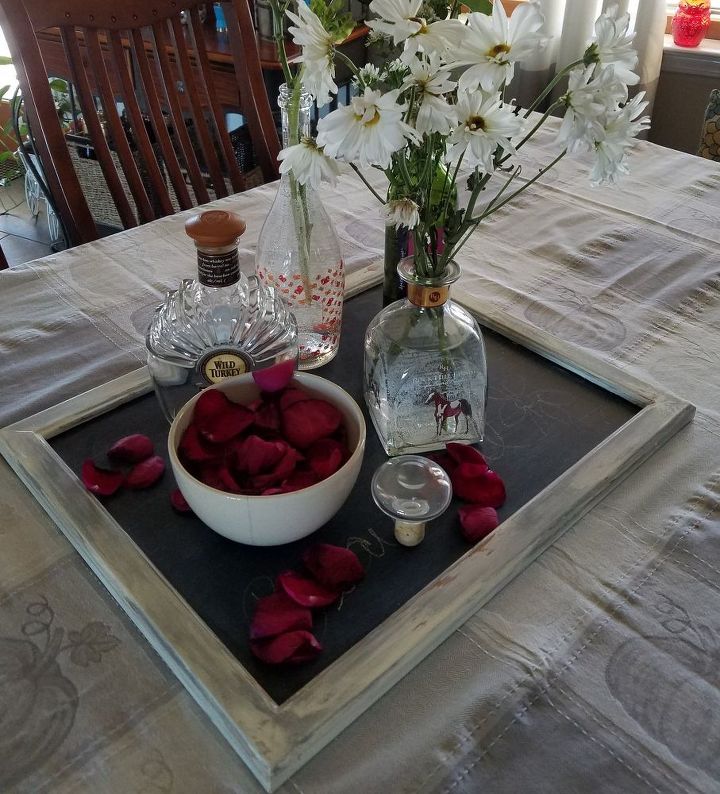
Here is my chalk board being used temporarily as the centerpiece.
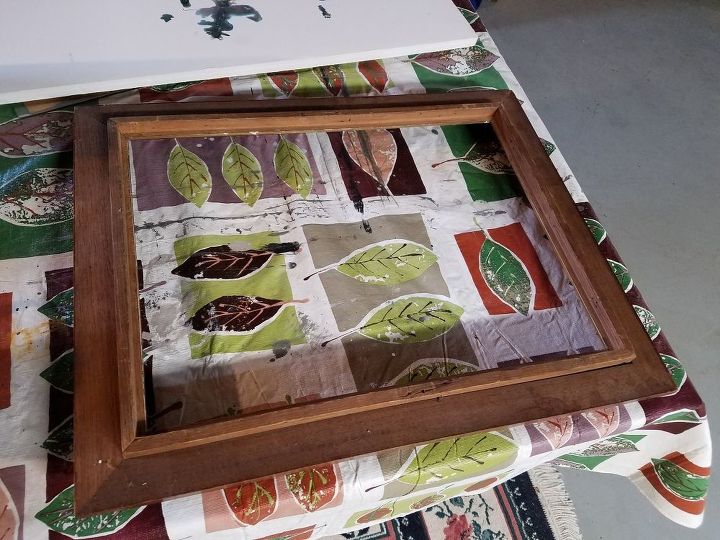
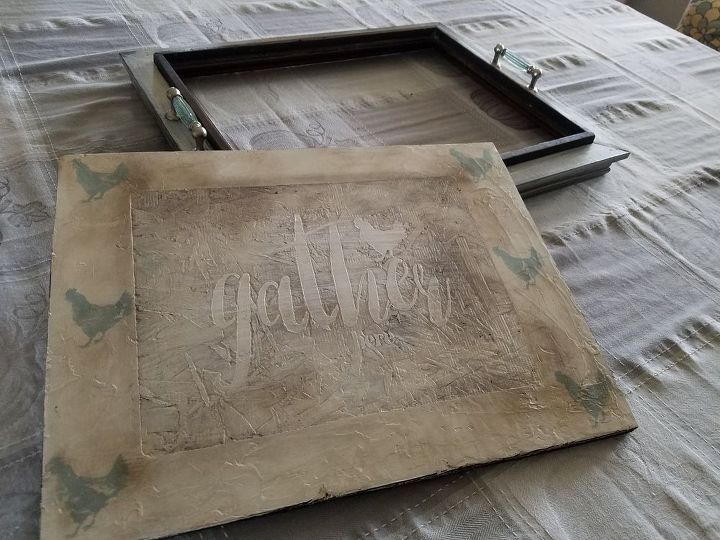
And, here's the back of the old frame I found in my stash! It had a cool insert in it as well and was a solid frame, just the right size!
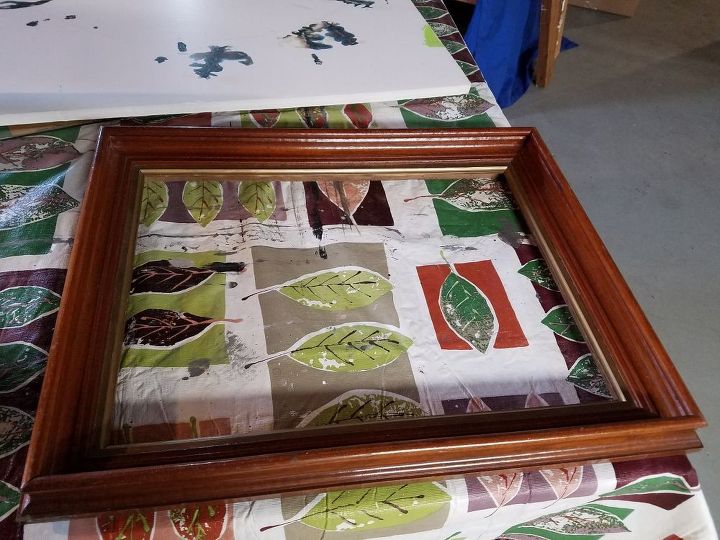
Here's the front of the frame (I have already taken the insert out in this pic). My original thought was to insert a 'chalk board' , just like you would a picture, however, this was an old frame and I would have had to find a solid way to attach the board. While I was inspecting it a bit more, inspiration struck a second time! I actually liked the back better than the front. It had a flatter area that my handles would adhere to better as well as an added bonus... the insert would act as the 'holder' for my center board! Yay! Paint time!
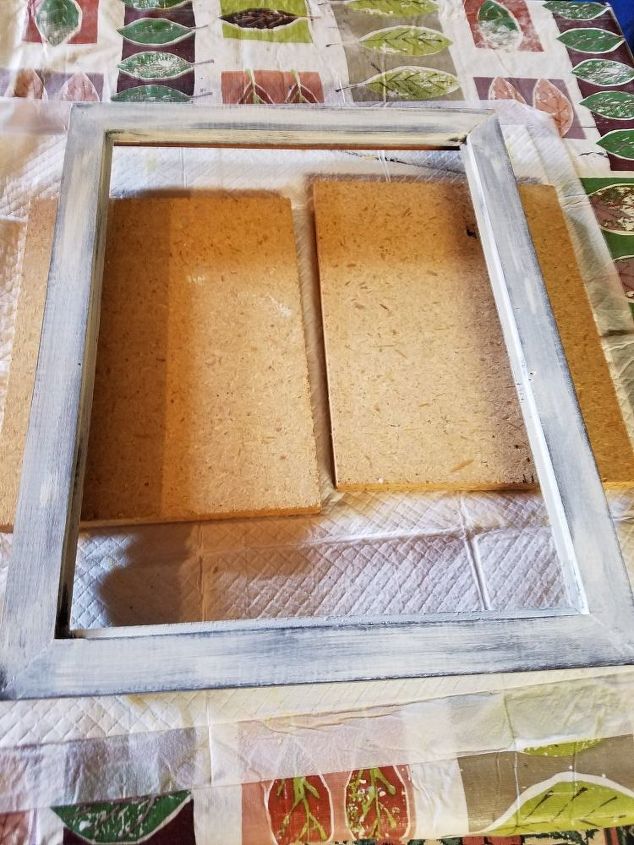
I sanded and then painted the frame a very dark grey (American Décor Carbon). After it dried I added Vaseline on the areas I would later wipe off (edges and some spots on the frame) to get a distressed look. I then painted it with white (homemade chalk paint), took a rag and rubbed off where my Vaseline was.
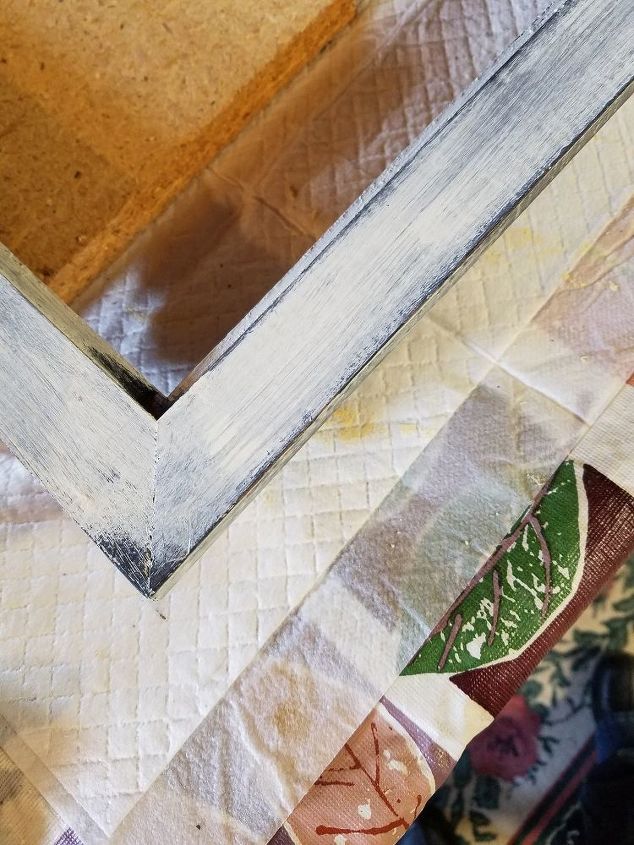
After it dried I coated the whole frame with clear wax (Americana) , then added black wax (Annie Sloan) to the dark grey areas to enhance the distressed areas.
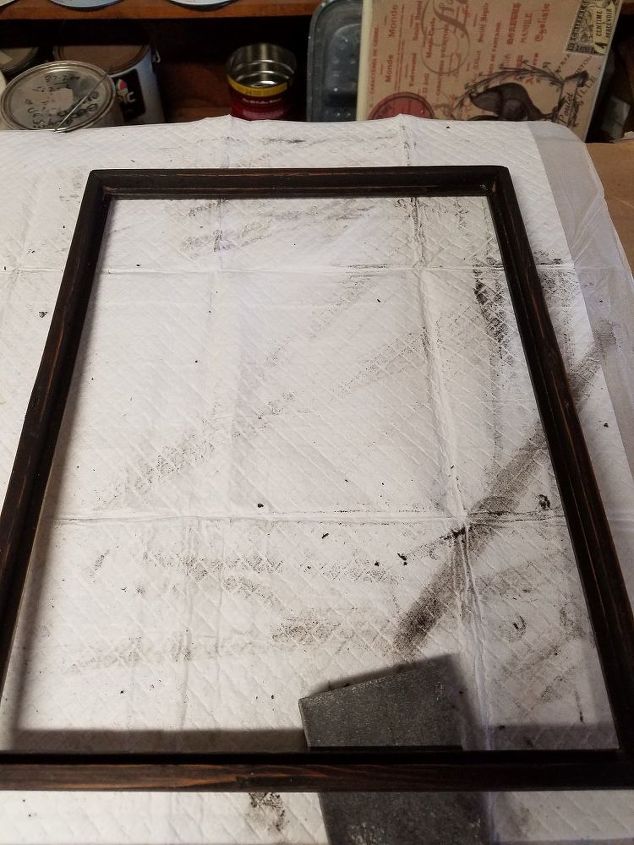
The insert was stained with Rustoleum Kona stain, then Minwax wipe on poly to seal.
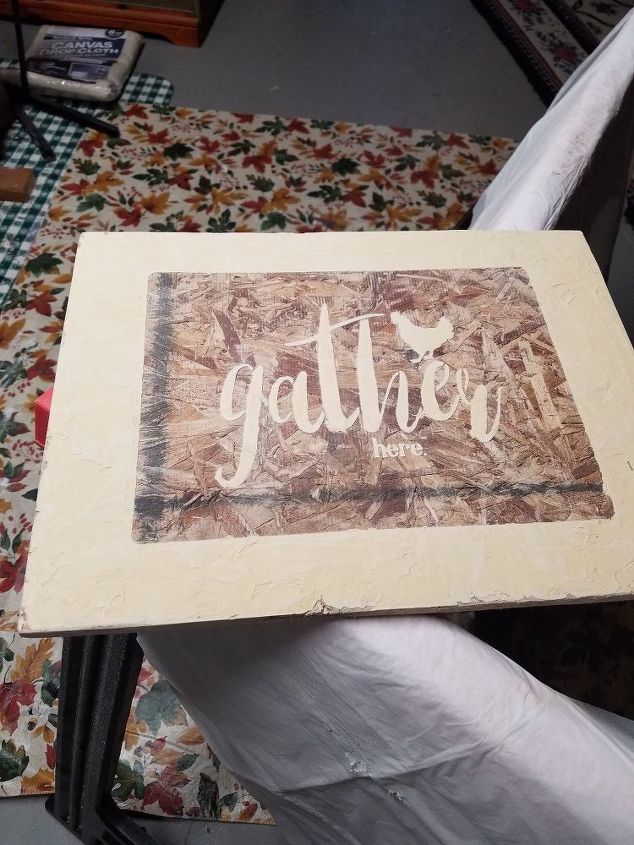
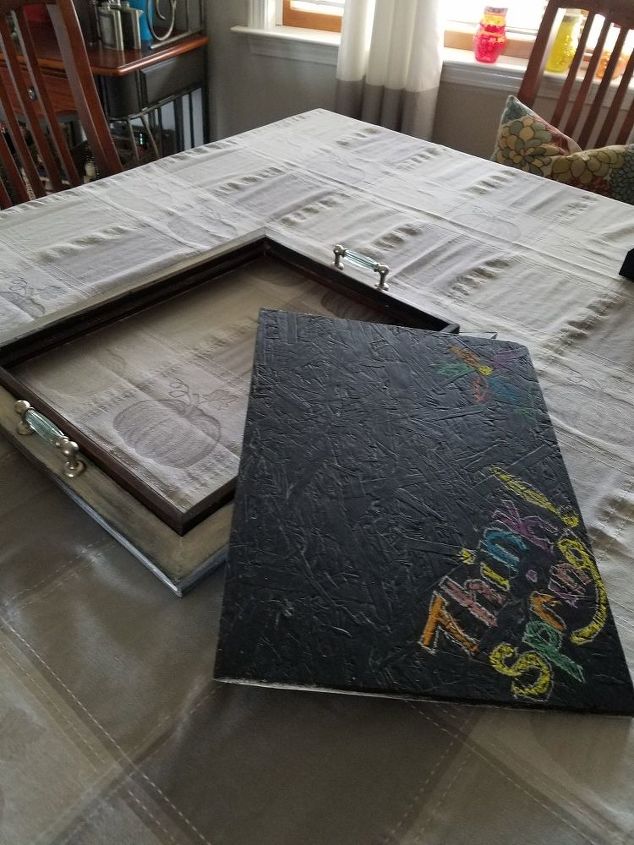
Remember I asked my hubby for a board? Yeah, he told me he had plywood and I said that's great, that will work.... ummm no. What he brought me was OSB, what I call 'chip board' and not my favorite. However, it's what I had to work with! So, let's make silk out of a sows ear!! I got out my wood icing and added even more texture to the board (this pic shows how I did a textured surround with an embossed 'gather here' in the middle). I painted it a creamy color using Annie Sloan Old White. Then used a homemade chalk paint and stencil to add the light blue/green chickens around the edge. Used Americana clear wax over all, then Americana dark wax to enhance the texture and embossing (no sanding or distressing). After that was all complete, I turned the board over and gave it three good coats of chalkboard paint.
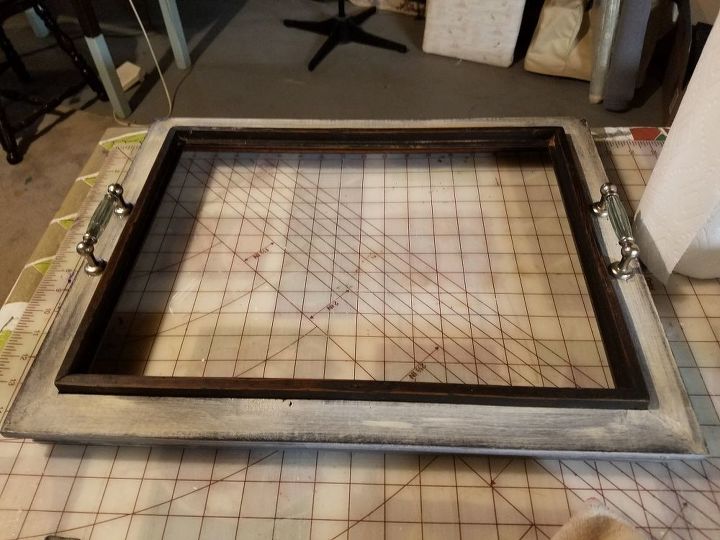
Here is the completed frame with insert and handles. My handles (had them on hand, originally purchased at Target) were just glued on with E6000 glue. I did not worry too much about them since this would not be used as an actual tray.
Here is the completed embossed side :)
and here is the chalk board side : )
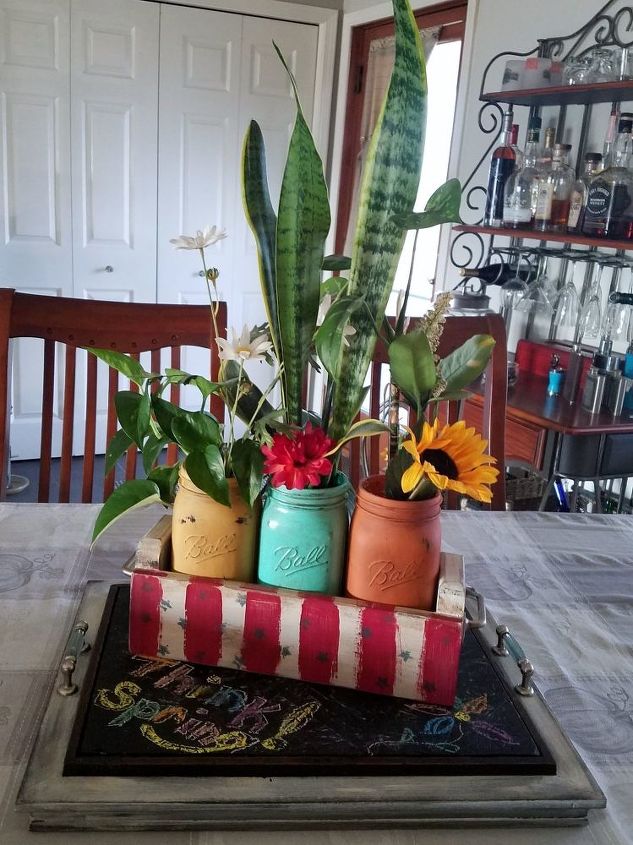
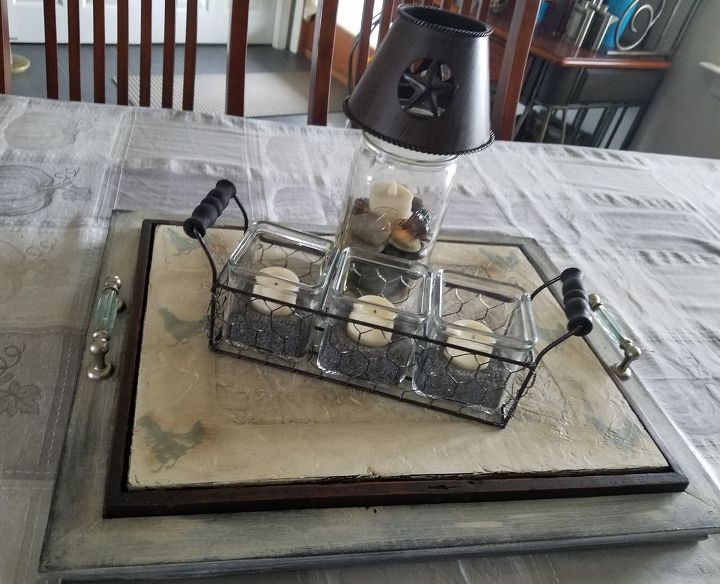
Remember my 3 jars in a box (http://www.hometalk.com/diy/decorate/rooms/the-updated-story-of-3-jars-and-a-box-28193182) ? Here they are hanging out on the chalk board side of my 'tray'.
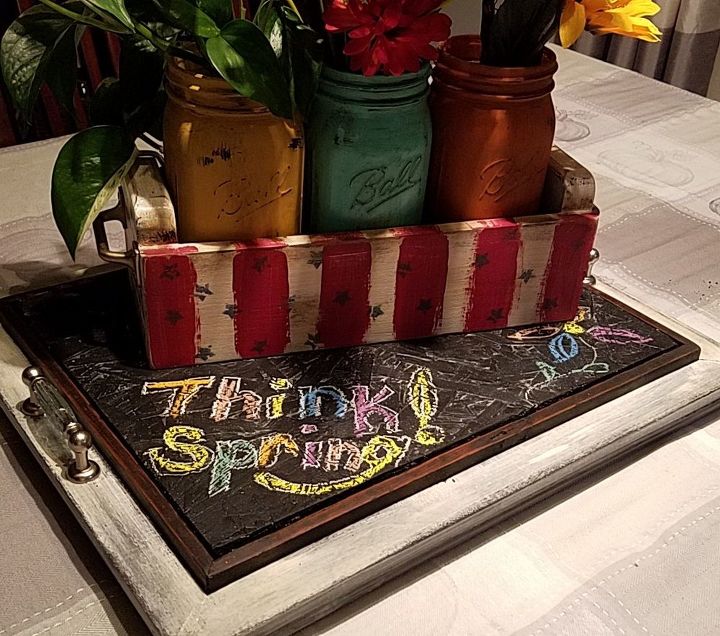
A closer look.
Here is another look, this time using the Embossed side of the board
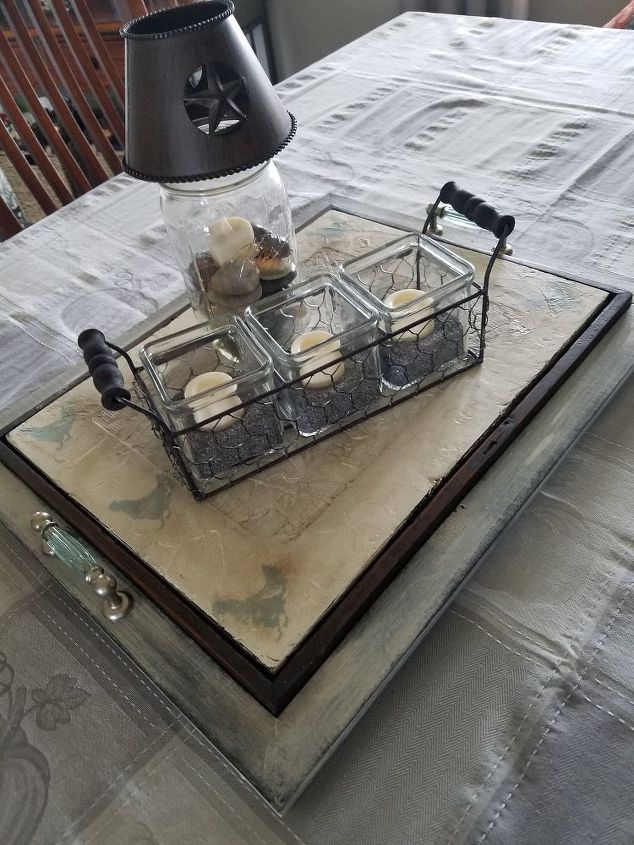
A closer look at that one.
Think of the endless possibilities of wood or even metal pieces that could fit in this frame.............. I think next will be a nice , grainy piece of wood I can stain...
Oh and the board that started the whole process ?? He's all better now , re-vamped and back on the wall : )
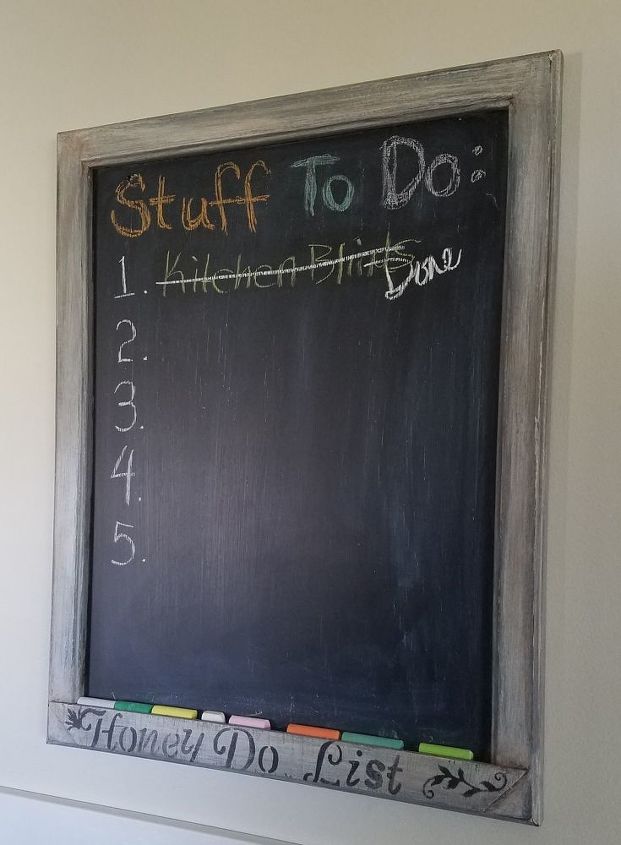
The one that started it all back in it's rightful place.
Comments
Join the conversation
3 of 24 comments
-
Love this, lovely!!!!
-
Excellent idea on the 'flip-ability' of the center! So many options that way.


Frequently asked questions
Have a question about this project?
How to keep leaves and debris out of.mu water feature one is 6 by 3 other is 4 round.