


Growth Board for a Little Lamb (using Fusion Mineral Paint)!

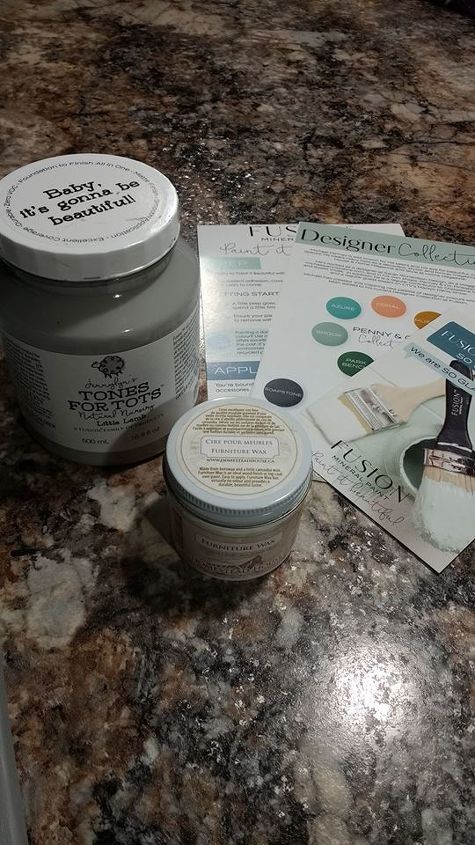
One of my co-workers asked me a few weeks ago if I would make her a growth board for her sweet little man. Coincidentally a contest popped up for me to enter for Free Fusion Mineral Paint products. I have been wanting to try this paint out for a while so I thought, what the heck, I will enter the contest and maybe, just maybe, I will win some free paint to paint the growth board. For the contest, I was to pick out two different products and explain what my project would be. My co-worker wanted a gray board with white numbers and when I was looking at the collections, I saw in the Tones for Tots collection, "Little Lamb" and thought this was the perfect looking gray. I also picked out the Furniture Wax for my second product. I sent in my form and ... I WON! Woot, Woot!! Happy Dance!! I received the email that I won, left for a trip for a few days, came home and like magic, there was my new paint waiting for me when I got home-I couldn't believe how fast this was sent to me.Okay, I have to tell you all, this paint is awesome!! I am in love with this stuff! It has a built in top coat, so you wouldn't need to wax your project. This paint goes on like melted chocolate, it is so smooth and silky, I loved it!
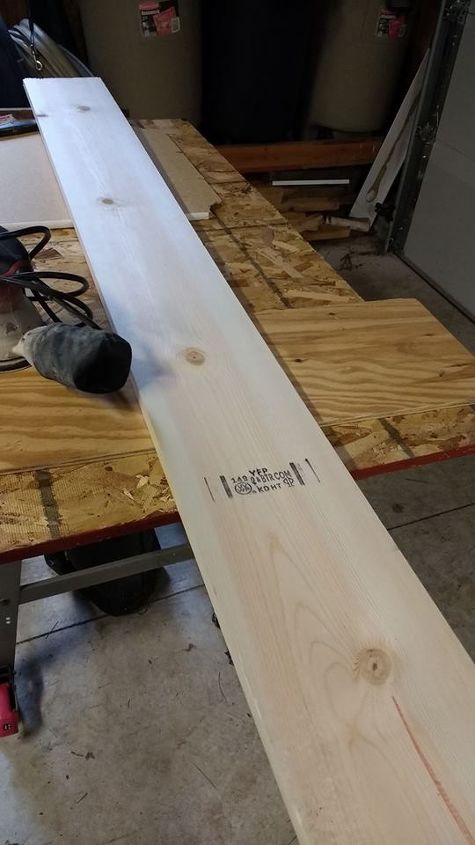
I picked up a board at Menards that measures 7 1/4 in. wide by 6 feet. I sanded down all the edges until it was nice and smooth.
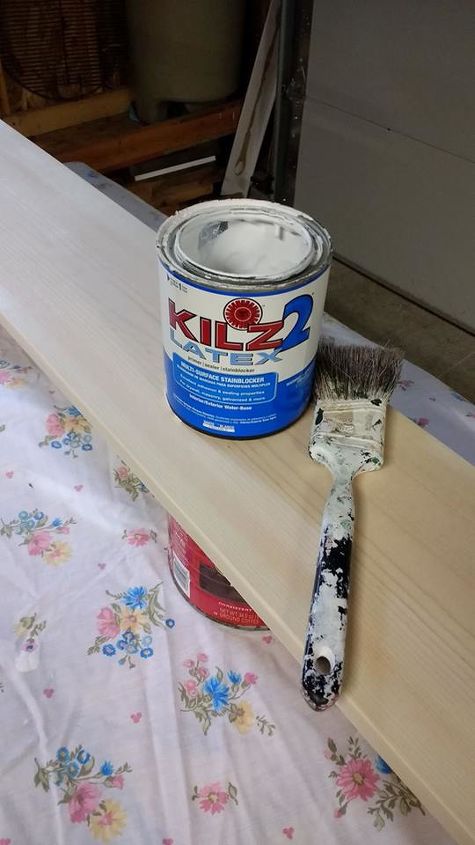
I primed the board because I would rather use less paint (I had the primer on hand) and I don't want to have to worry that the knots in the wood may bleed through.
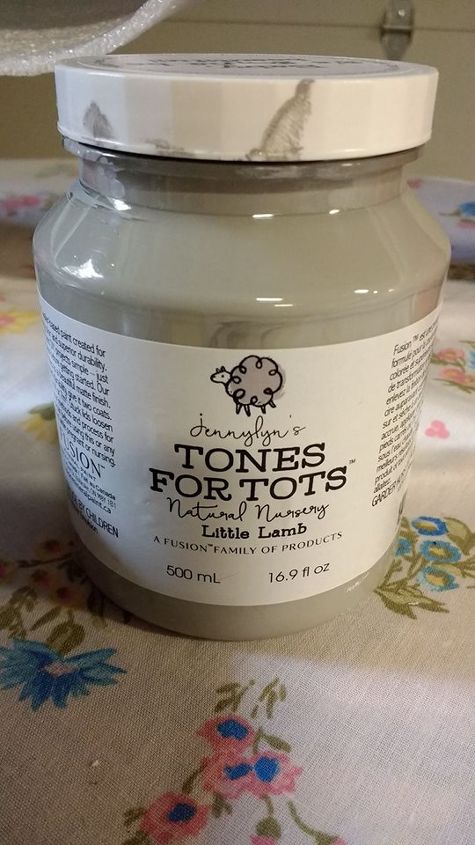
Cute packaging, don't you think ?!
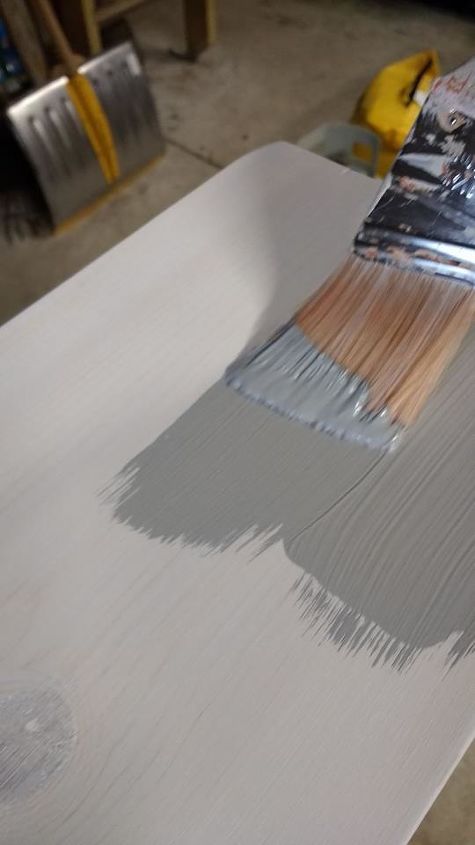
Look at how creamy, smooth this stuff is! Honestly, I couldn't believe how nice this was to apply. The coverage was amazing!
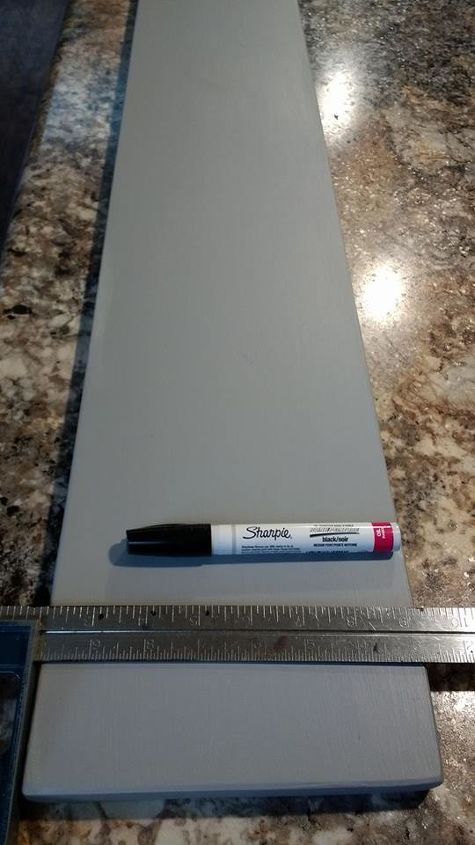
When the paint was dry, I measured 2 inches from the bottom of the board and started making my lines.
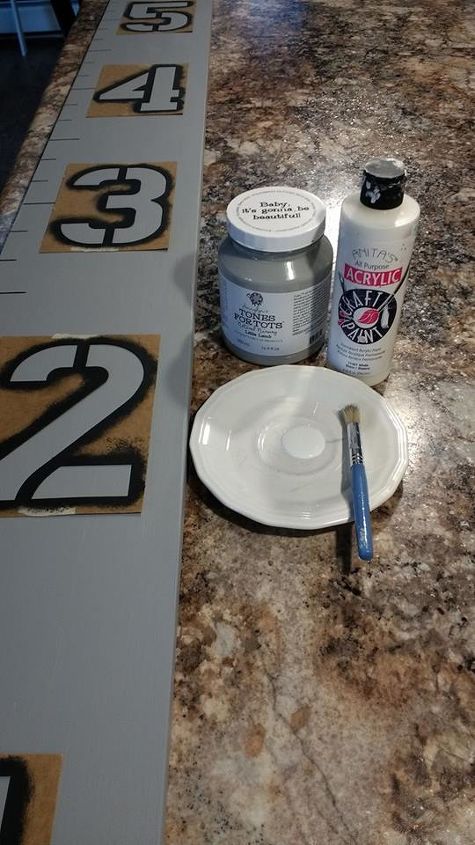
Once I had all my lines drawn, I stenciled the numbers.
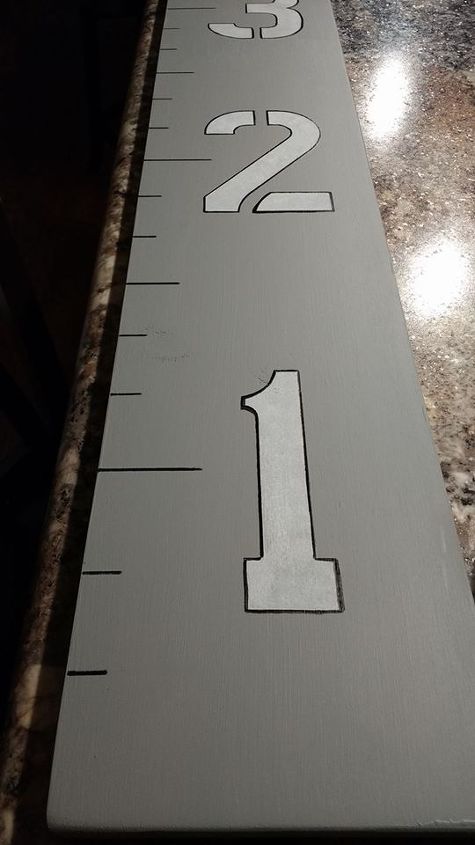
I outlined all the numbers to make those numbers stand out more.
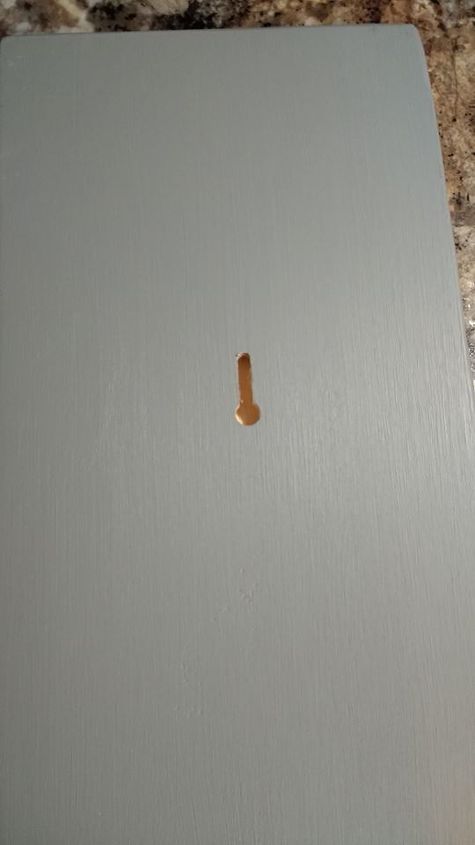
Using the keyhole router bit, I made this hole on the back of the board. I love using this tool for the back of boards so they can hang flat on the wall.
Once I finished with all the painting, I applied the rich, buttery Furniture Wax and ...oh...my...goodness, is this stuff nice! Using a soft cloth, I applied a thin layer and after waiting about 10 minutes, I buffed the board for a nice finish. As I mentioned earlier, this product has a "built in top coat" and I wouldn't have had to add the wax. However, I wanted to try this wax to see how nice it was and I wasn't disappointed.
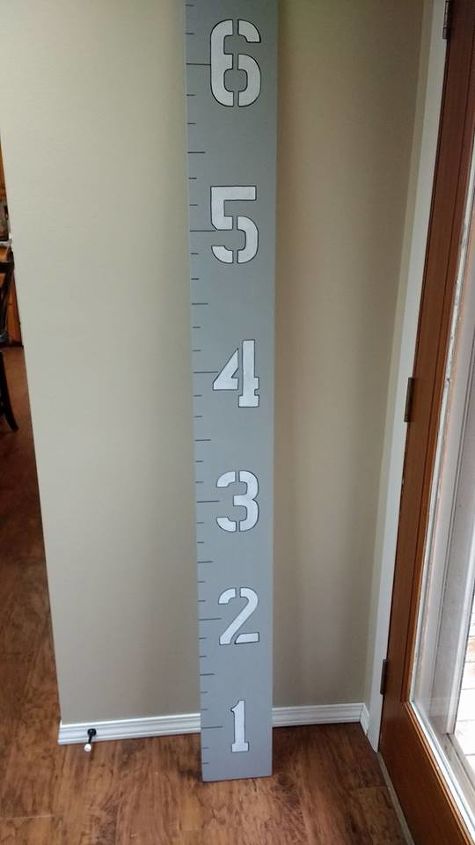
I am sold! I LOVE these products!! The coverage was unbelievable and had a awesome matte finish. By far the nicest paint I have ever used. I do believe my co-worker is going to be very happy along with her little lamb!
Comments
Join the conversation
3 of 17 comments
-
Thank you Katherine!
-
Absolutely the cutest idea and you've done a gorgeous piece!


Frequently asked questions
Have a question about this project?
Beautiful!! Why did you measure 2inches from bottom before you started lines? thanks!
If you measured in 2" increments, isn't your one foot mark at 6"?