


How to Fix a Crack in a Wall or Ceiling Quickly & Easily

Did you know that fixing a crack in some drywall on a wall or ceiling can be quick and easy? We have had a long crack in the ceiling of our living room for quite some time and I thought I might as well go ahead and try to patch it up.
With a couple of standard items from the hardware store, you can eliminate a crack and have it patched up in a jiff!
Disclaimer: Hometalk may receive a small affiliate commission from purchases made via Amazon links in this article but at no cost to you.
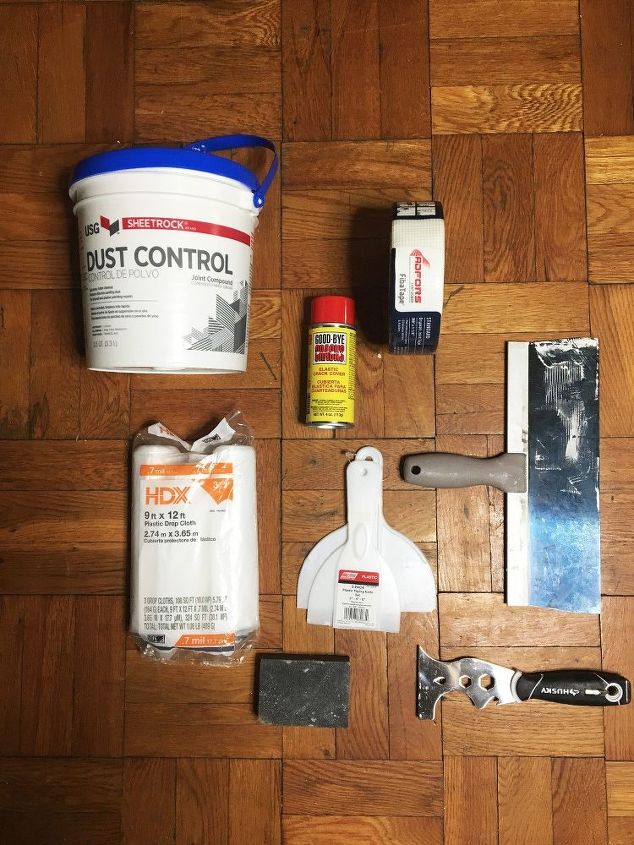
Tools and materials
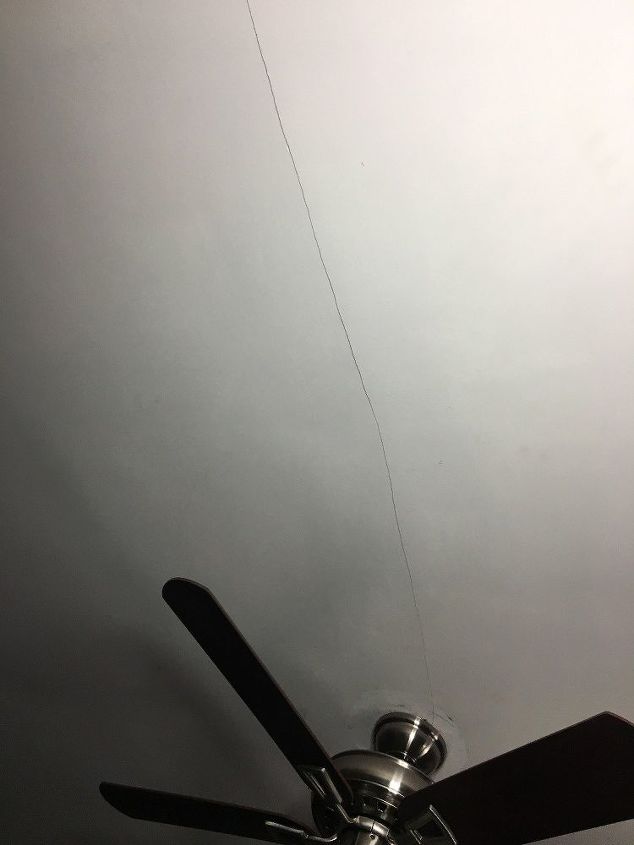
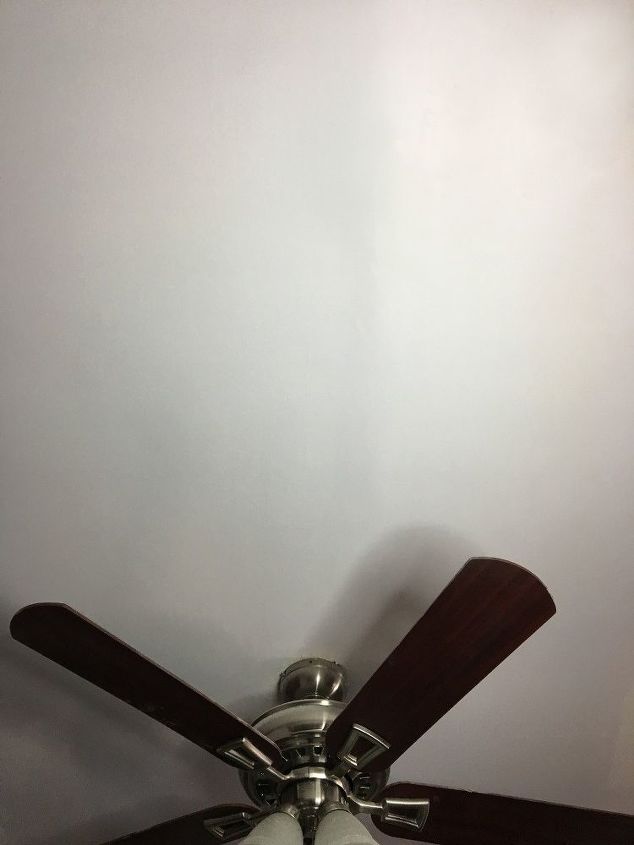
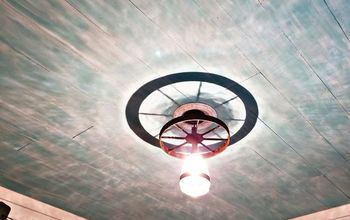
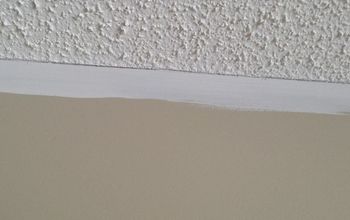
Here is a nice picture of what I was working with. This went the full stretch of the ceiling on either side of the fan.
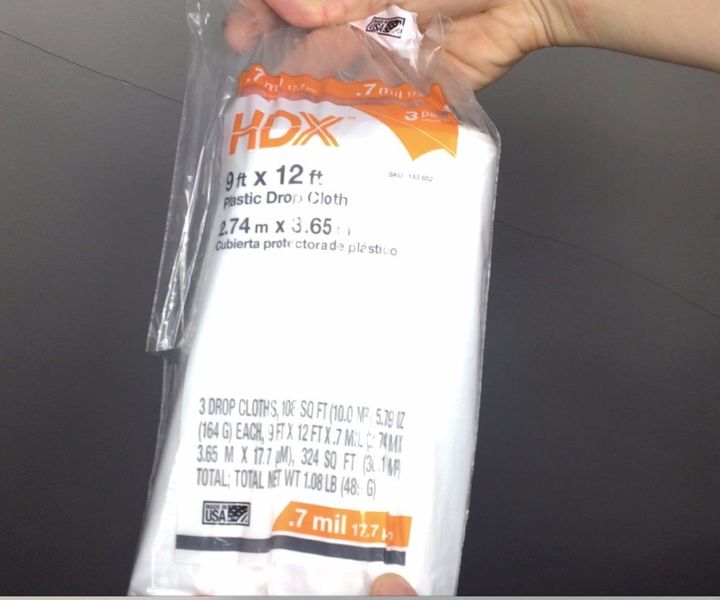
1. Lay the drop cloth
Lay drop cloth over all the floors and furniture of the room you will be working in as this project will cause lots of dust.
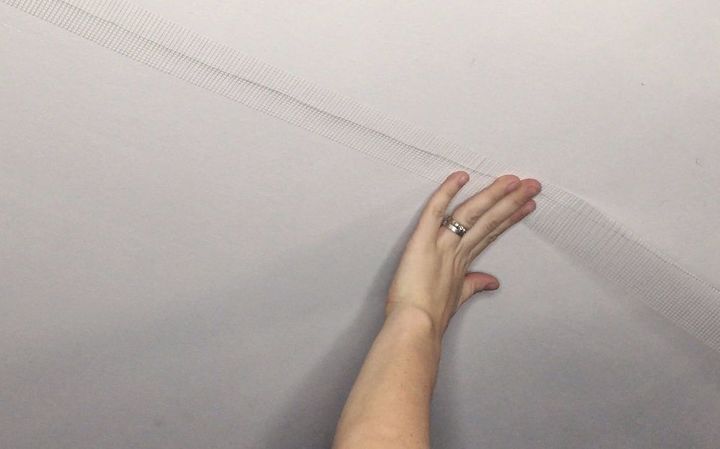
2. Place mesh joint tape
Lay mesh joint tape over the crack you are going to work on starting at one end and laying it over the entire length of the crack.

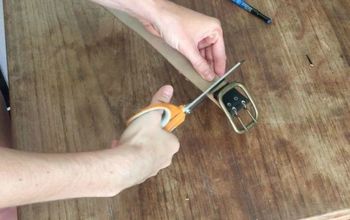
3. Press
Cut off the end of the tape with a taping knife. You can just press against the tape and pull the tape roll from the line of tape.
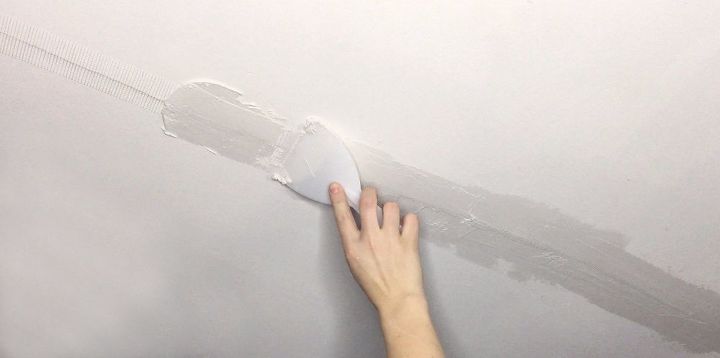
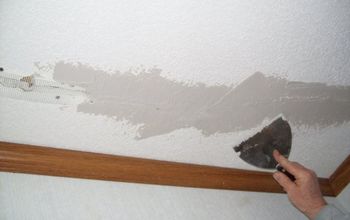
4. Apply joint compound
Spread joint compound over the entire crack and the tape you just laid down making sure to cover the tape entirely.
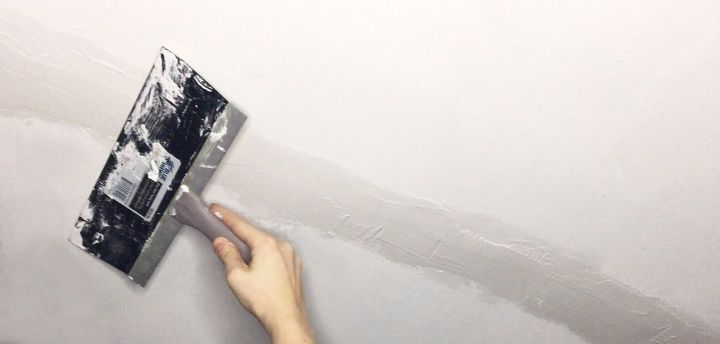
5. Evening out the compound
Even out the compound by running over it with a metal tape knife. Allow to dry completely. I let mine rest overnight.
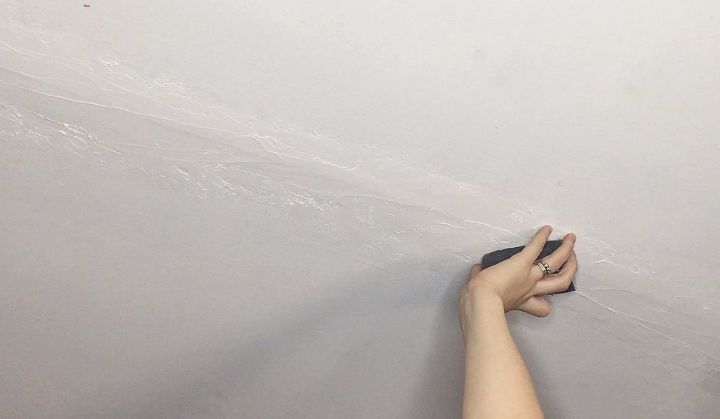
6. Sand
Use your sanding block to sand down any rough spots and even out the compound with the rest of the ceiling.
Tip: Make sure you wear a mask and goggles as this stuff creates LOTS of dust.
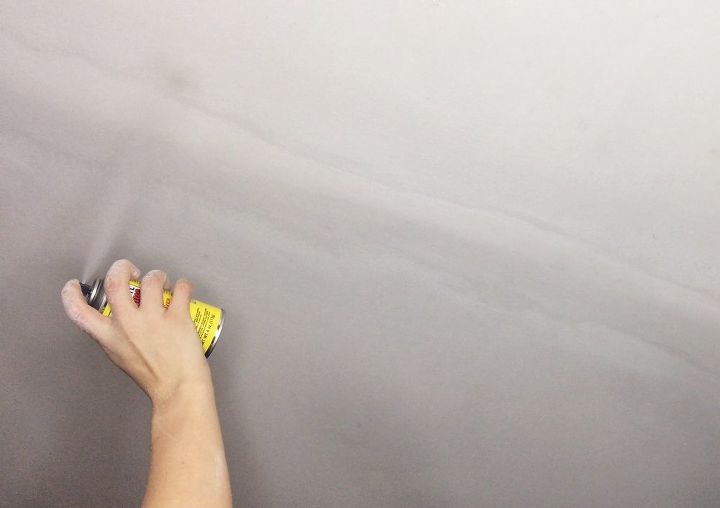
7. Apply Goodbye Cracks spray
Once everything is nice and sanded and smooth you can spray it with your Goodbye Cracks spray.
This will help to keep the crack from reappearing by shrinking and expanding with the change in temperatures and moisture. Allow this to dry for 30 minutes and apply another layer.

8. Paint
Paint your ceiling or wall to cover up the seam you covered.
Once the paint has dried take a step back and marvel at the crack that is no more!
How to fix a crack
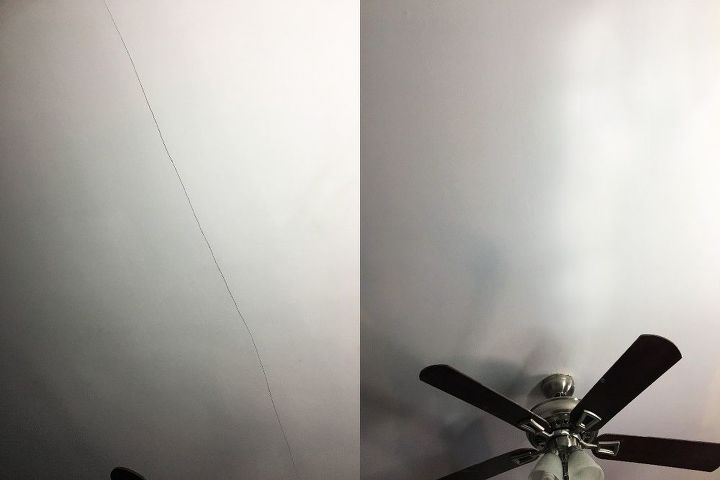
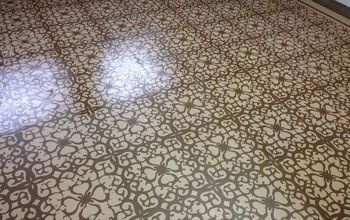
Here is a before and after of the crack I covered. Sometimes you will need to re-drill drywall into a beam beforehand or clean away broken pieces from the crack beforehand.
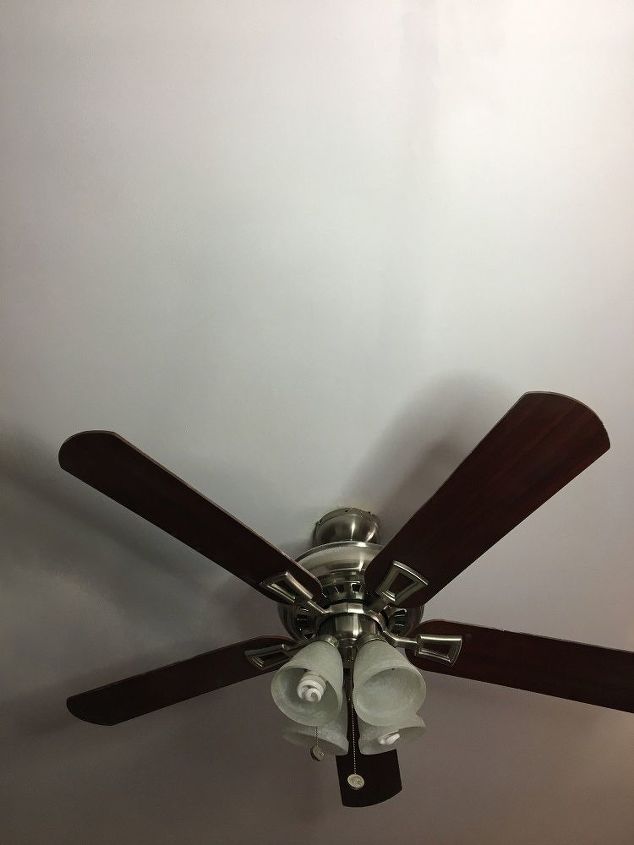
Here is another angle of the fix!
Comments
Join the conversation
-
Wow, it's a great work! I must try it, cause I also have a crack. I think I'll reply here when I'll finish it.
-
 Anonymous
Kontakt Crack is the standard sampler made by Native Instruments. The world’s most accurate and advanced sample-based instruments are created using its top-quality audio engine and advanced modular design. To create innovative sampling and sophisticated instrument design, KONTAKT provides a unique toolbox for sample manipulation and unbeatable creative possibilities.
https://plugintopc.com/native-instruments-kontakt-crack/


Frequently asked questions
Have a question about this project?
What if your ceiling is made with bumpy material.
I have old plaster ceiling. A crack in the kitchen is driving me crazy! I’m afraid if I tape it, I won’t be able to sand it enough to be flush and I will certainly have to paint the whole room? Professional plasterers cost a fortune. Thanks, Brenda
What is the best way to fix cracking paint on a ceiling after it's dry