


3 Bathroom Makeovers for $150 TOTAL!

by
Sara
10 Materials
With some stain or paint and a little lumber you can make a huge difference in your bathroom for a very low cost. Each bathroom only takes a few days to complete and gel stain makes this a very easy project.
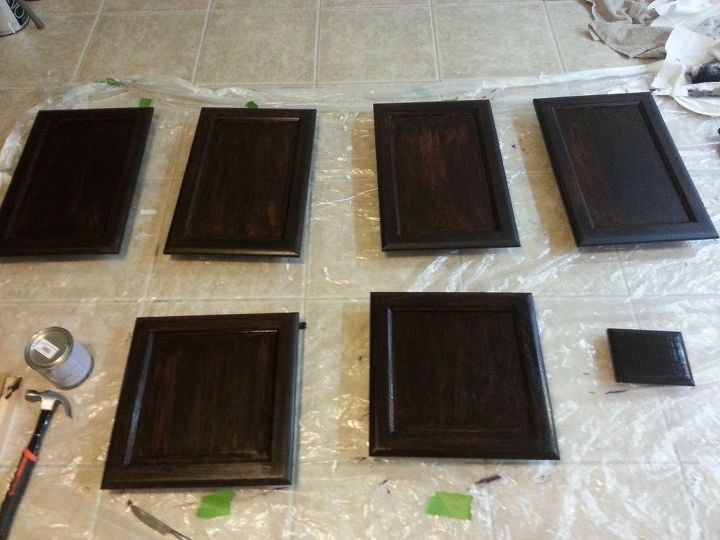
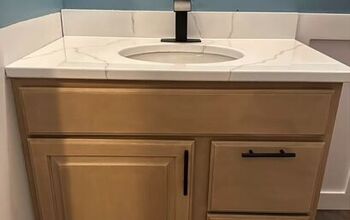
Remove all cupboards, hardware and drawers fronts. Clean thoroughly and sand all gloss off. Tape off walls, floors, etc., around your cabinet frames. Stain the back of each cupboard, then flip and stain the front. I used General Finishes Java Gel Stain. FYI, this color is VERY dark.
The easiest way to apply this stain (it's kind-of the consistency of chocolate pudding) is to put on a plastic glove, then put a tube sock over that and wipe stain on with your sock-covered hand. Use a foam brush to get the corners and crevices first, then dip the sock in the stain and wipe on the larger areas. Allow to dry (follow instructions on the can). You'll need 3 coats.
Apply 2 coats of General Finishes Top Coat using the same method (foam brush and sock).
For more in-depth instructions on staining cupboards, go to: http://www.finditfixitorbuildit.com/how-to-stain-kitchen-cupboards/
For some reason these pictures are not loading well even when I change their size. For better pictures, you can visit http://www.finditfixitorbuildit.com/how-to-makeover-all-the-bathrooms-in-your-home-for-around-150/
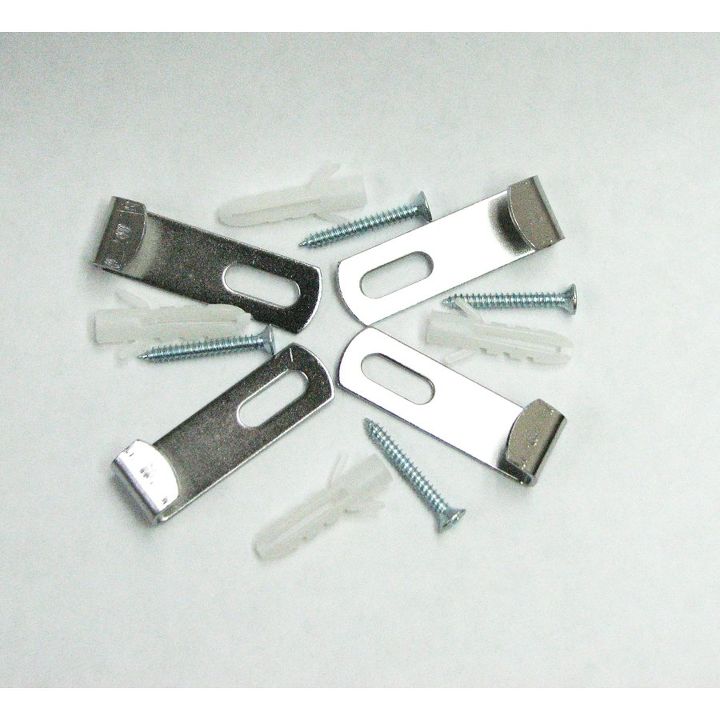
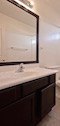
To frame out the bathroom mirrors in each bathroom, I switched out the standard mirror clips for these thin ones that the wood could fit on top of.
Measure, cut and sand the wood of your choice (length will depend on your mirror size) for the frame, taking into account the length of the 4 corners (pictured above). Stain the wood and corners with the gel stain. Make sure to stain the back of each piece as well, or the bare part will show through in the mirror.
Use Liquid Nails (for mirrors) to attach each piece, then use painter's tape to hold in place overnight until glue is completely dry. Caulk where needed and stain caulk when dry.
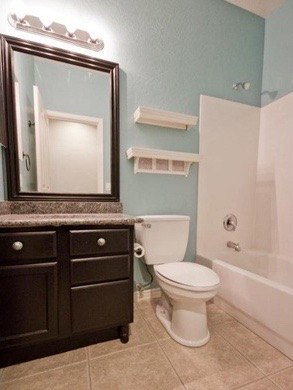
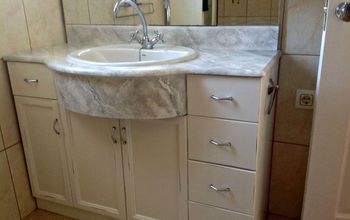
For the guest bathroom, I used 45-degree angles instead of using the corners...just use the style you like the best. Use the same steps as described above. A little paint on the walls also made a huge difference and brightened up the room.

Here's a close-up of the knobs I used. I found them at World Market. To install, drill holes in the faux drawers and screw the knobs in.
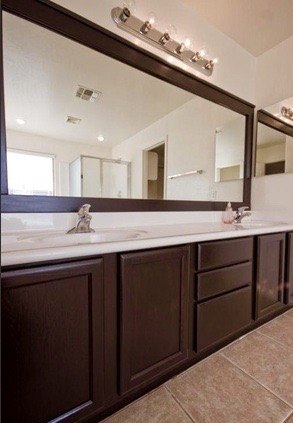
For the master bathroom, you'll need a lot more lumber to frame out the mirror. I used 1x4s. The amount of 1x4s you'll need to purchase depends on your mirror size...just measure before you go to the hardware store to purchase the wood. Follow the staining instructions given above.
To attach this frame, I started by putting on the bottom piece on with Liquid Nails and held it in place with painter's tape and let the glue dry overnight. This piece runs across the entire length of the mirror.
The next day, I added the side pieces by gluing and taping in place. I'm not sure if putting each piece up and waiting a day is necessary, but the pieces were so heavy that I worried about them shifting if I didn't. You can see on the very left of the picture that the side pieces just sat right on top of the bottom piece (no corners or 45-degree angles on this one).
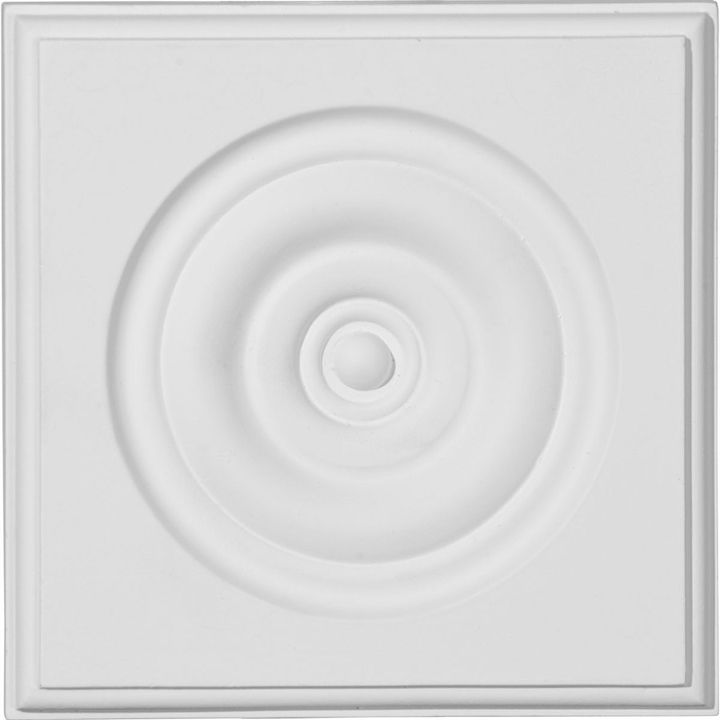
On the last day, I put the piece across the top, then added a small piece of molding (what type is up to you) at the very top .
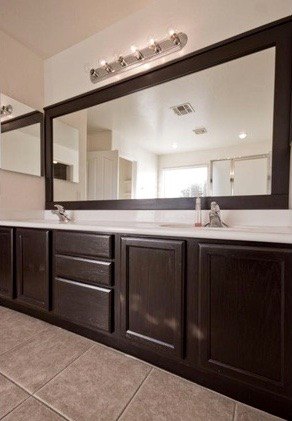
Here's an angle from the other side. The top of these pictures is cut off here, but you can see the full pic at: http://www.finditfixitorbuildit.com/how-to-makeover-all-the-bathrooms-in-your-home-for-around-150/
You'll also find more instructions on that link and where you can buy General Finishes.
TIP: If you get the stain on your hands, wall or floor have some baby oil handy and put it on a paper towel and it comes right off!
Comments
Join the conversation
1 comment
-
Looks wonderful!! :) Such a great transformation!


Frequently asked questions
Have a question about this project?