


Marble Contact Paper Clock
If you love this project, grab your quick start DIY guide & subscribe to our blog!
Did you guys see my marble and gold office room reveal last week? I had so much fun putting the room together. It’s the perfect mix of glam, gold and girly! One of my favorite DIYs in the room was the marble contact paper clock. This clock can really be customized for ANY style. There are so many fun designs of contact paper out there, so if you’re not obsessed with marble like I am – take your pick!
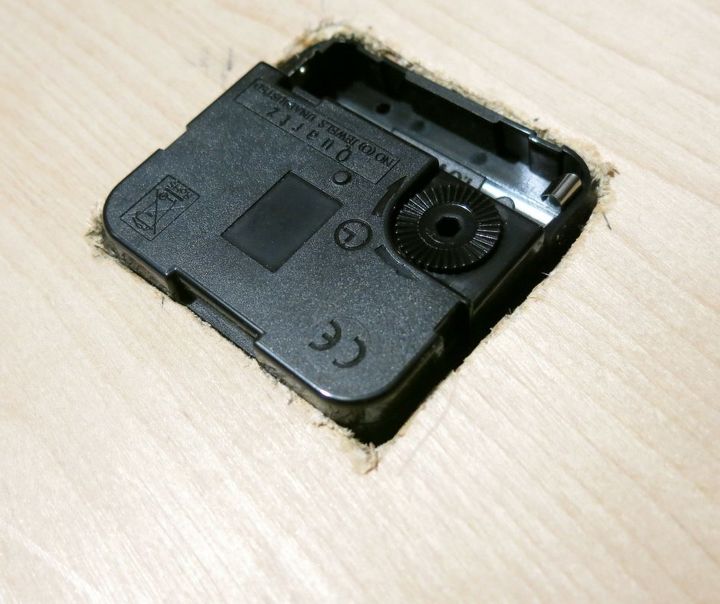
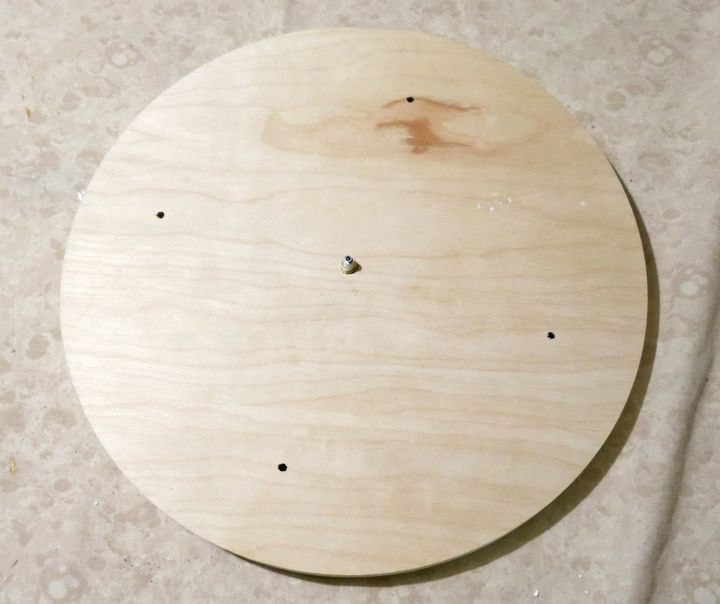
Step 1. Put clock movement kit in wood round. Now like I mentioned above, I grabbed my wood round at the thrift store and thought I could use it for this marble contact paper clock. I didn’t worry about measuring the depth or anything because I knew Logan would figure out how to make it work, haha. He ended up chiseling out the back of the round so the movement fit would fit – he’s awesome, isn’t he? If you don’t want to go to all this trouble – just be sure that the depth of the wood you get matches the depth of the clock kit
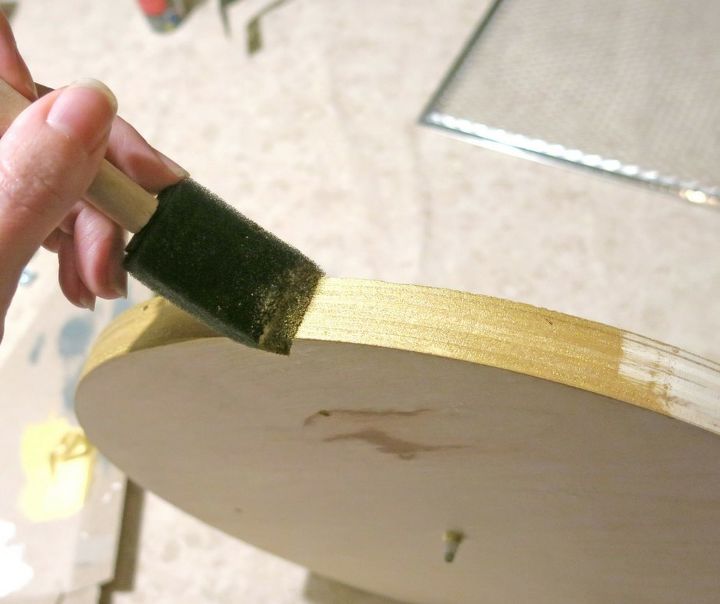
Step 2. Paint edge of wood round. I used a foam paint brush and put on one coat of gold acrylic paint.
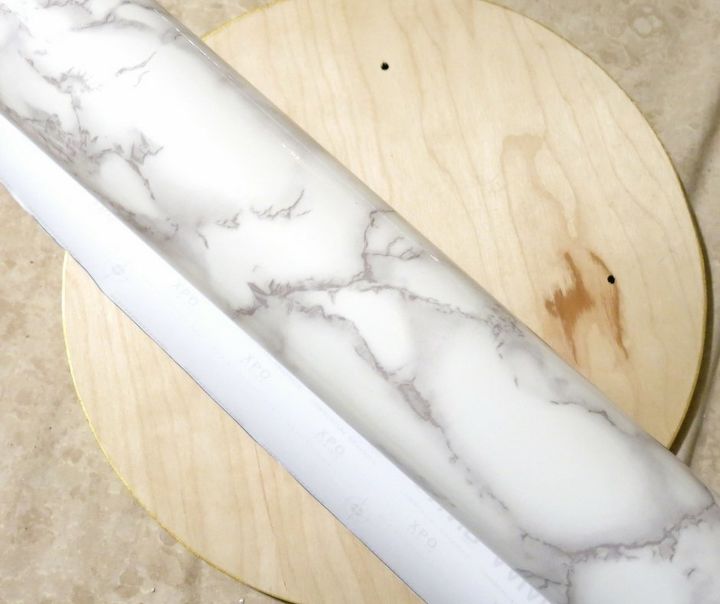
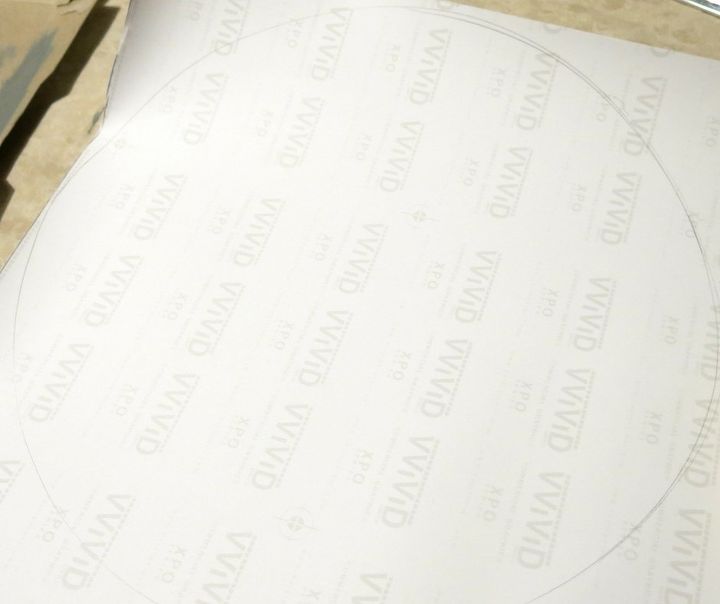

Step 3. Trace wood round on backing of marble contact paper and cut. You also want to cut the hole for the clock hands. I did this by making a very small ‘X” with the Xacto knife over the the middle prong and then cleaned it up with the Xacto knife more.
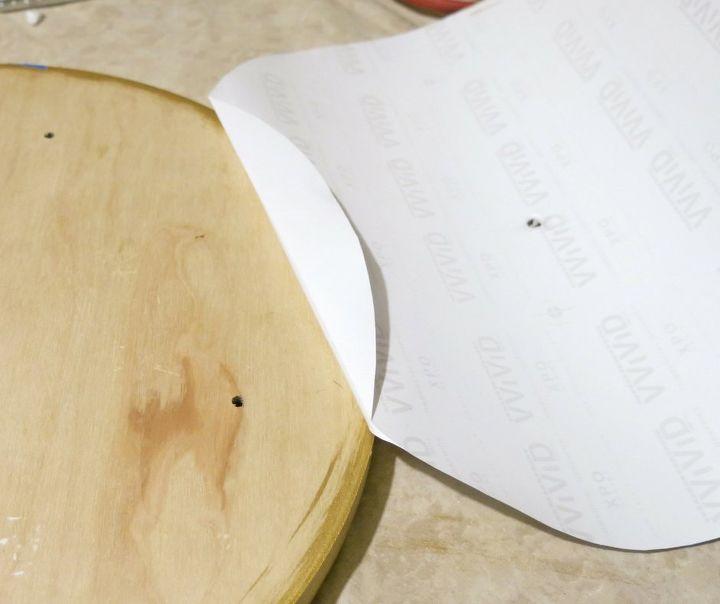
Step 4. Attach marble contact paper to wood round. Start from one edge and slowly remove the backing while rubbing the contact paper. You can rub out any bubbles as you go.
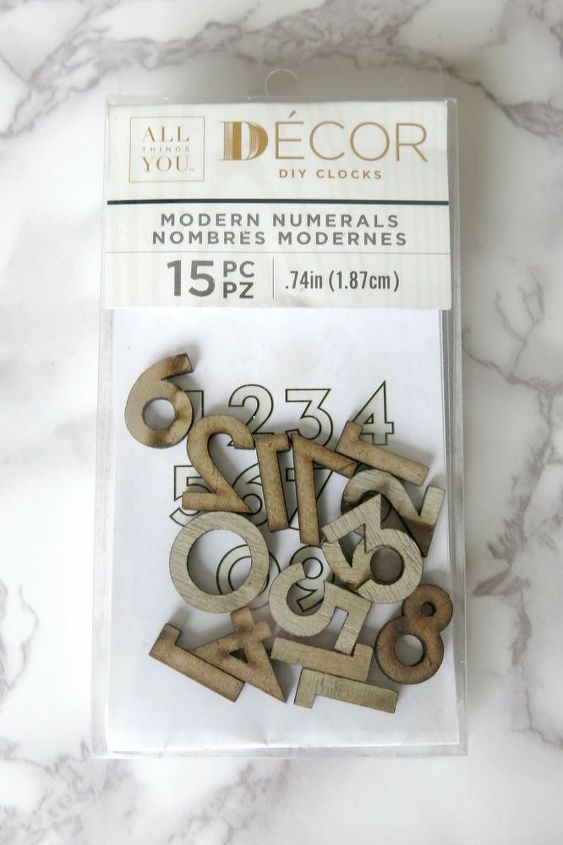
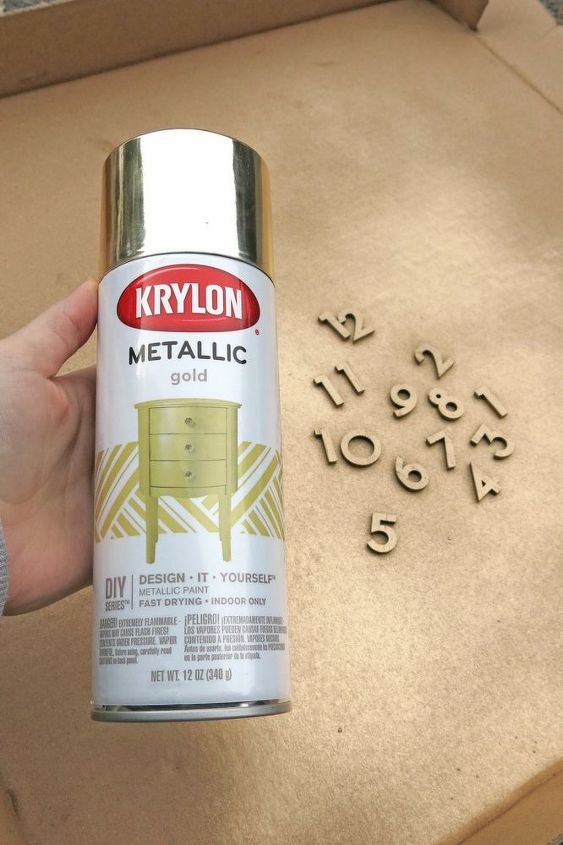
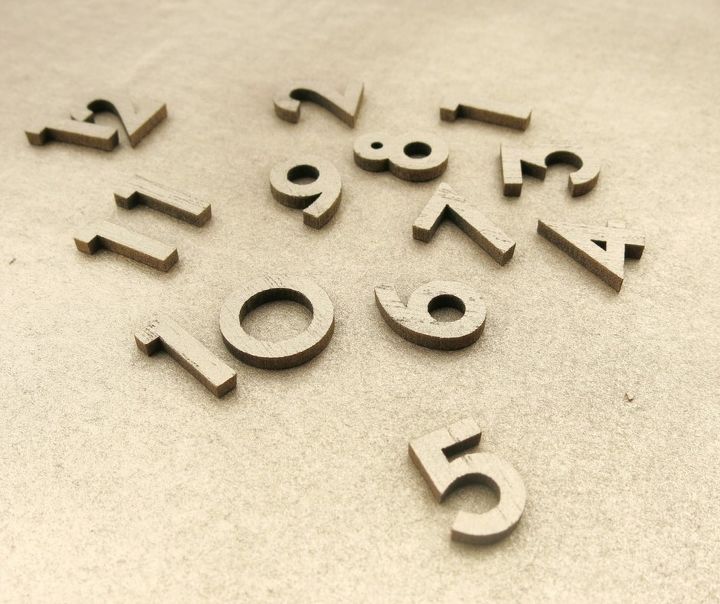
Step 5. Spray paint wood numbers. I love these modern numbers that I picked up at JoAnn’s. I did about three coats of spray paint.
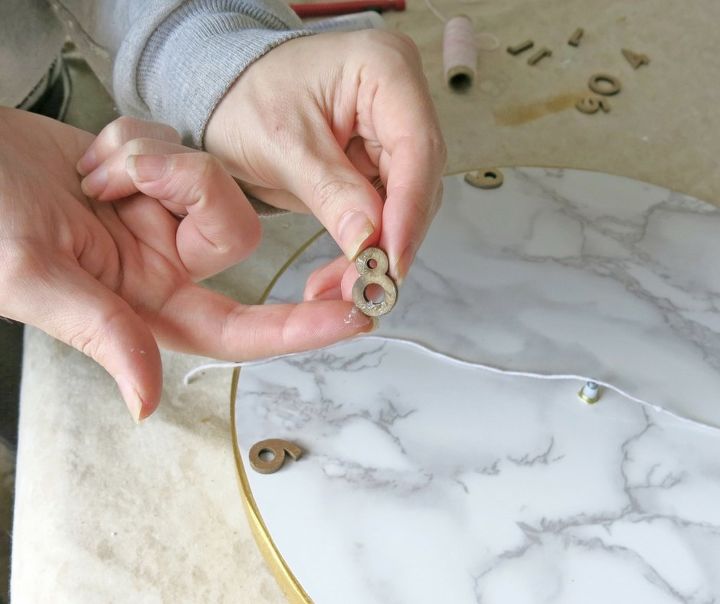
Step 6. Glue on the numbers. I used my handy 3-in-1 glue for this. The key here was using just a LITTLE bit of glue. As much as I love the 3-in-1 glue, it’s frustrating because it can tend to bubble up and you can sometimes get too much glue on your project. I avoided this by putting a little dot of glue on my finger and then putting a little bit of glue on the back of the wood numbers.
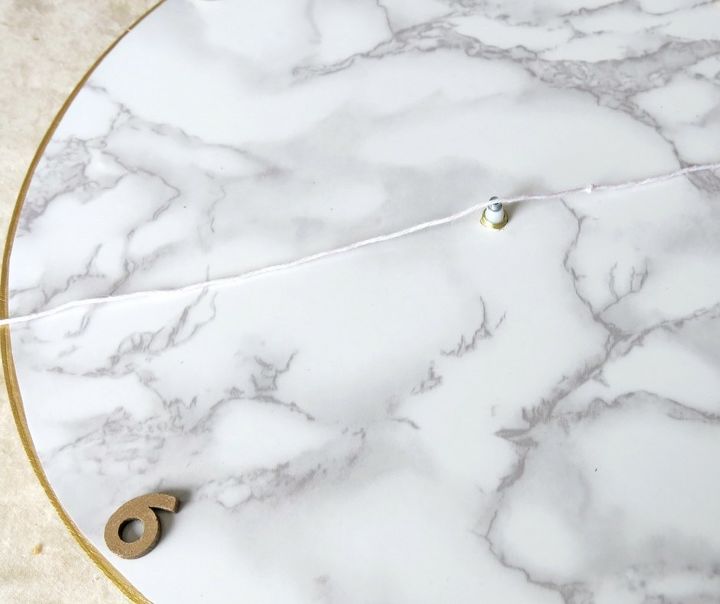
I used a string to line up the numbers. You can really use anything straight – I found the string was able to bend over the middle prong.
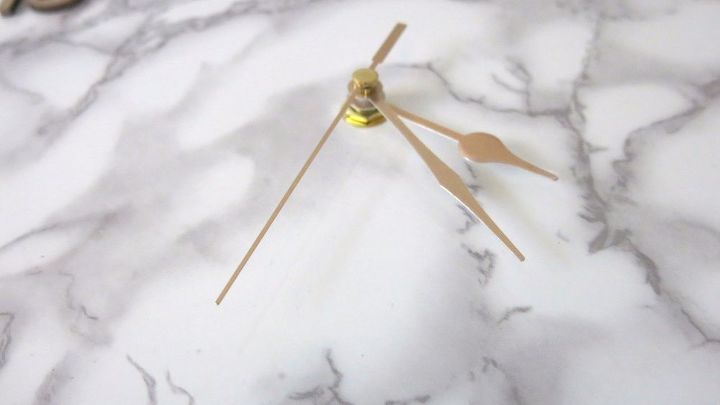
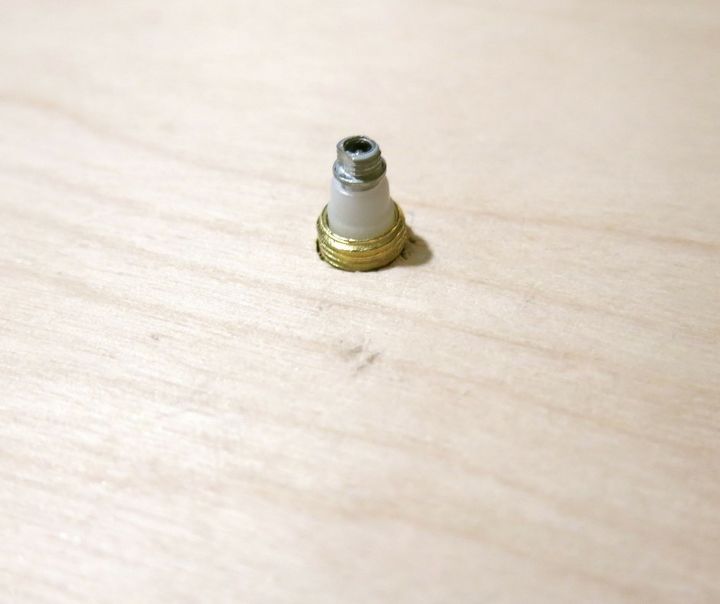
Step 7. Attach clock hands. Just follow the directions on the package for this. It’s important that you put the hands on and all the parts in the right order.Step 8. Hang marble contact paper clock on the wall. We have almost 90% of the things in our house hung with command velcro strips. So I, of course, used one of these to hang the clock up on my marble and gold gallery wall.
CHECK OUT THE BLOG POST TO SEE HOW THE MARBLE CONTACT PAPER CLOCK TURNED OUT.

Comments
Join the conversation
-
Super cute!
-
Make sure you use hi torque motor for a clock with a radius of over 5 inches or you will be forever setting the clock


Frequently asked questions
Have a question about this project?
Have you figured how to keep your clock mechanism on time. I purchased a new mechanism for the clock and building and it won't keep time.