


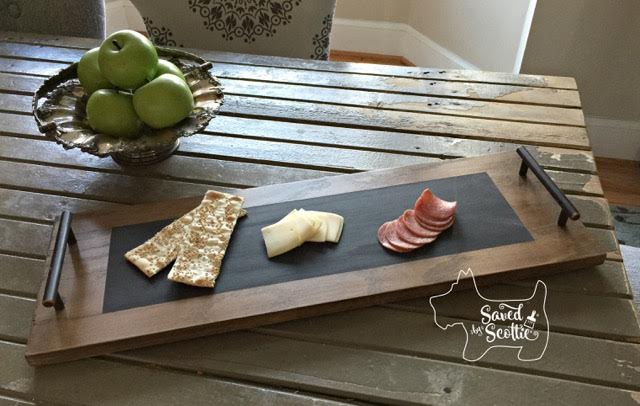
DIY Serving Tray
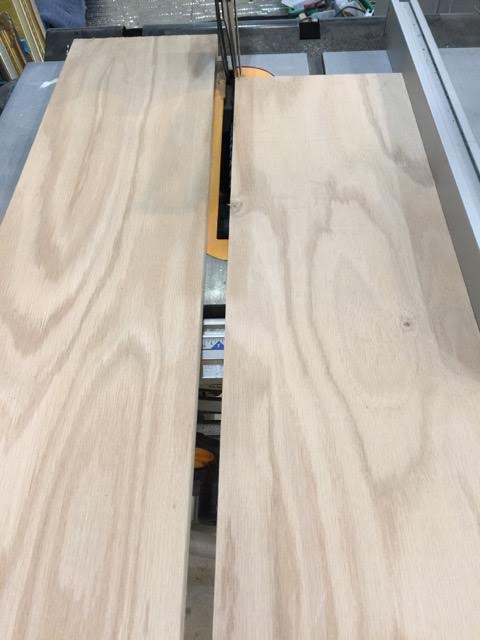
Hi there! I’m Scottie, from Saved by Scottie, and I am so excited to be an Ambassador for National DIY Day this year! I love building, repurposing, paint and design. Today I am going to show you a quick and simple way to make a serving tray using Pure Bond plywood, DLawless hardware, Ryobi tools, and Shabby Paints products.I started with ¾ inch plywood from Pure Bond Plywood. I love this product for many reasons, the greatest of which is that they use a soy-based, formaldehyde-free adhesive. I cut it to a size I thought visually looked good for the type of board I was making (24 x 8 inches) using my Ryobi 10inch table saw.
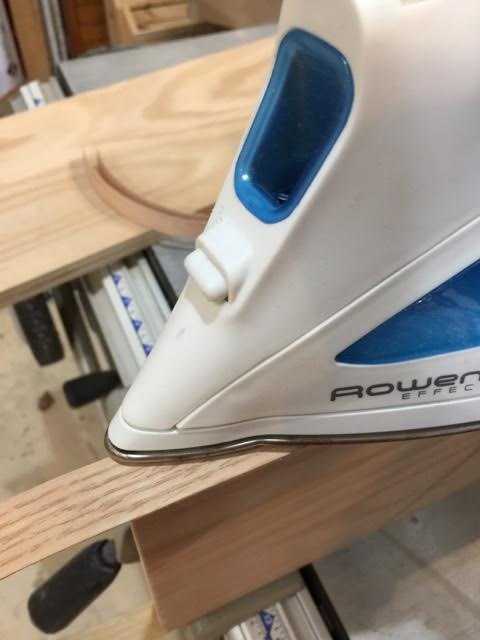
I gave the edges a quick sanding to knock down any leftover splinters and then I pulled out my veneer edge tape to disguise the edges and make the plywood look like a solid block of wood. This stuff is great and very user-friendly! Veneer tape or edging comes in a roll. Cut each piece at least ½ inch longer than your surface. Then, holding it against the plywood edge, you use a regular household iron to apply pressure and heat the adhesive underneath. This secures the “tape” to the wood. It’s really that simple! If you mess up, it’s no big deal; heat it up again, peel it off, and reapply.
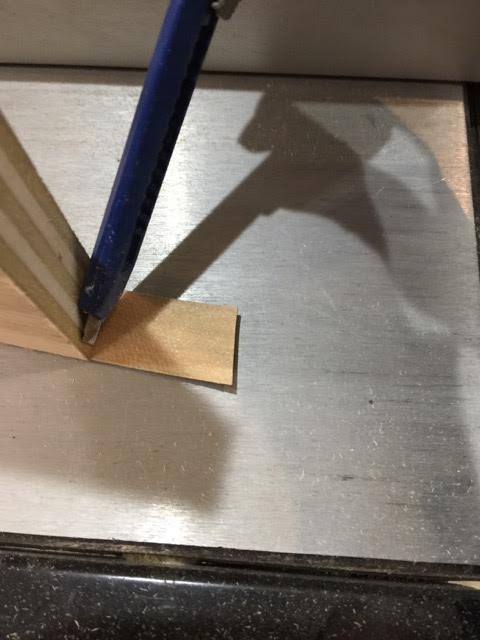
Once the edging is cool (you don’t have to wait long at all), flip it over and score the underside of the long edges with a utility or razor knife.
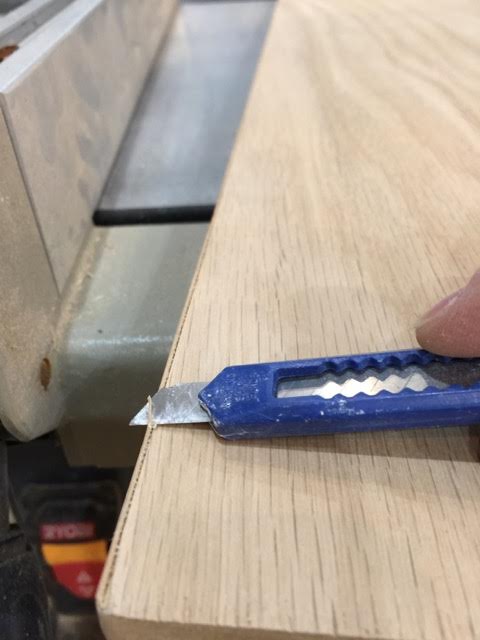
Flip it back over and push down the piece that hangs over. A quick slide of the sandpaper will clean that right up. Then some people use sandpaper, but I use a utility or razor knife to trim the long edges:
Another quick swipe with sandpaper will smooth that edge up for you too… You don’t have to do the veneer edging, I just happen to like the way it looks. Once I had the edges all finished, I stained the serving tray using a custom mix of Shabby Paints ReVAX (Hazelnut, Black, and a bit of Sheer). Here is a comparison after coats one and two:
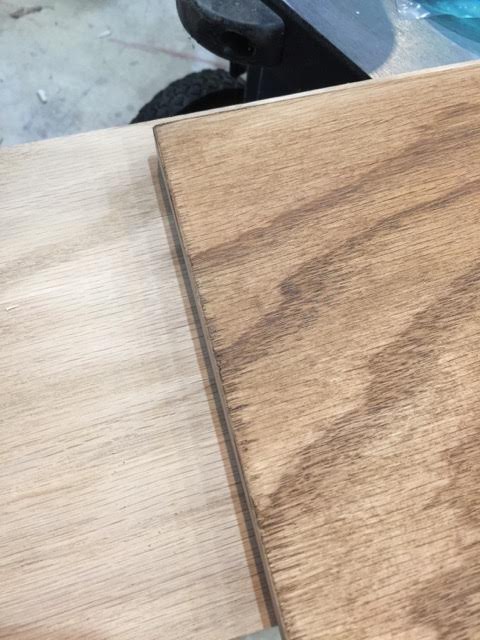
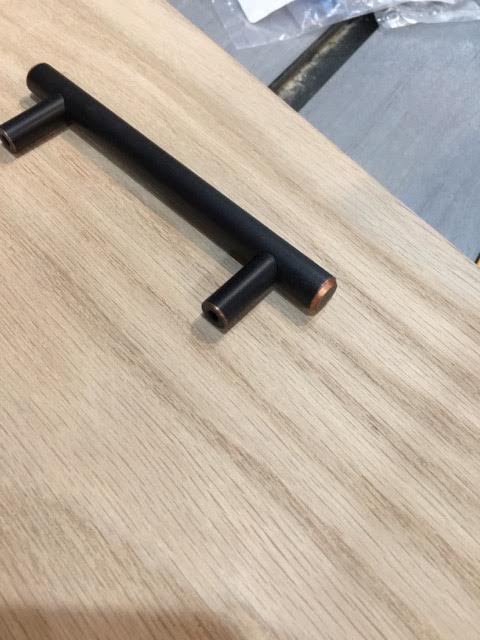
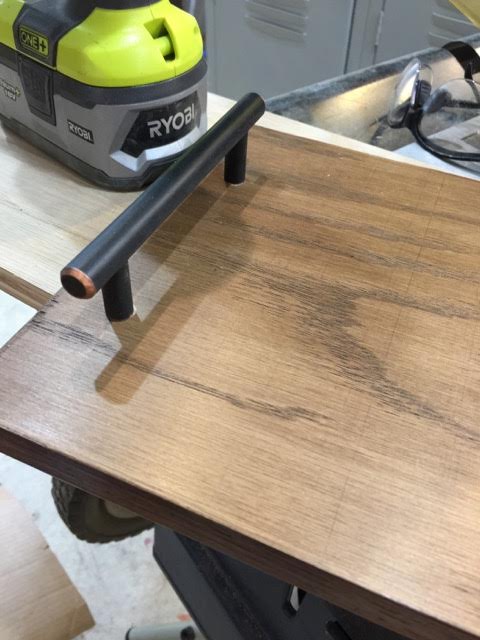
I ended up with three coats just because I liked the depth of color that third coat gave me. I really love the way the stain pulled out the grain of the wood as well. It coordinates so nicely with the hardware I picked from DLawless for the handles.
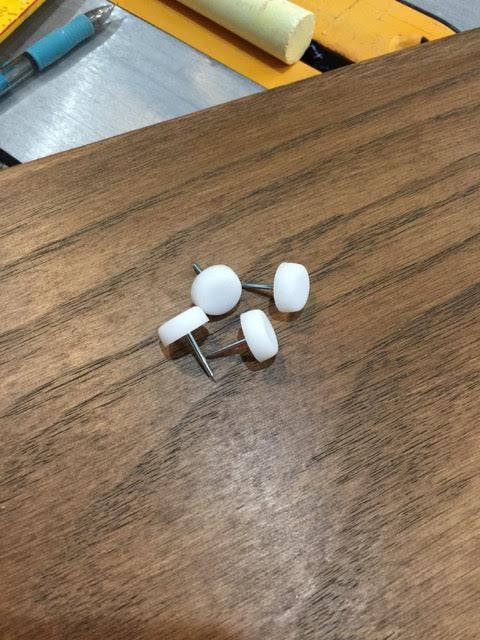
Once the ReVAX dried, I flipped the board over and measured out 2 inches in from the top and bottom edges all around. then hammered in these furniture glides. They give it just enough lift for the screws on the back of the hardware and help keep the tray from scratching a surface you might place it down on.
Then I pulled out my hardware jig (one of the best purchases I have ever made) and lined up where I wanted the handles.
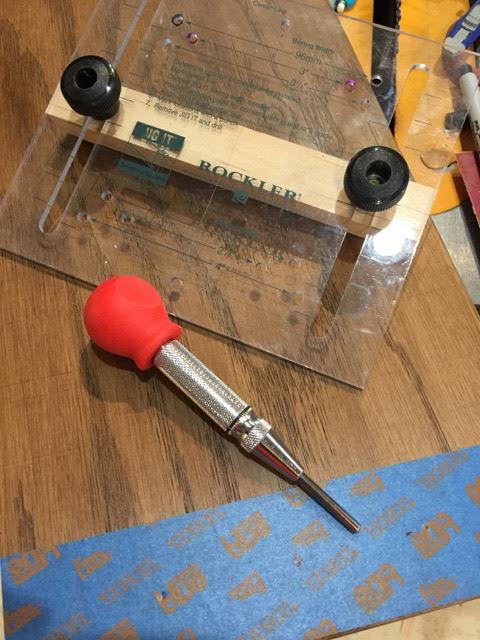
I like to tape the area I am marking before I drill. This gives you a cleaner hole and I can mark on the tape to make sure everything is on center. The punch this jig comes with lines up the drill bit exactly where it should and for zero chance of slipping off track. I used my Ryobi drill and popped in the pulls.
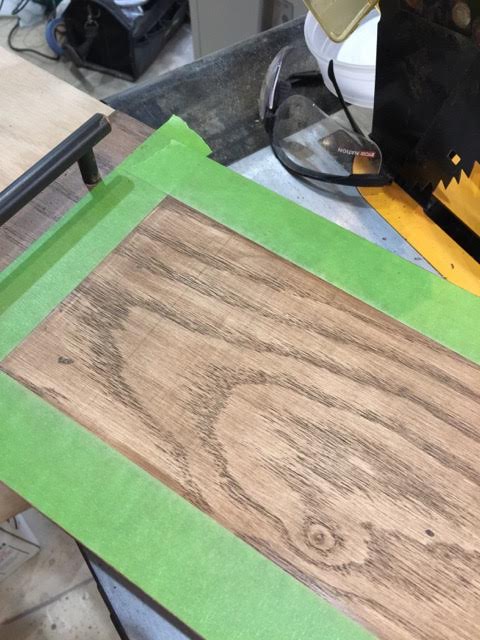
Once that was all done, I pulled out some Frog Tape they gave us at Haven conference and masked out the area for my “chalk board”.
I painted three coats of Shabby Paints Licorice in the center, using a spritz of water and 400 grit sandpaper between coats to leave a super smooth finish.
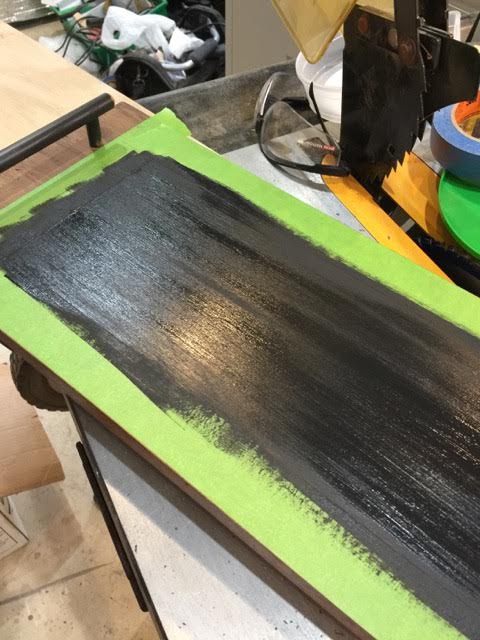
Once I painted the final coat, I pulled the tape off before it was dry. Doing it this way gives you a nice crisp line on the edges.
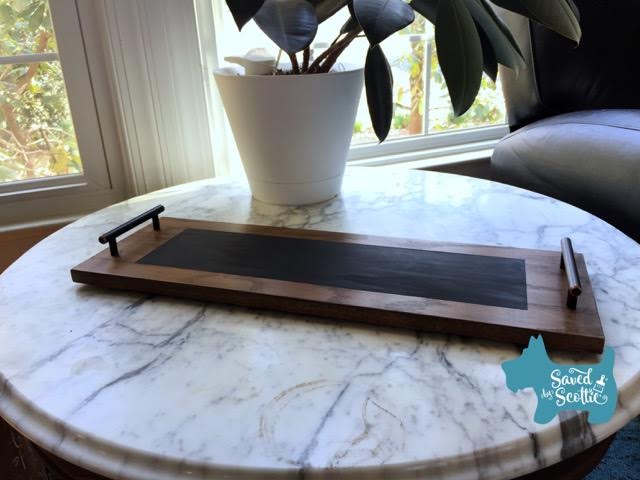
Once the paint is dry, you’re done! You can use chalk on the center to label your foods if you want to (or not in my case, because I don’t like my handwriting). It makes a lovely display for serving and looks nice just on the table by itself. It would make a great housewarming or hostess gift too.

Want more details about this and other DIY projects? Check out my blog post!
Comments
Join the conversation
2 of 9 comments
-
Love it
-
Beautiful.


Frequently asked questions
Have a question about this project?