


Boxwood Bunny
I started my blog the first week of June. Three weeks later, I got my dream job as a social media manager at Trees n Trends. (TNT is a unique home decor store based out of Paducah, KY, with ten stores scattered among the southeast.) As much as I love my job, I haven't been able to devote as much attention to my blog as I'd like. After working here for 9 months, I think I have finally learned how I can do both. 
One of my "duties" at work is to scour the internet for the latest BIG THING. It so happens that a couple weeks ago, I found the cutest idea for Easter on Hometalk. and to say I was impressed is an understatement! I got to thinking, I have all of the materials at my disposal and our Facebook, Twitter and Instagram followers would go ga-ga over this!
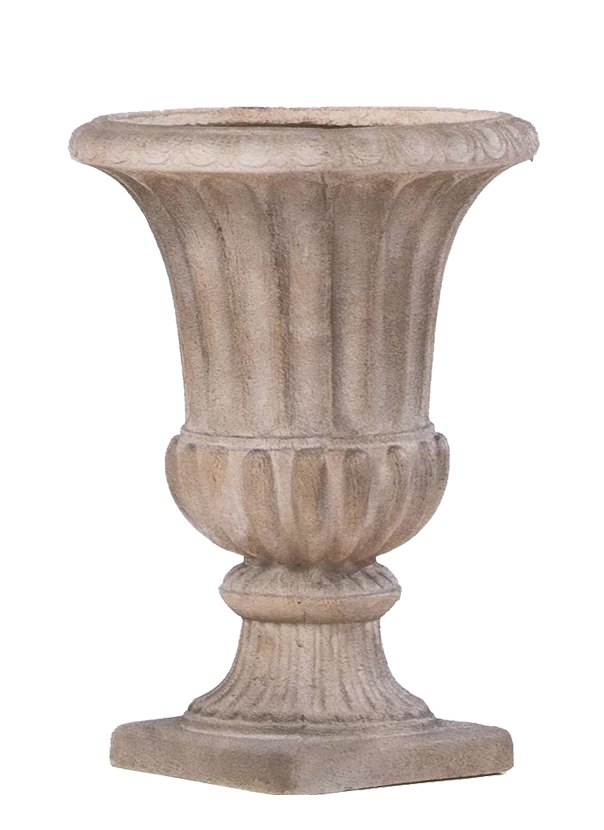
I went to the store and found a container/planter that would act as the base.
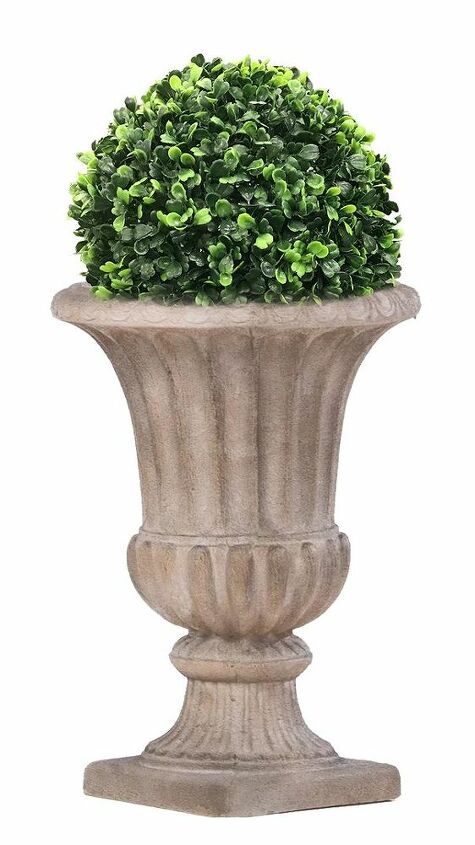
STEP 2- Set a orb on top of it. (I used a boxwood, but there are all sorts of different types out there.) It might be a good idea to use two-sided tape to secure it.
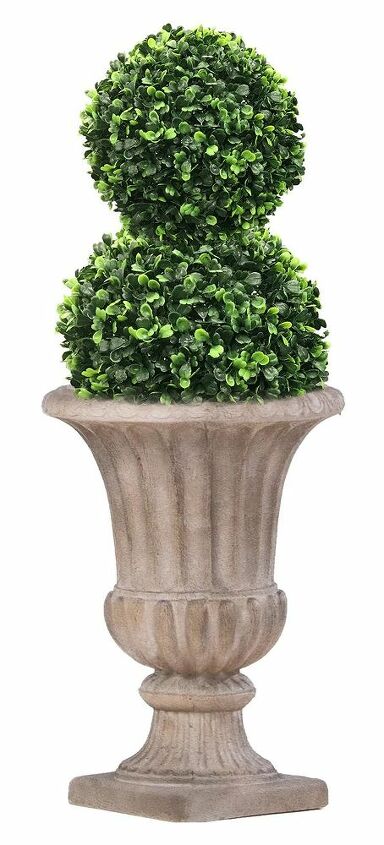
STEP 3- Set smaller orb on top. To attach it to the larger one, I used a floral stem to go through both. (Let me know if you can come up with a better idea. I was stumped.)
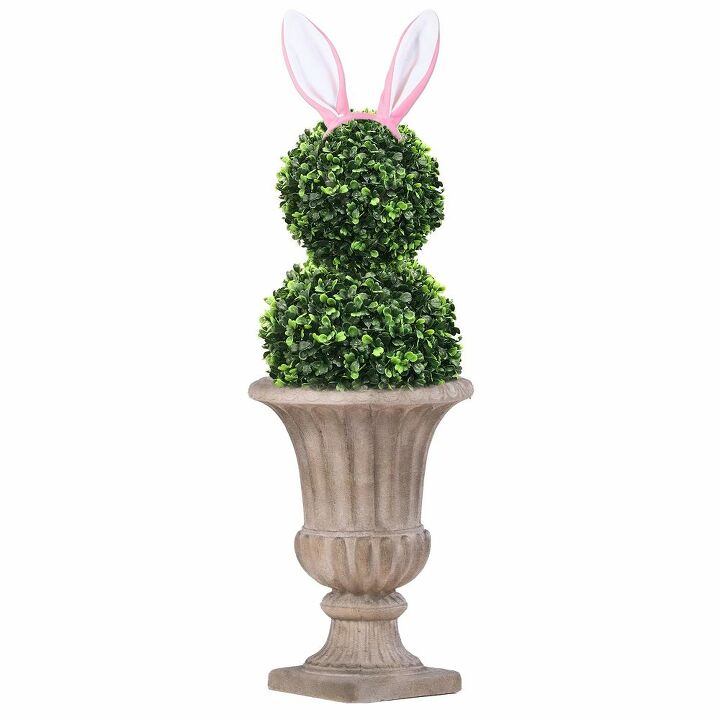
STEP 4- Add ears. (This time of year, bunny ears are everywhere.)

STEP 5- Add a bow, and you're finished!
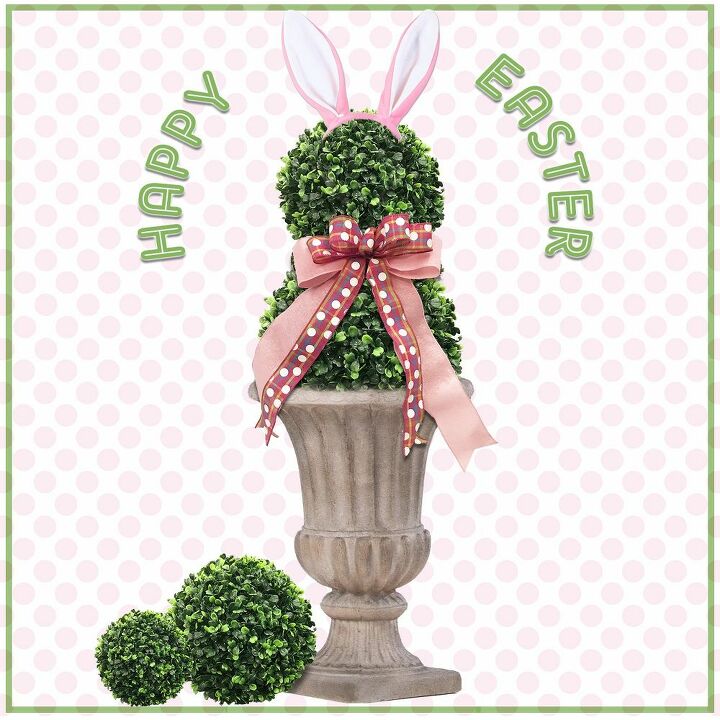
This took me less than five minutes to make. Now I can't wait for everyBUNNY to see it! HAPPY EASTER

Comments
Join the conversation
-
Oh my...that is one cute bunny! Great job Heather! -Handan
-
So cute!!


Frequently asked questions
Have a question about this project?