


DIY LARGE CHALKBOARD PHOTO FRAME
5 Materials
$20.00
1 Hour
Easy
The impact a large photo frame can make is pretty amazing – but complicated projects and commitment make me want to run for the hills. So I figured out a faster, easier way to make one! Wanna make one?
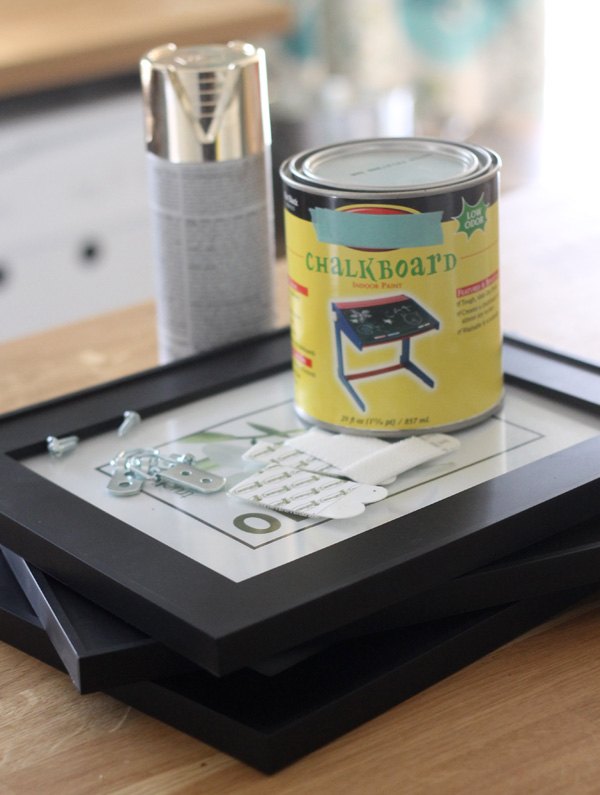
What you'll need...I'll list it all out for you :)
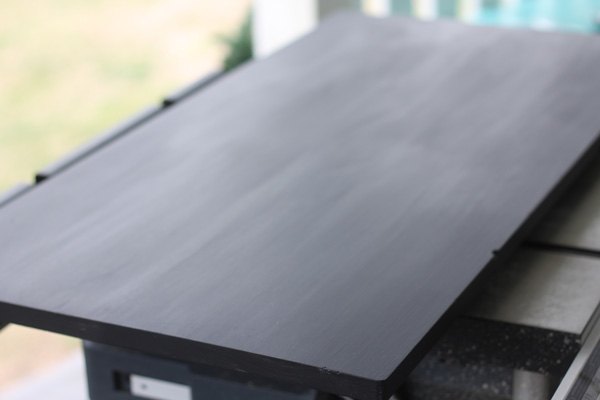
Paint both sides of the wood panel with two coats of chalkboard paint and set aside to dry, following the manufacturer’s instructions on the paint can. Let the paint cure for at least seven days before moving on to the next step. Once the paint has cured, rub the entire surface with chalk to prime the board for use. Clean it off thoroughly.
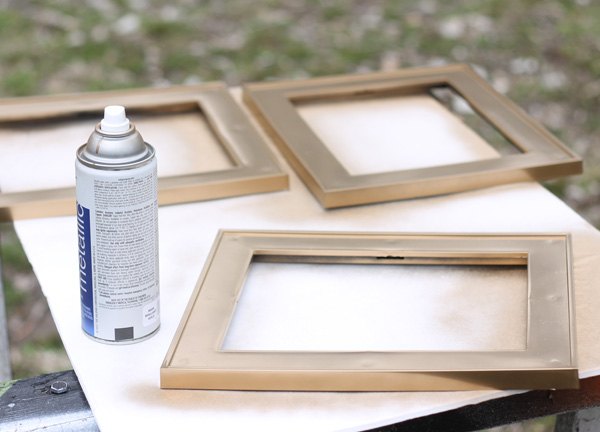
Spray paint the two frames in the color of your choice. Set them aside to dry, following the manufacturer’s instructions on the paint can.
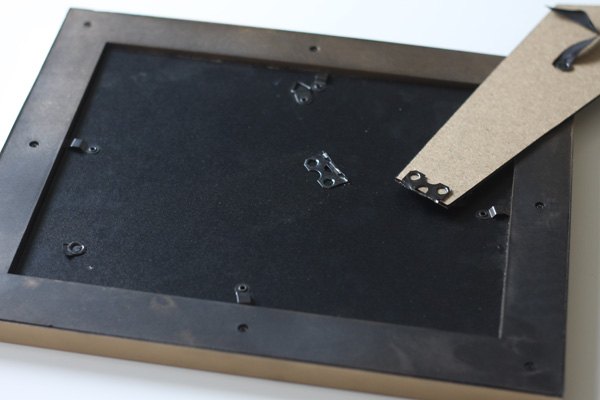
If the photo frames have a stand on the backboard, carefully break them off of each frame. Following package instructions, apply one set of Command™ Picture Hanging Strips to the back of each frame.
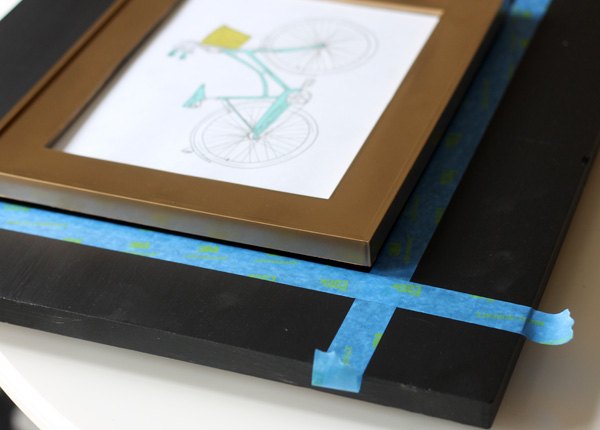
Using a ruler, center the frames where you’d like to place them on the chalkboard and use painter’s tape to mark their places. Remove the liners from each Command™ Picture Hanging Strip and adhere the frames directly to the chalkboard, using the tape as a guide to keep them straight.
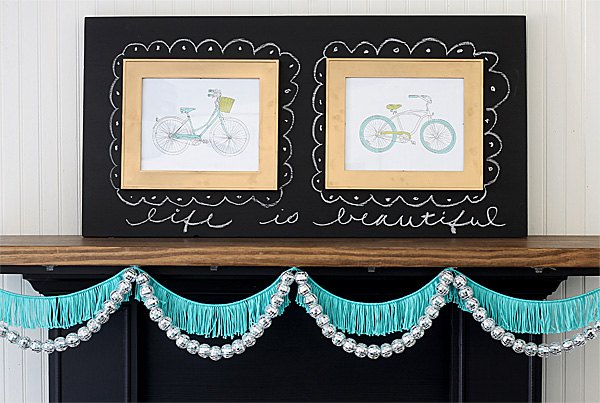
TaaDaa!!
Finish the look by drawing designs around the frames and adding a special message!

Want more details about this and other DIY projects? Check out my blog post!
Comments
Join the conversation
4 comments
-
Omg! I love this idea!! Looks so pretty :D
-
Life IS beautiful! :) So is this.


Frequently asked questions
Have a question about this project?