


Faking It [brick Paver Edition]
6 Materials
$60
1 Day
Easy
This year our focus is the exterior of our house. We had big plans that included painting our exterior brick white but after much research and consulting with paint professionals and local real estate agents, we decided it wasn't the right choice for us. Painting the sidewalk was on the long list of to-dos but a lot of those things dropped off the list when the white brick did, but I decided to move forward with this plan.
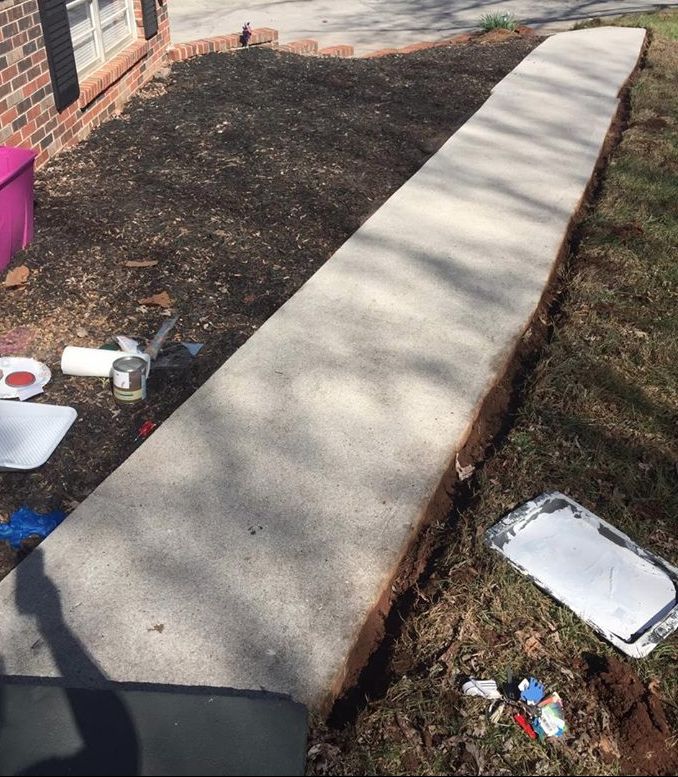
I watched our weather forecast closely waiting for 2-3 days of dry weather. The first step was pressure washing and cleaning the sidewalk. I did this the day before I planned on painting so it could dry overnight. Once the sidewalk had dried, it was time to get down to the fun part - stenciling! I was blessed with a beautiful 65 degree day - it was perfect!
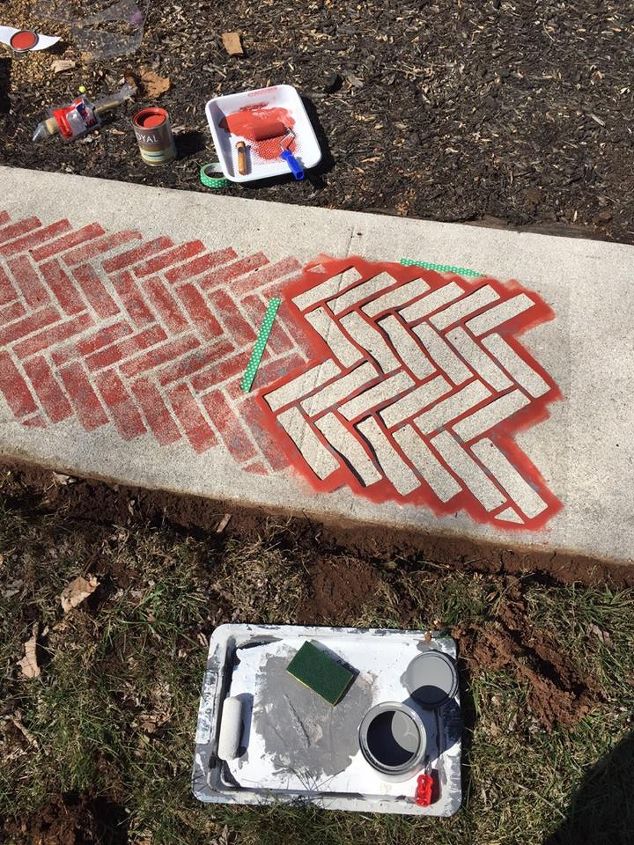
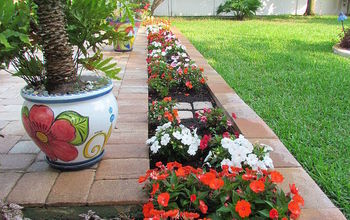
I used porch and patio paint that I had tinted to Sherwin William's "Fired Brick" as well as the Herringbone Bricks Allover Stencil from Cutting Edge Stencils. I taped the stencil down using painters tape and lightly rolled the paint over the stencil - the natural texture of our sidewalk added a lot of character to the pattern.
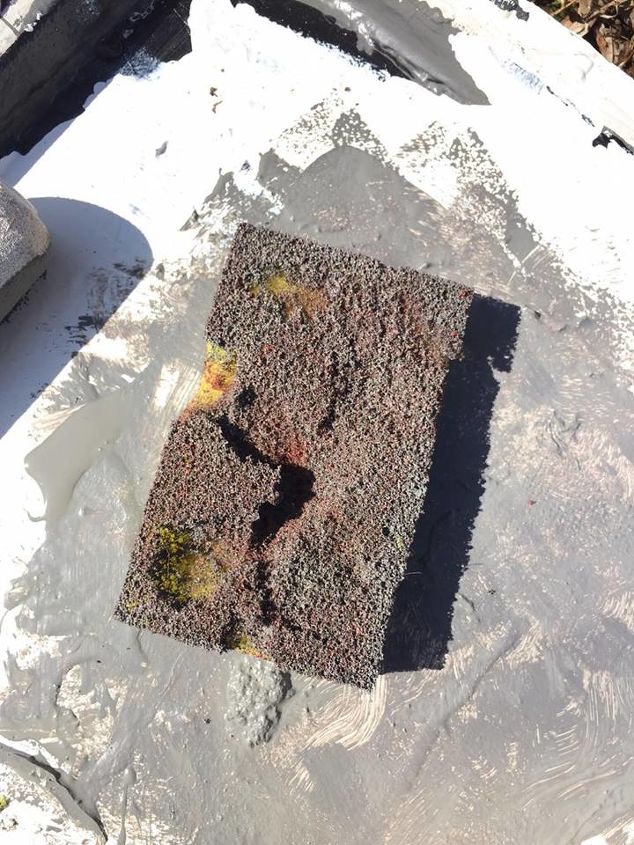
I also rubbed a dish sponge over our sidewalk to roughen it up and then I used it as a stamp. I had some gray paint left over from the laundry room floors so I decided to add some specks if it to the red pattern to give it more depth. I rolled a thin layer of gray porch and patio paint on a paper plate and then pressed the sponge into the paint, and then lightly sponged it on randomly across the stenciled brick. I made sure to rotate my wrist so the stamp pattern wouldn't be the same everywhere.
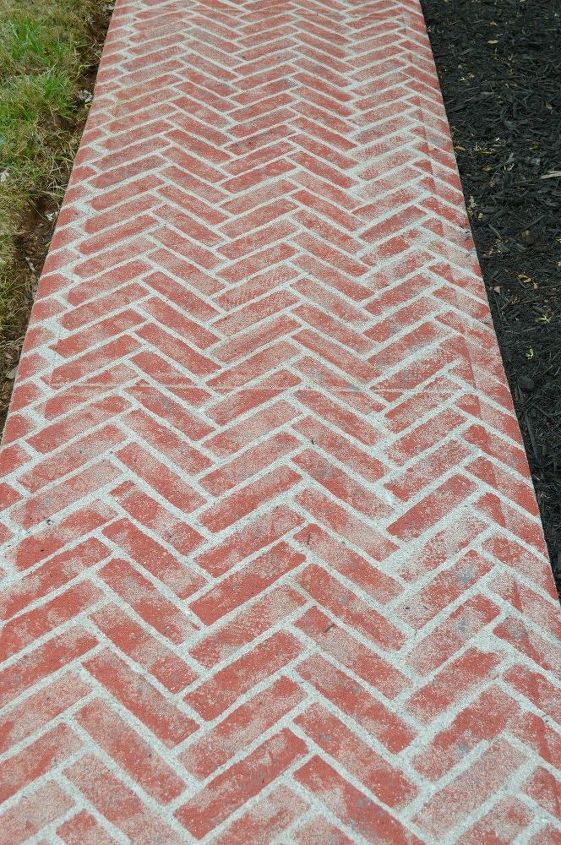
It took some patience, but after about 2 hours of stenciling I was finally done! All together between the pressure washing and allowing it to dry over night I spent about a day on this project.
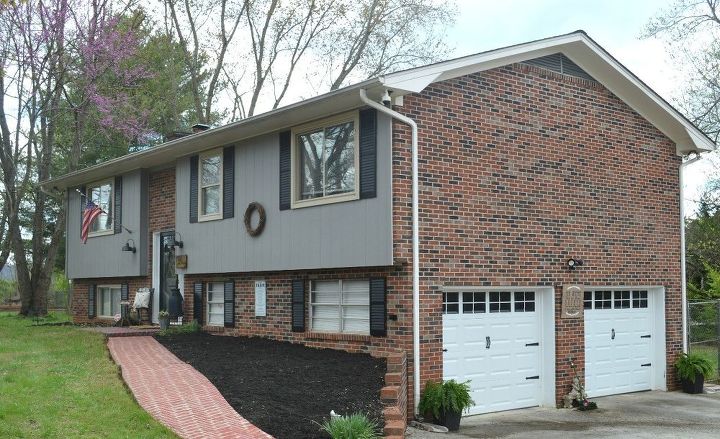
My love for stencils continues to grow! I cannot believe how much it boosted our curb appeal, of course some fresh mulch didn't hurt either!
Resources for this project:
See all materials


Any price and availability information displayed on [relevant Amazon Site(s), as applicable] at the time of purchase will apply to the purchase of this product.
Hometalk may collect a small share of sales from the links on this page.More info

Want more details about this and other DIY projects? Check out my blog post!
Comments
Join the conversation
2 of 147 comments
-
Would love to try on our sidewalk. Great finished job.
-
Have a front sidewalk (very blah!) and this is a great idea! Yours turned out beautifully...thanks for sharing! Really does dress it up...


Frequently asked questions
Have a question about this project?
Ok, this is fantastic! BUT, what do you mean by "rotating" your wrist? You kinda freaked me out with that. Could you please explain what you mean? Beautiful job!
What. Did you seal it with
Really great but needs to be heavily sealed right, or red paint washes away. ?