


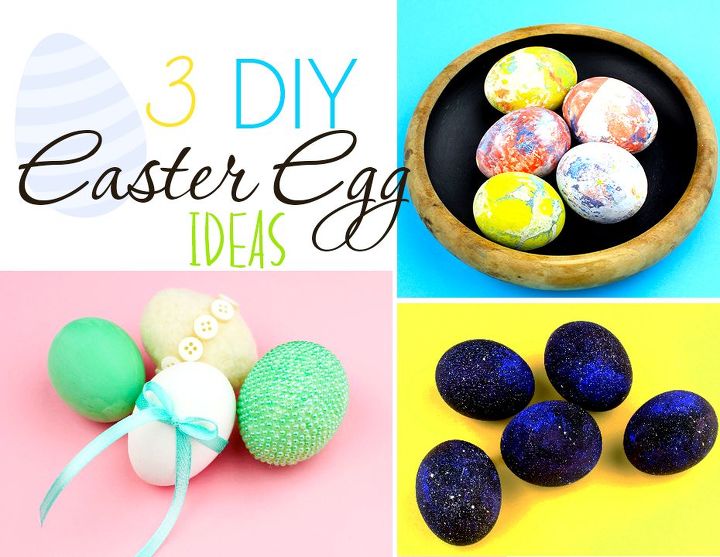
3 DIY Easter Egg Decorating Ideas

by
Troom Troom
17 Materials
This cool Easter egg designs will create a spring holiday atmosphere and become a perfect holiday table decoration!
{
"id": "3813765",
"alt": "",
"title": "",
"video_link": "https://www.youtube.com/embed/WGhGpC_FwzY",
"youtube_video_id": "WGhGpC_FwzY"
}
{
"width": 634,
"height": 357,
"showRelated": true
}
We will show you 3 original design ideas of eggs decorating.

Better use empty eggs.
Take any proper sharp tool.
Carefully twisting the tool…Make a small hole.
Repeat for the other side.
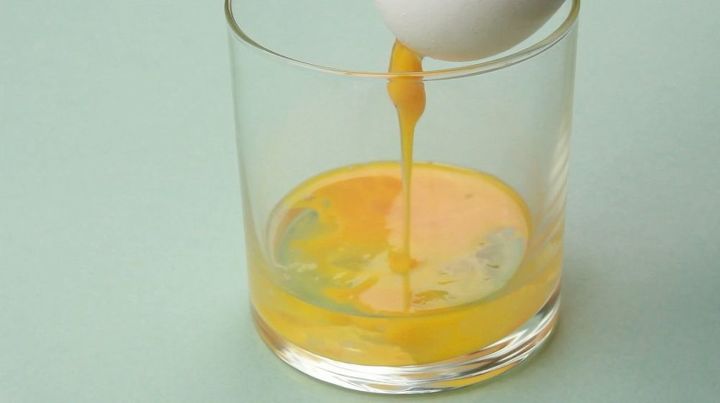
Blow down the egg into a cup. To make the job easier shake it well.
Now take acrylic ground paint and a soft synthetic brush. Cover the egg. Fine!
Lay a protecting cover and prepare cups for paints.
Take oil paints. You can use a mixture of food color and oil to get almost the same effect.
Mix a squeeze of paint with a non-oil-based solvent.
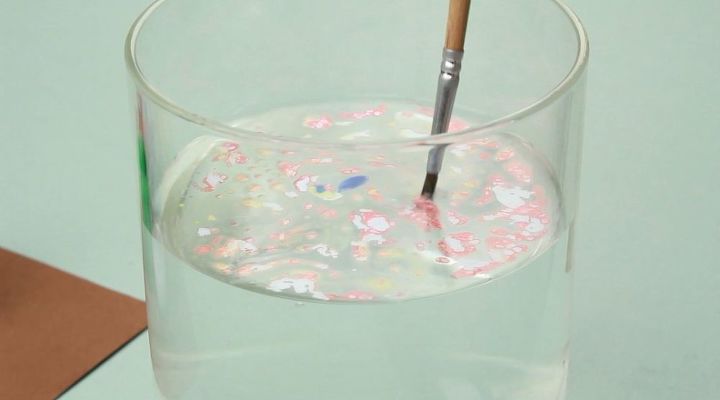
Choose bright colors. Take a wide glass of water and soft natural watercolor brush.
Take much paint on your brush and dip the tip of the brush into the water.
When touching water oil paint leaves floating on the surface. Mix different colors.
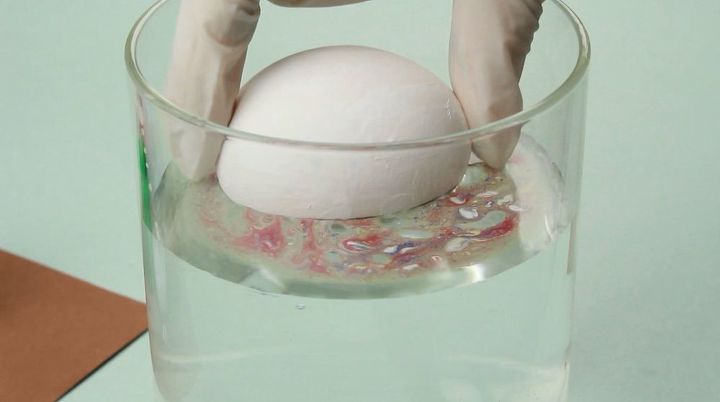
Dip in the egg.

You’ve got such cute marble eggs.
Use various colors and create different marble designs, each having its own unique intricate pattern.
We have called another original way of Easter eggs decorating the starry night sky. Take empty eggs, brushes and ground cover again.
Apply a ground coat to the eggs.
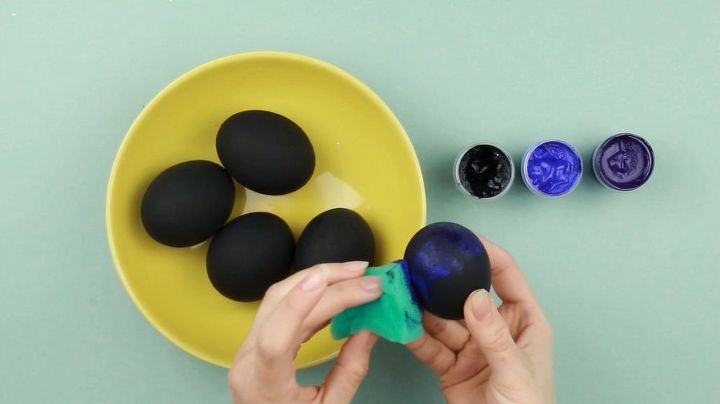
Let dry and paint in black. Use acrylic paint or gouache.
Take a sponge to dab the surface for space nebula effect. Dip the sponge into the purple color.
There should not be much paint on the sponge, so remove the excess.
And start dabbing to make a cloudy effect.
Don’t cover the whole surface, leave gaps twisting the egg.
Add the blue color on top of the purple nebula to create more intricate pattern. Dab the uncolored areas with the blue to add volume to the background.
The paint lightens when dry. This creates stunning Galaxy effect.
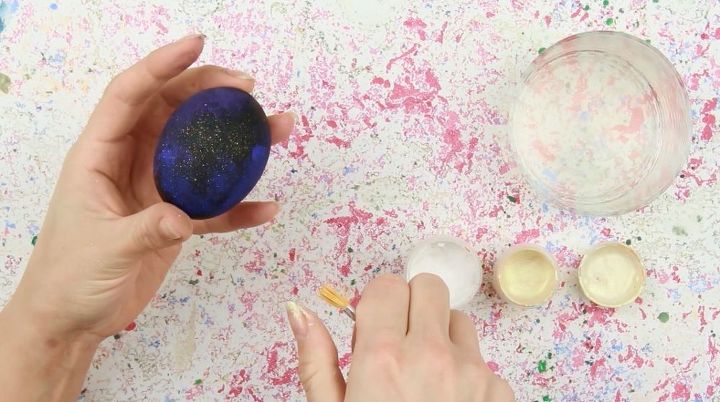
Cover the surface with a protecting cover. Take some water, a brush with tough bristles, pearl and white paint.
Mix the pearl with water. Take some color onto the brush.
Bend the bristles with your thumb and flick off to make stardust. Twist the egg to cover the whole surface with star clusters.
Now take the white paint. Add bigger stars. Done!
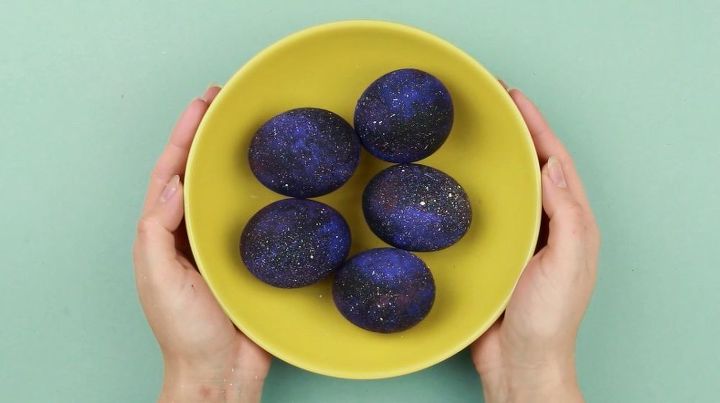
Decorative Easter eggs covered with unusual space pattern will add originality to your holiday table.
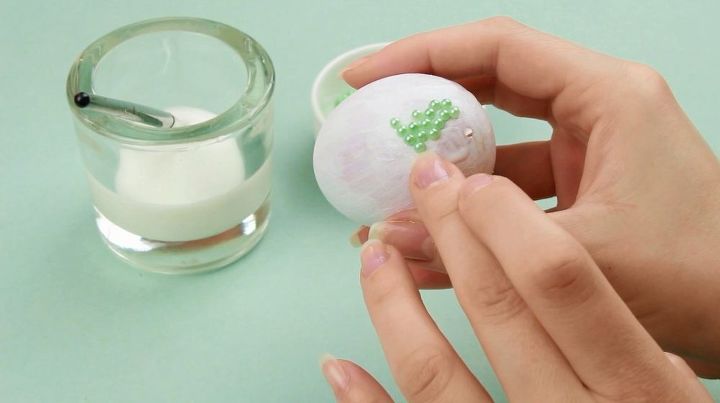
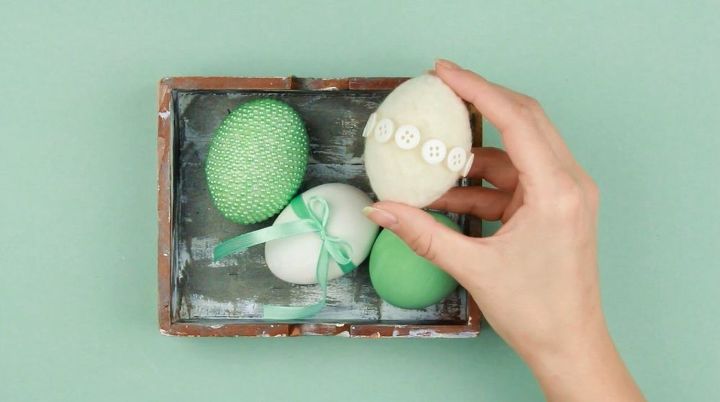
Now let’s make a composition of differently embellished eggs to create a delicate and exclusive décor. Apply a ground coat first.
Add white glue to the small area.
Attach the pale green seed beads tightly to each other.
You should cover the entire surface so you’ll need much patience for that.
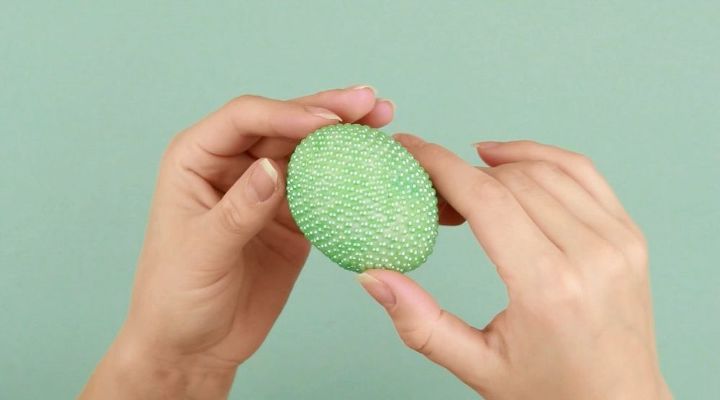
However the result is worth it. This egg looks like a true jewel.
Paint another egg monochromic seed bead shade using acrylic paint or gouache. Juicy green will remind of spring and become the bright spot of the composition.
Leave the third egg snow white making it brighter by the white paint.
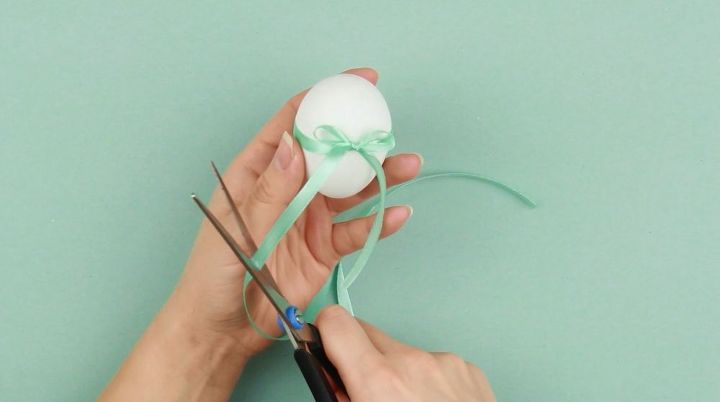
Embellish it with a thin satin ribbon of the basic color of the composition. Tie a bow.
Cut out the excess.
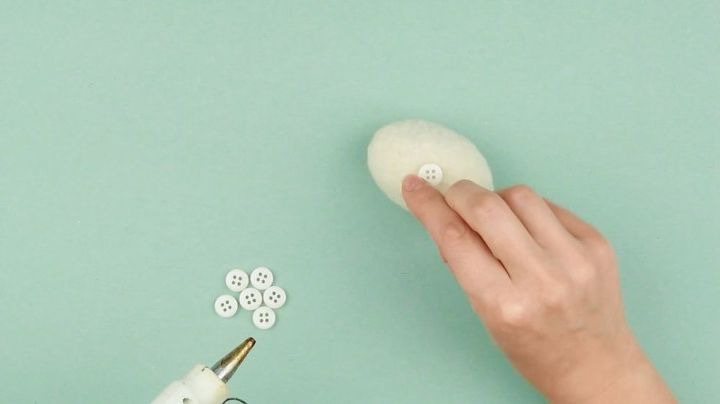
Complete the Easter composition with an unusual wool egg. Pierce the light rove with a felting needle, size 38.
Twist to form an egg shape.
The felted egg is hard enough and of the right shape.
Embellish it with white buttons.
Hot glue them around the egg.
We’ve got a funny button belt egg.
This delicate composition in pastel shades will create a spring Easter holiday atmosphere and become a perfect holiday table decoration.
Today we have shown three variations of Easter egg decorating. You can choose the one you liked best, or you can craft all of them to make your holiday table unforgettable.
If you're like this project, check out our youtube channel OR our super cool website
Thanks so much for reading/watching!


Frequently asked questions
Have a question about this project?