


Warning (Still) Under Construction

1 Material
Hello again! we finally took the next step in completing our walk in closet. We decided on a tile floor! We have been looking at the different types and styles at the local big box stores and decided on the aged wood look of these Ceramic tiles.
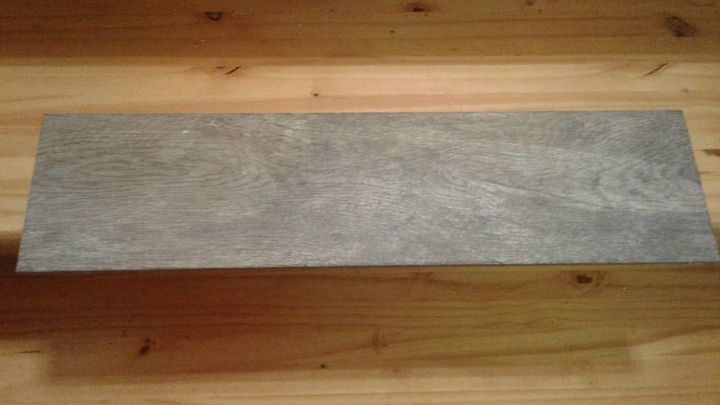
We picked out these tiles and purchased enough for a 10 X 10 area on the floor, it is the basement/cement floor and I was concerned about mold if we tried to do wood or carpet.
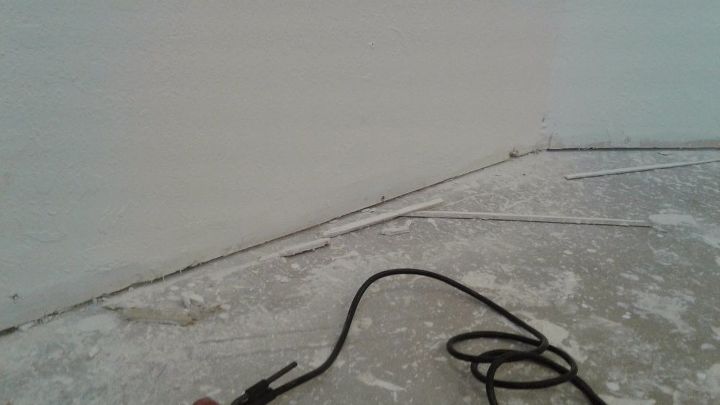
When we started looking at the floor, we realized that the previous owners had put the sheet rock right down so it touched the concrete. This can be bad if there is ever any water present on the floor, but just in general, as concrete tends to leech water up and can cause discoloration and mold, too! We were able to cut the sheet rock up and get the clearance we needed with a little effort and a tool I call a vibrating putty knife.
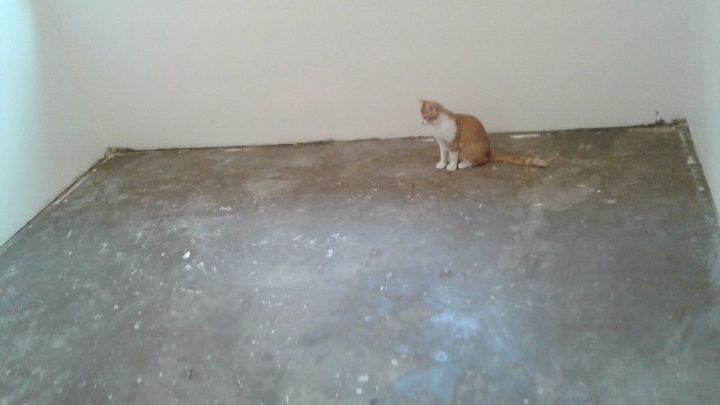
Simba inspected the floor to make sure it was all clean and ready to go!
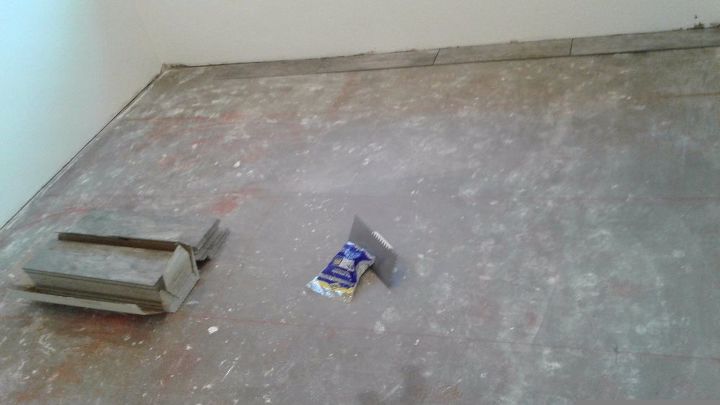
We snapped a line horizontal to the longest block wall and then used the 3X4X5 method to find square. We then snapped lines every 2 feet to help guide us as we laid the tile. 10 X 10 doesn't seem like it's very big but if the lines start to go in an arc it's hard to get them back to straight!
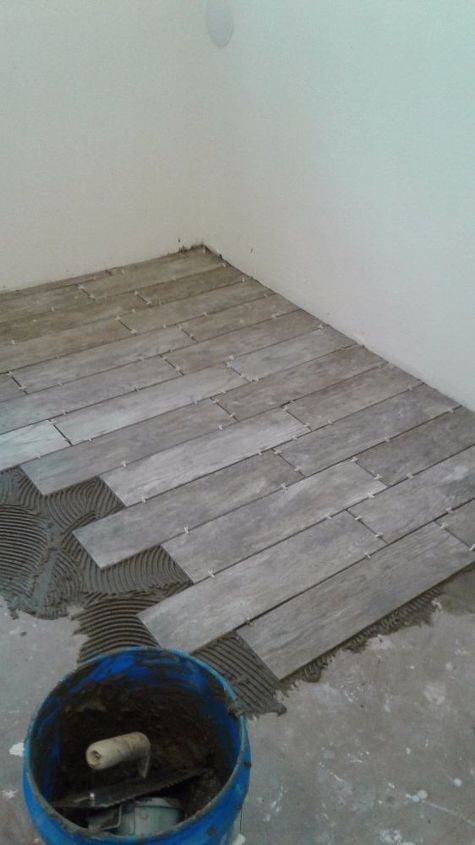
There are several options for bond on these tiles. We chose 1/4 bond to give it the biggest open spaces without any joints.
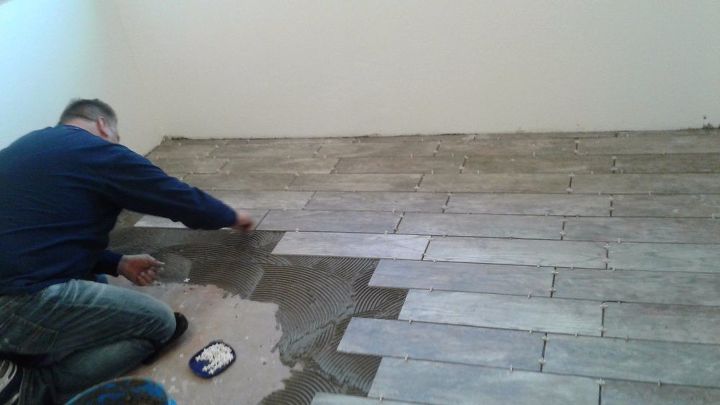
Working hard! He used a 3/16 X 1/4 trowel to put down the adhesive and we had a hard time mixing it in the bucket so I wound up doing it by hand. There were still a lot of lumps when he got it but he was able to smooth them out on the floor before putting down the tiles.
We did use 3/16 spacers for the joints to help us keep them all straight.
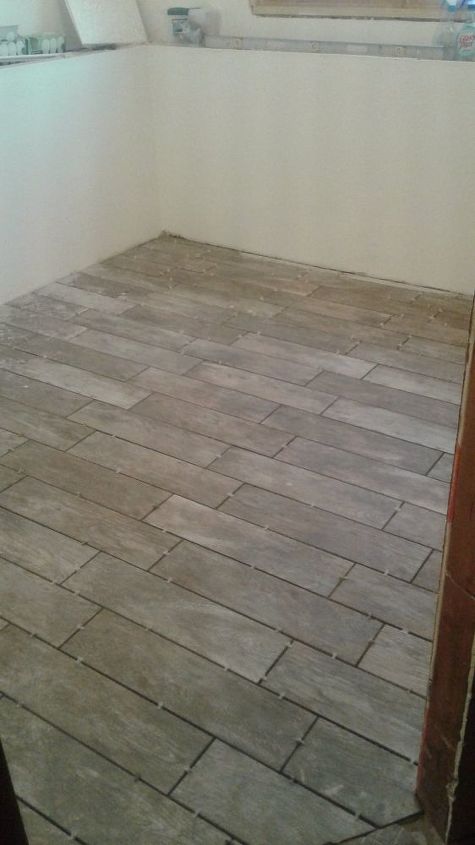
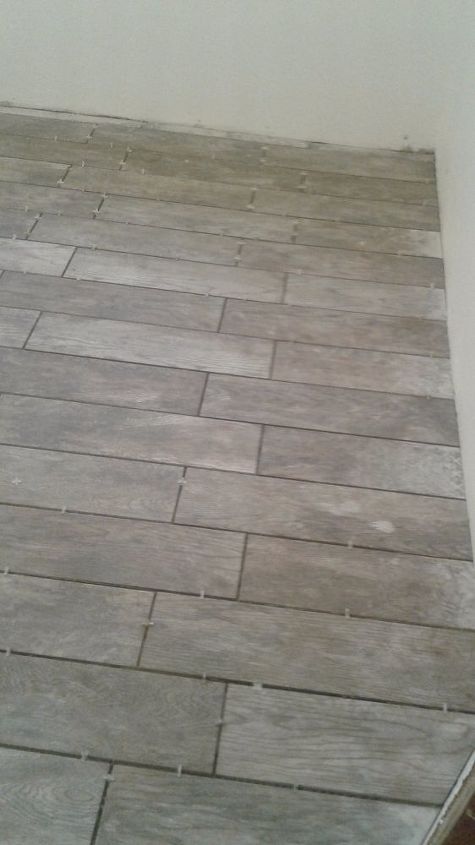
This is another look at it all laid out before the grouting process starts...
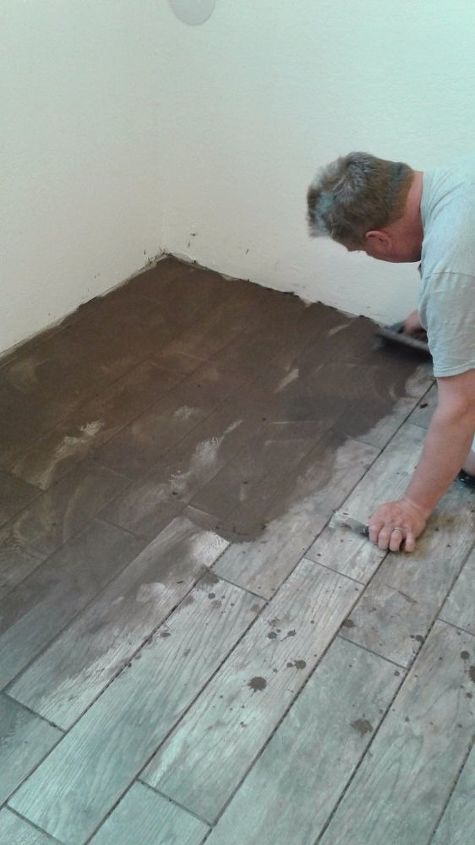
The next weekend the tiles were all cured and stuck in place so we could walk on them. We decided to use a darker grout that looked like mud when we put it down.
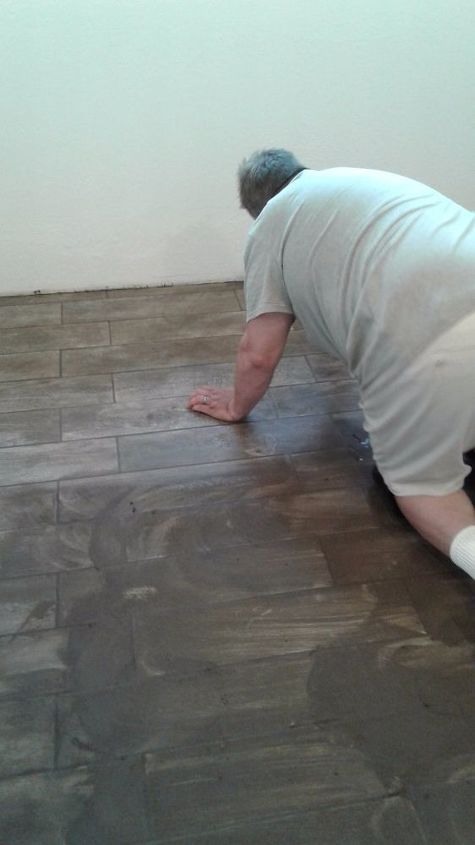
Once it set for about an hour we started working on washing it all back up! He did a wonderful job! It was a lot of time on his knees, and I was just on water duty, making sure he had fresh water to rinse out his sponge.
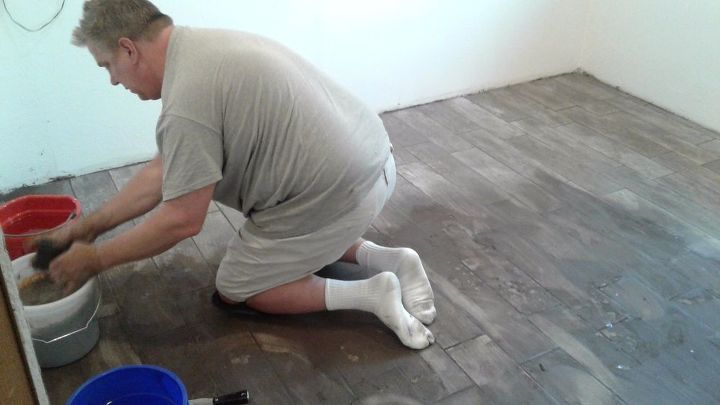
It looked great right away! It's labor intensive work, and hard on the low back but the bragging rights are worth it!
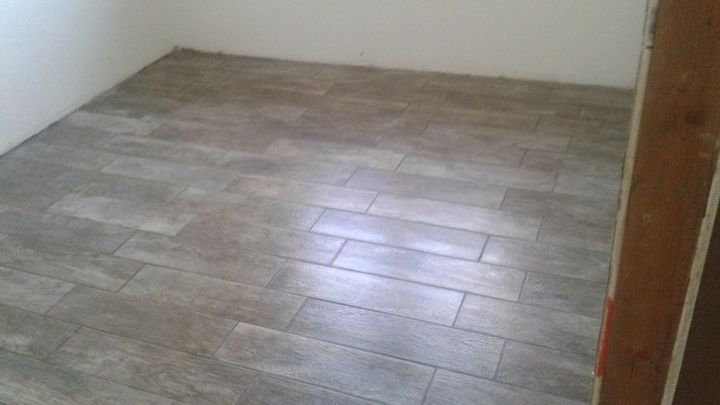
This is how the final product turned out! Once we washed it a couple more times the shine really came through! It does have a slight wood grain to the top of the tile so it is not slippery either. Very soon, we are hoping to install the closet rods, shelves and cubbies! Watch for further editions of "Warning under construction" and thank you!
Comments
Join the conversation
3 of 40 comments
-
Love the floor! And the closet is the same size as my kitchen.
-
Love the cat supervision. They always love to "help" don't they? Beautiful floor, too!


Frequently asked questions
Have a question about this project?
Gorgeous job! Is this "LVT" Luxury Vinyl Tile or Ceramic Tile???
This may be a ridiculous question, and may not even be applicable to this post, but, why does one apply grout over the entire surface of the project instead of mainly working it into the spaces between the tiles? Seems like a lot less work doing it the second way and a lot less to clean up.
After washing the tile, will you seal it?